Week 6 - Portfolio
Theme: Toys
Box for Trinkets '
Wood

Shelves for Miniature Toys
Plywood
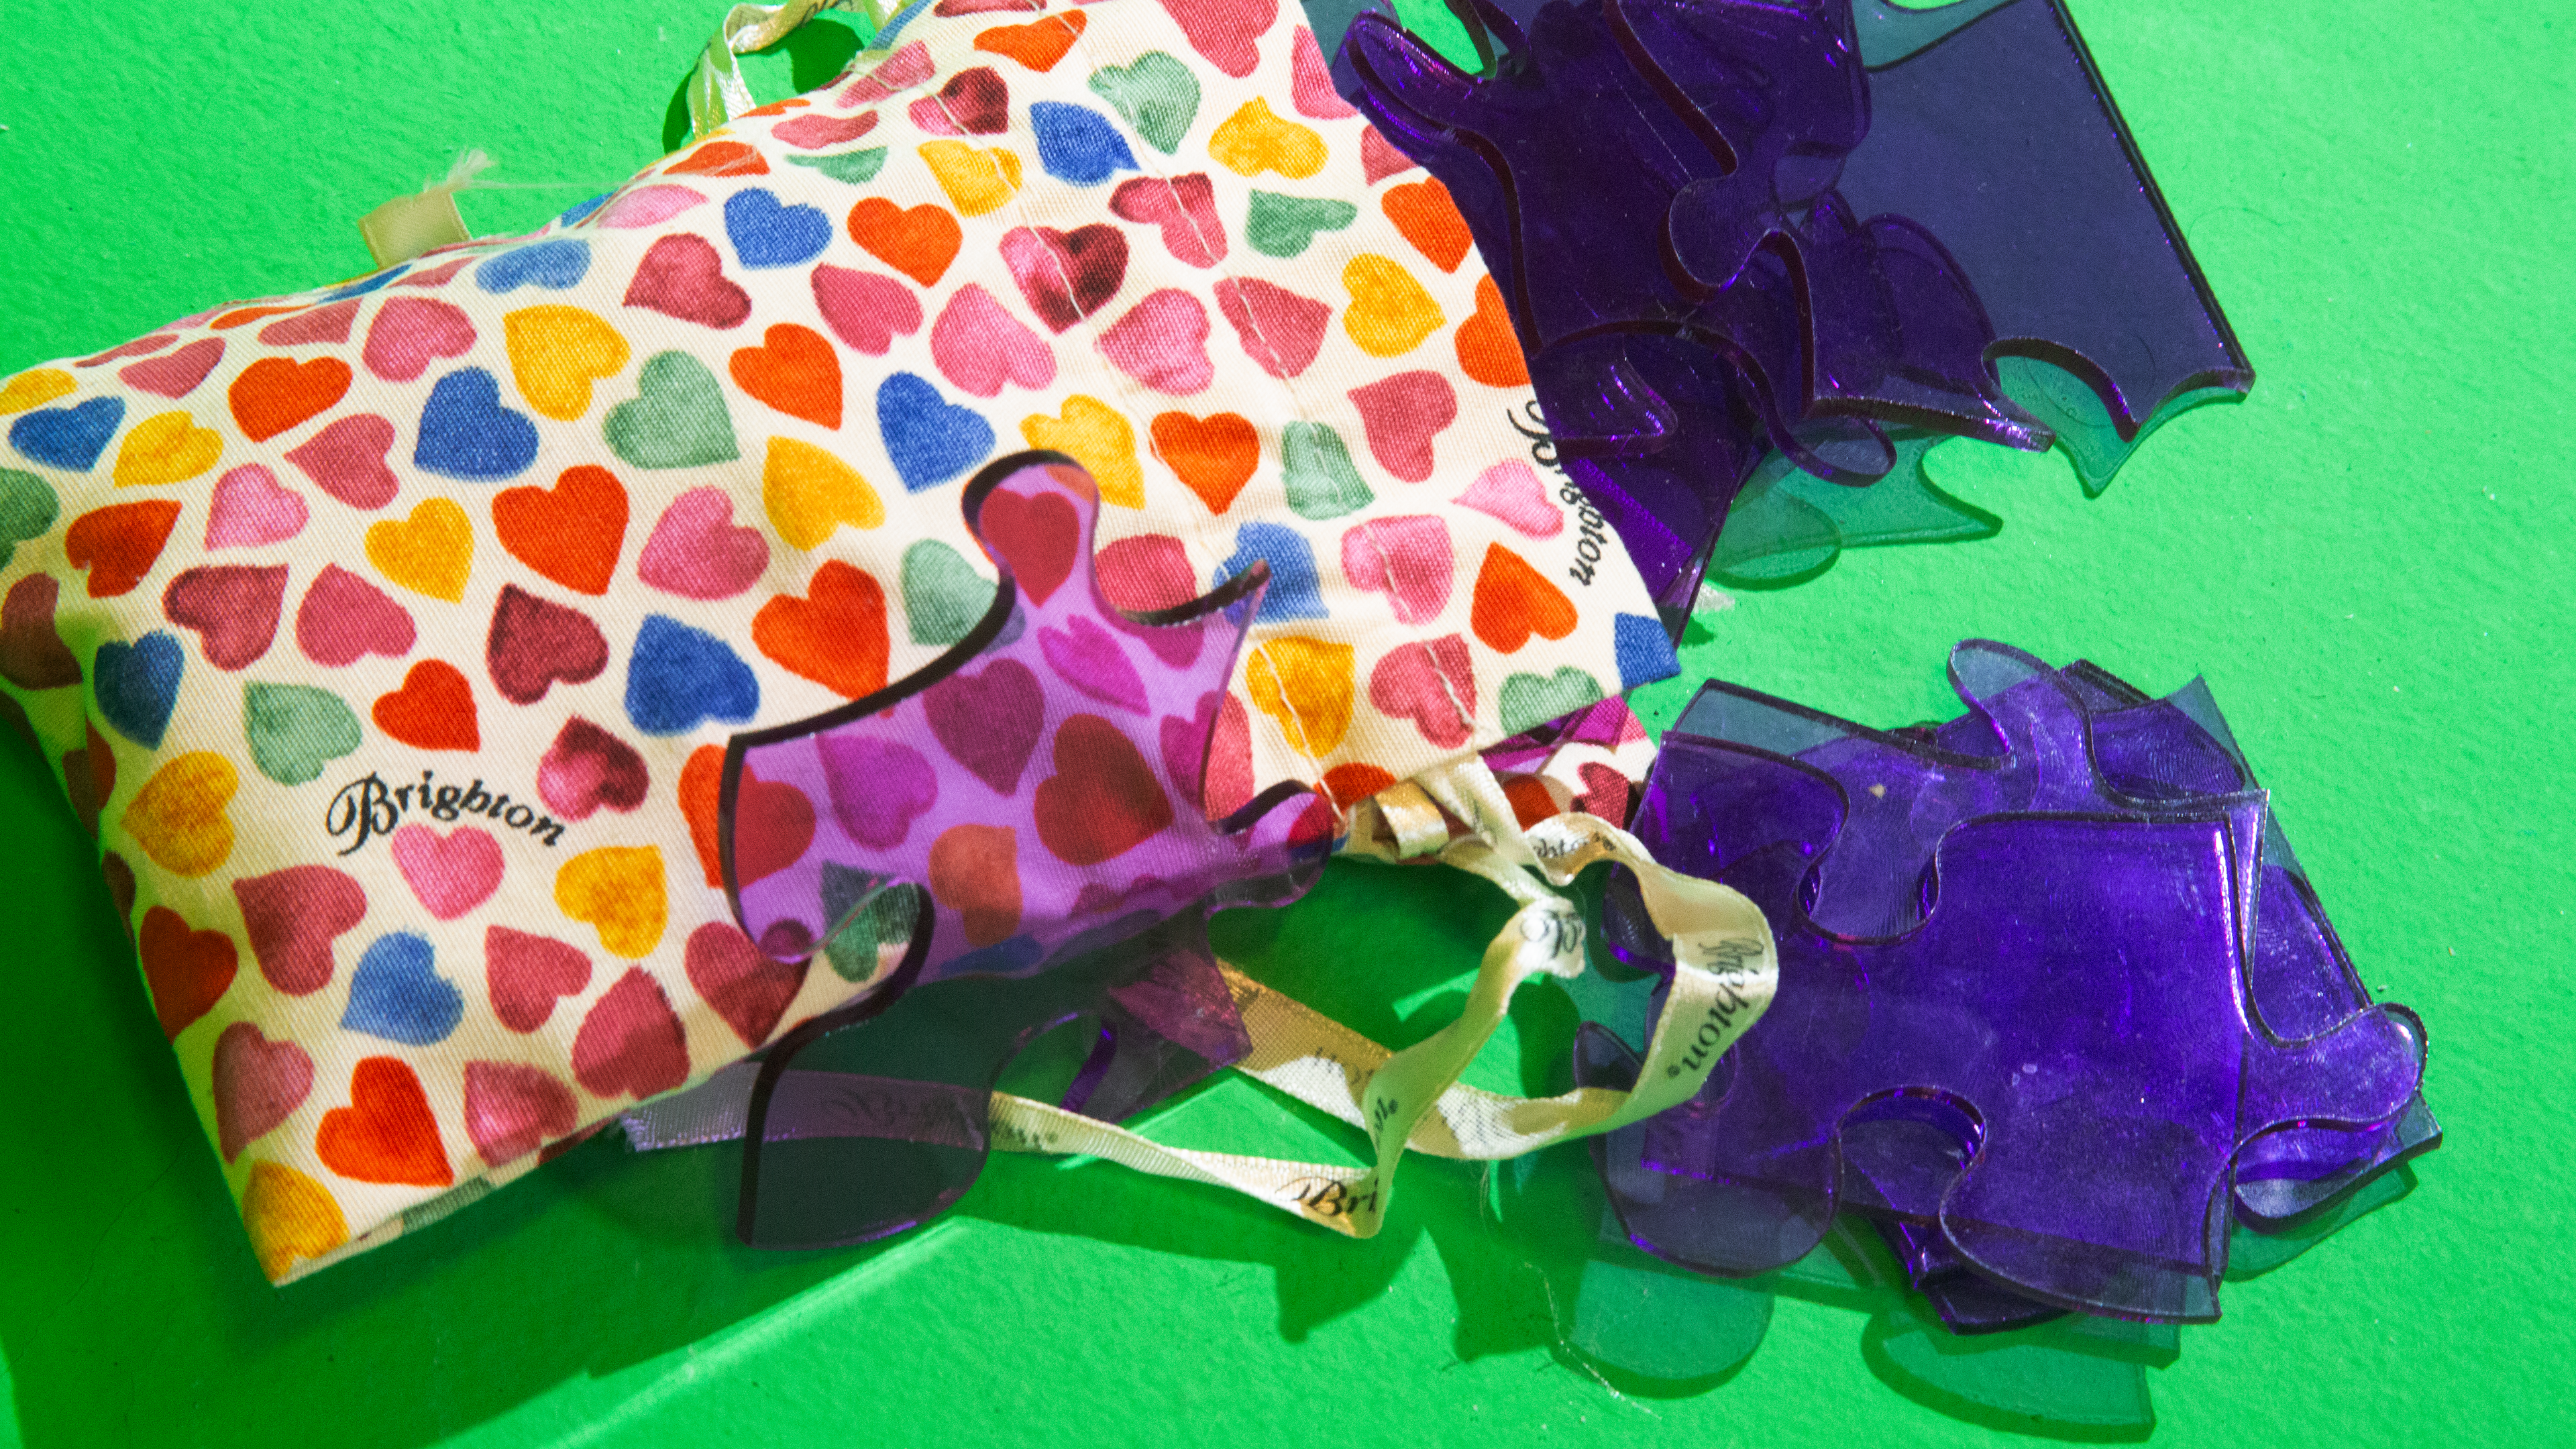
Jigsaw Puzzles
acrylic
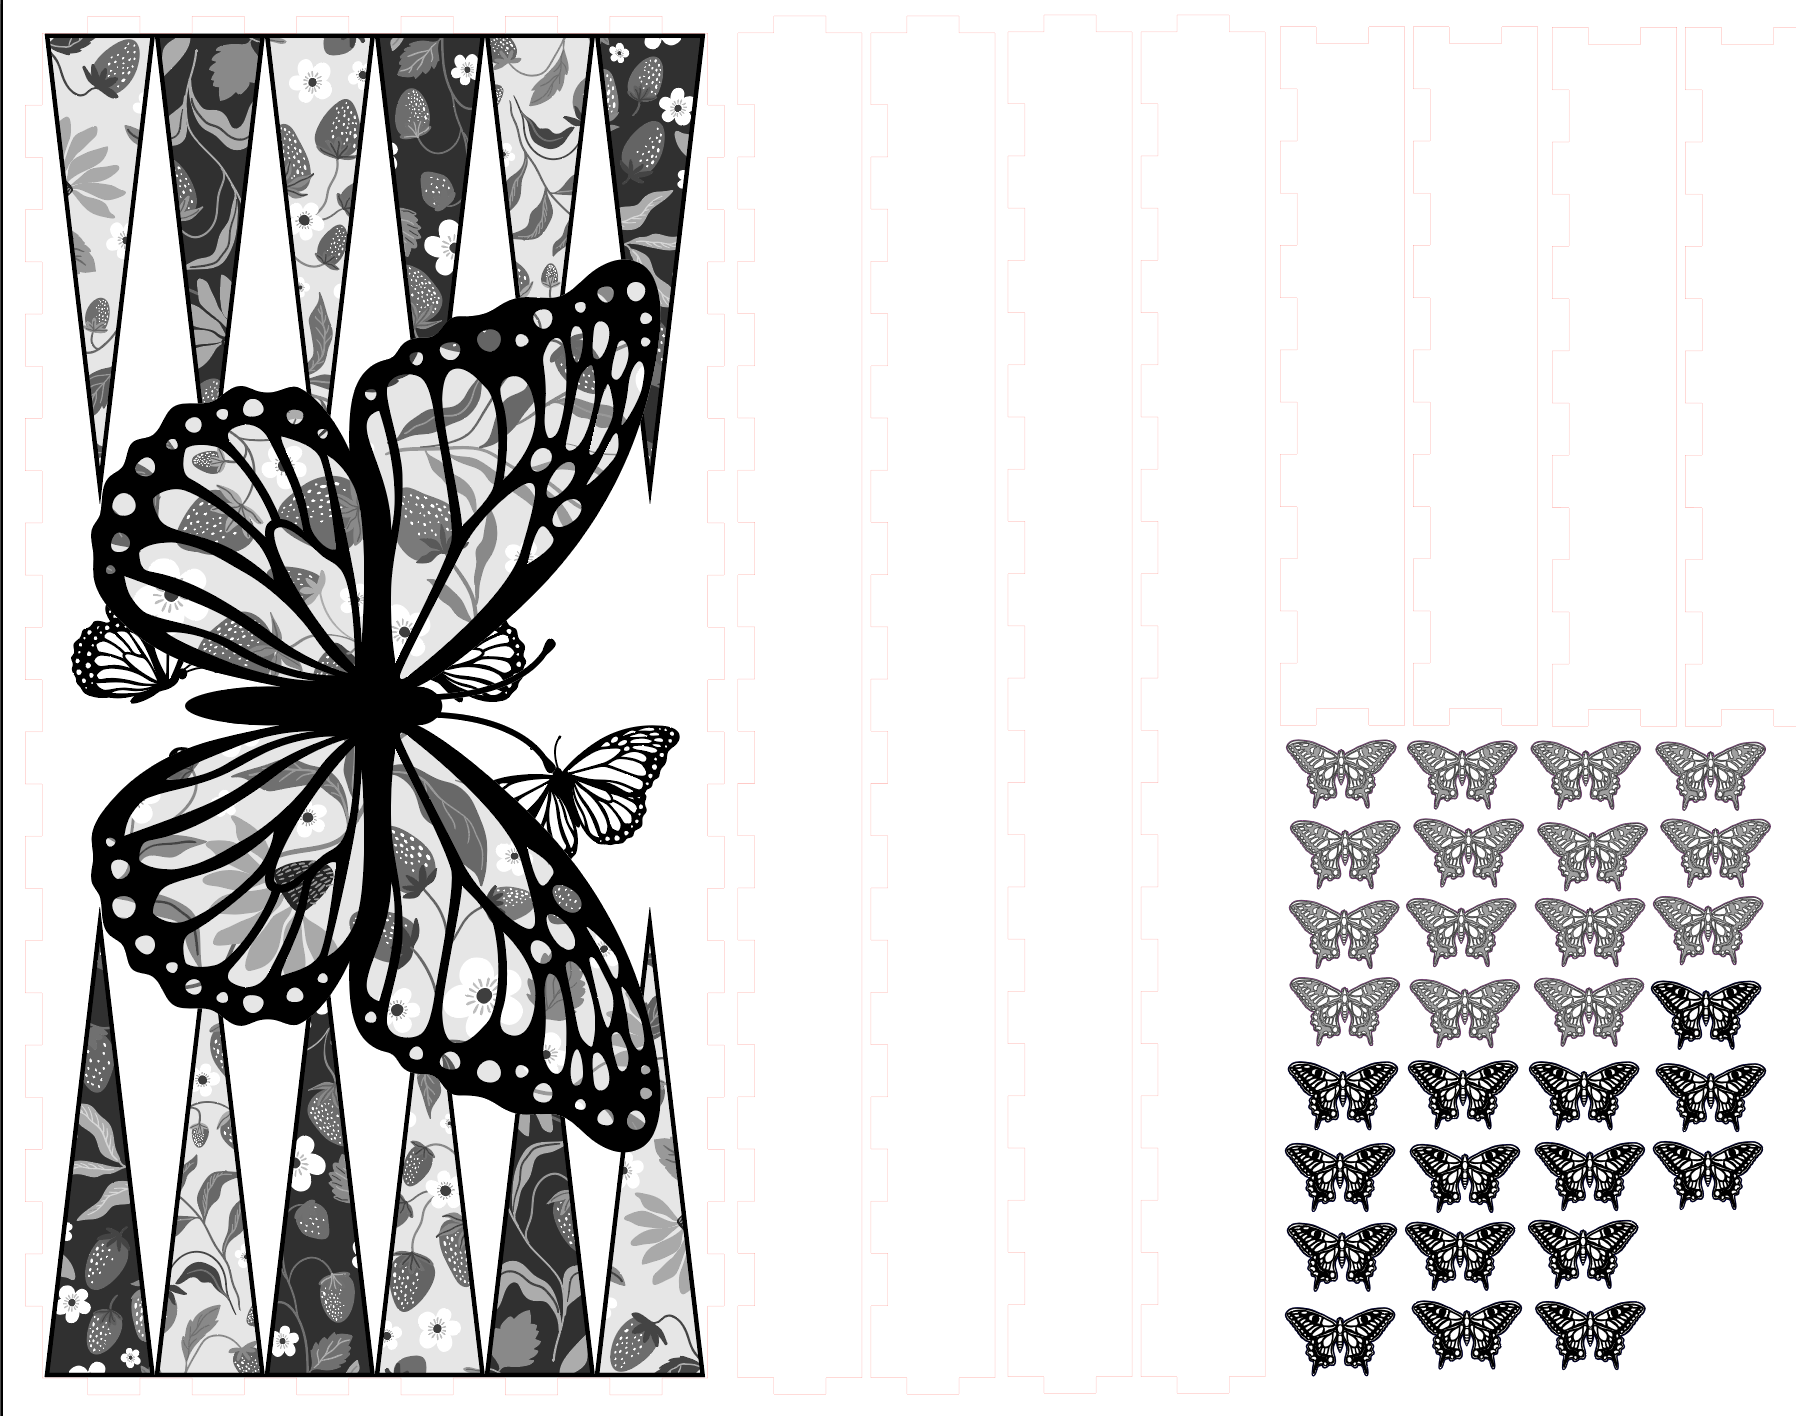
Backgammon Board
plywood, metal
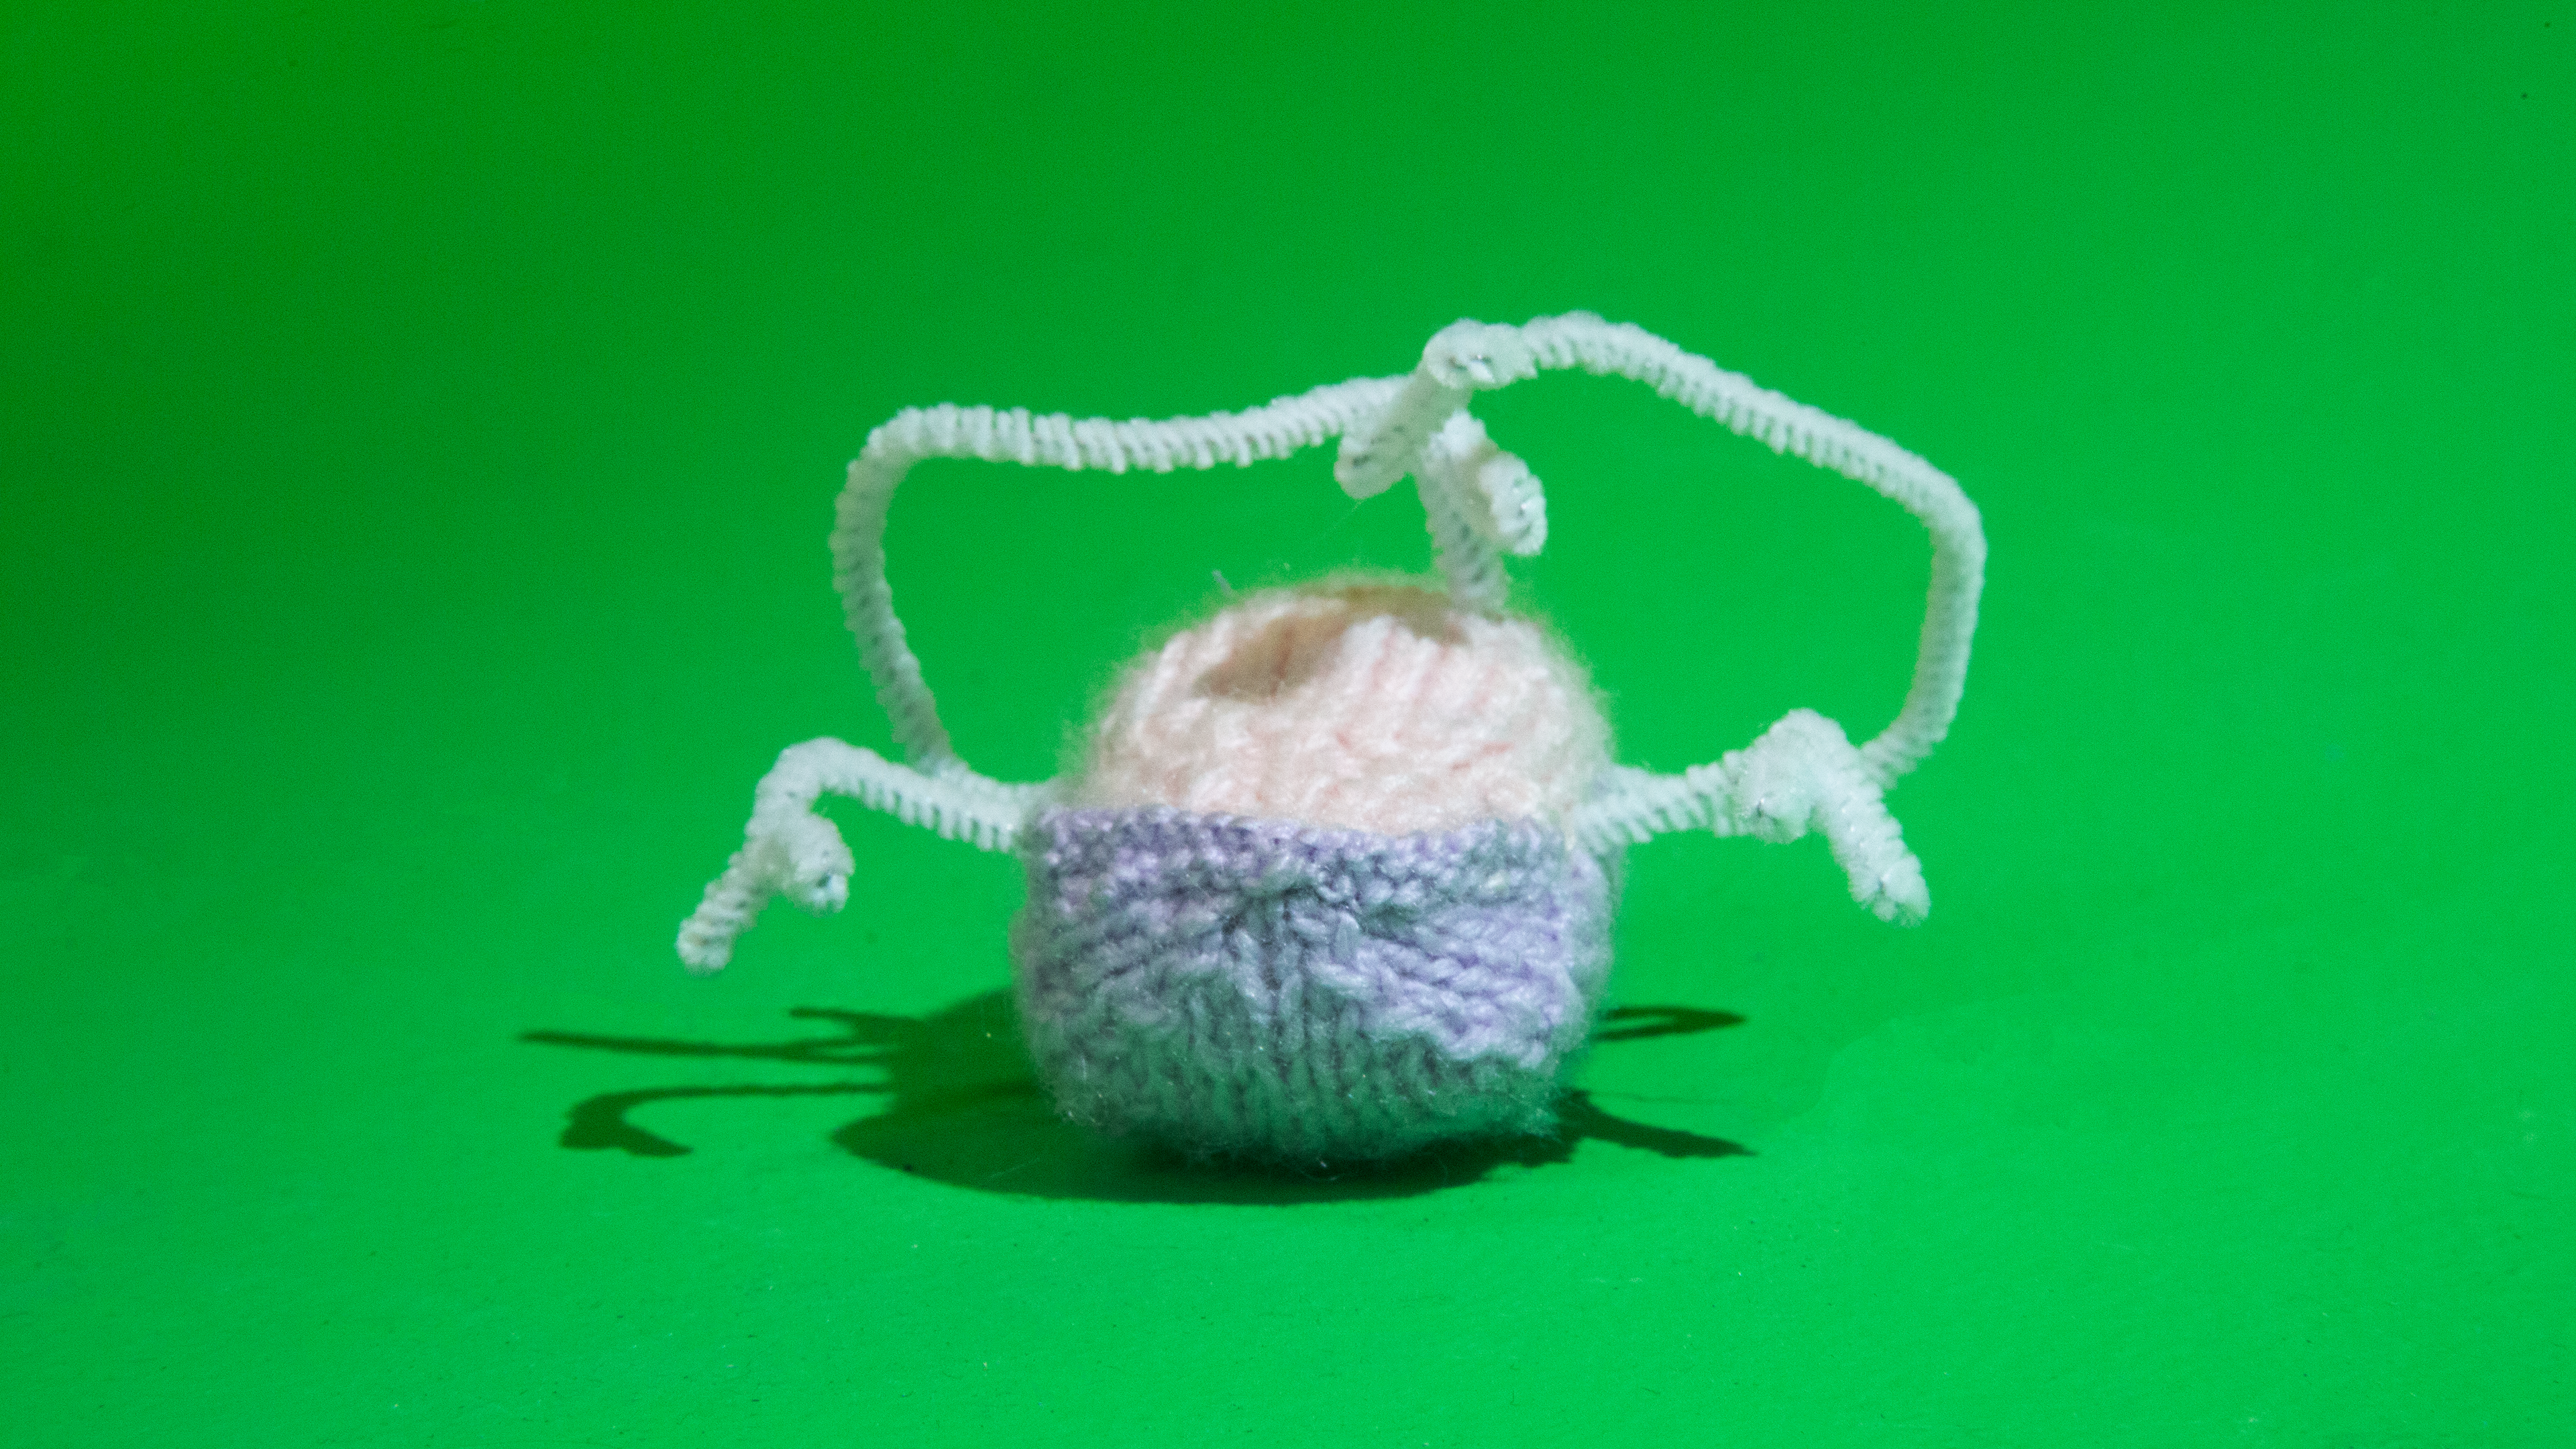

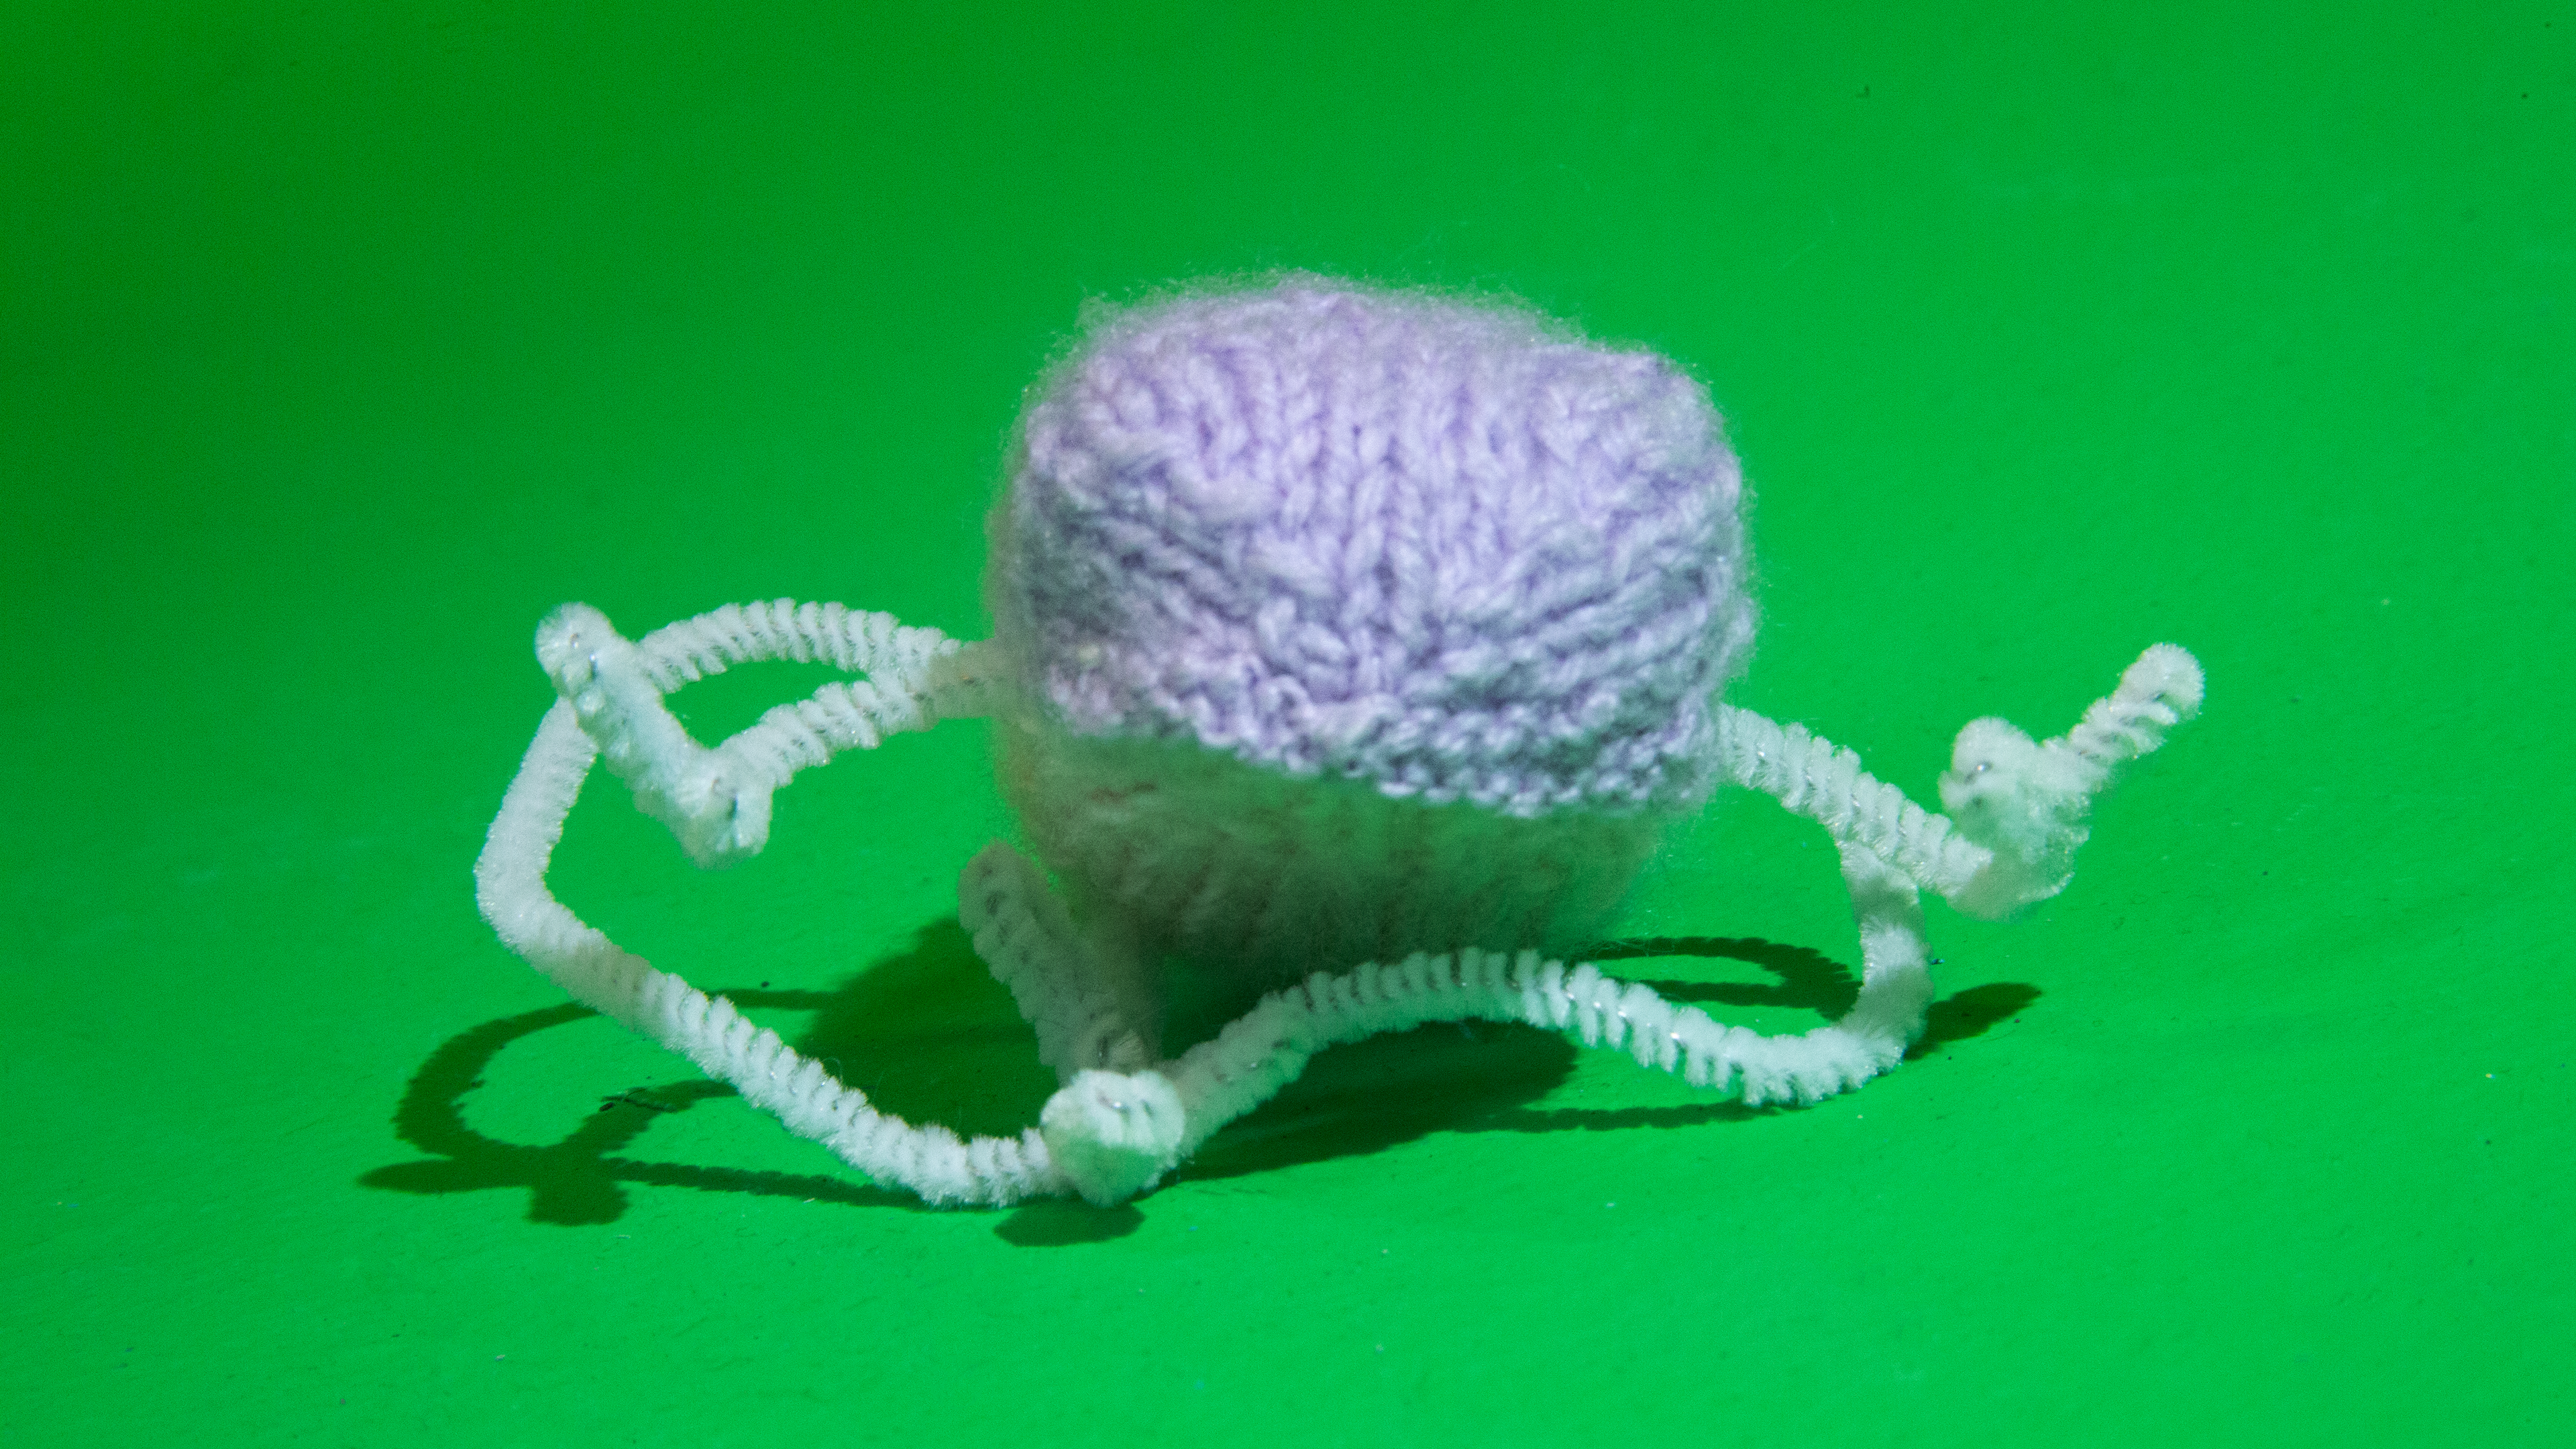
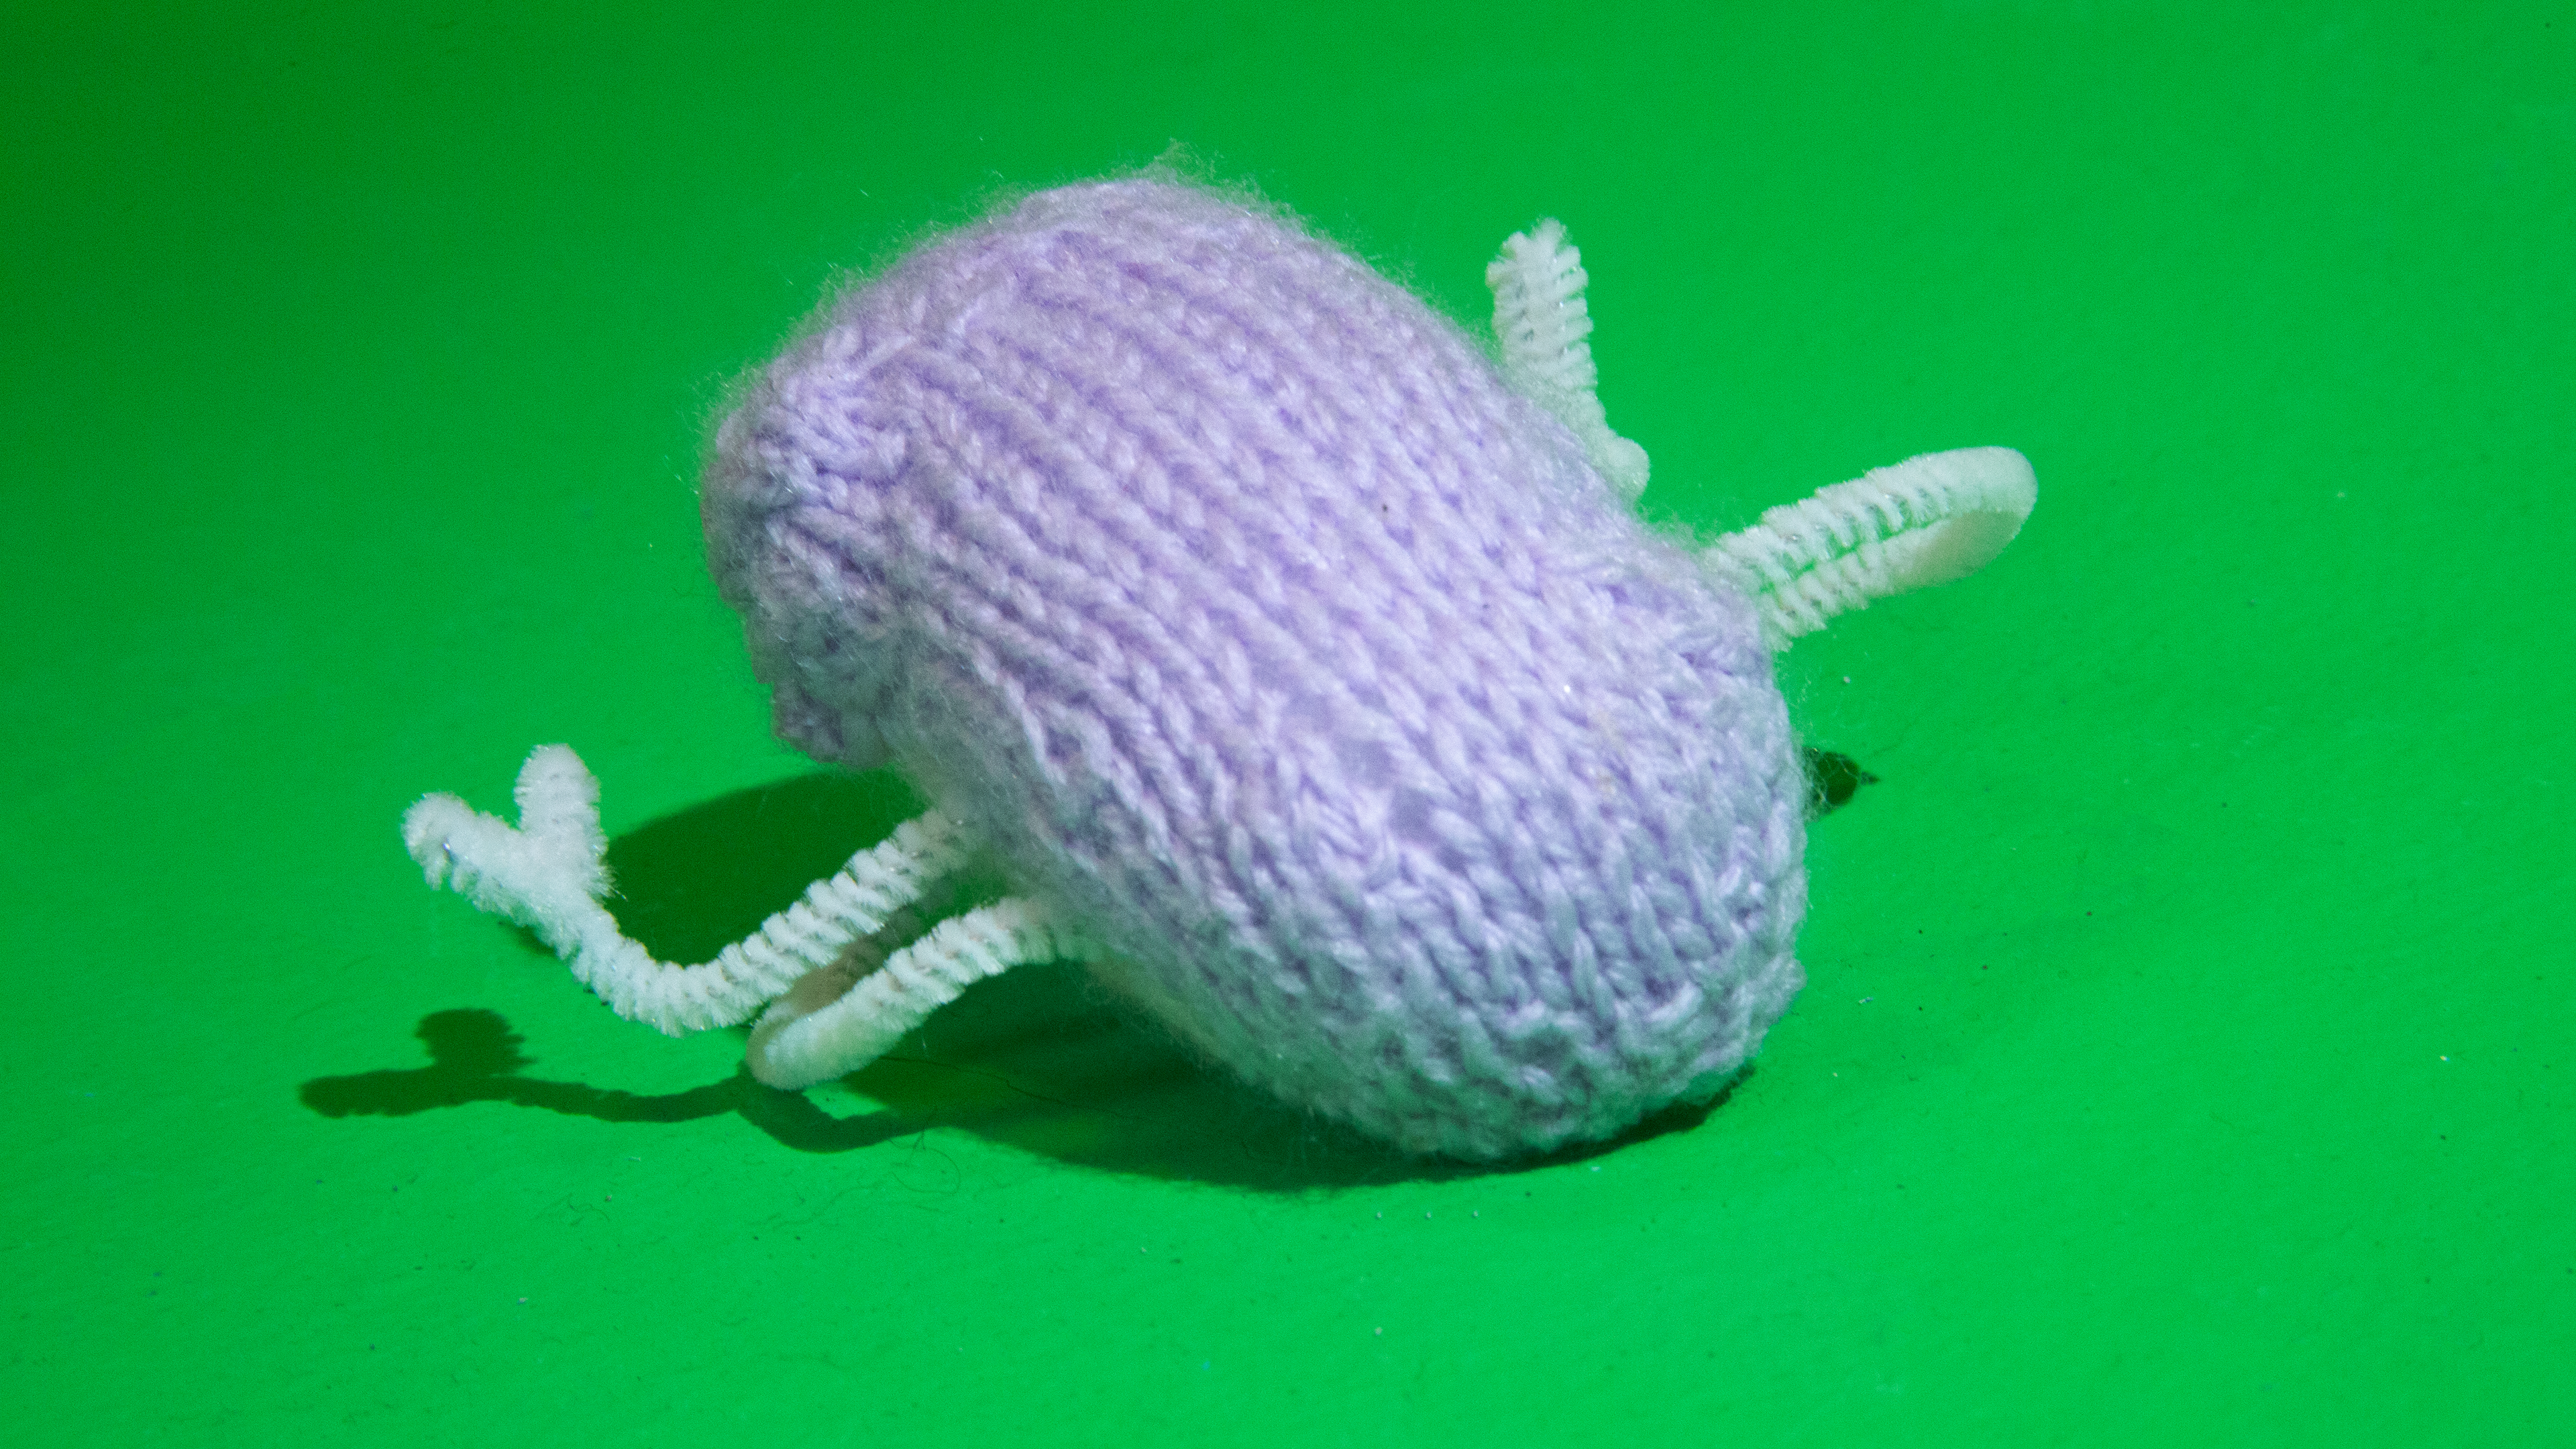
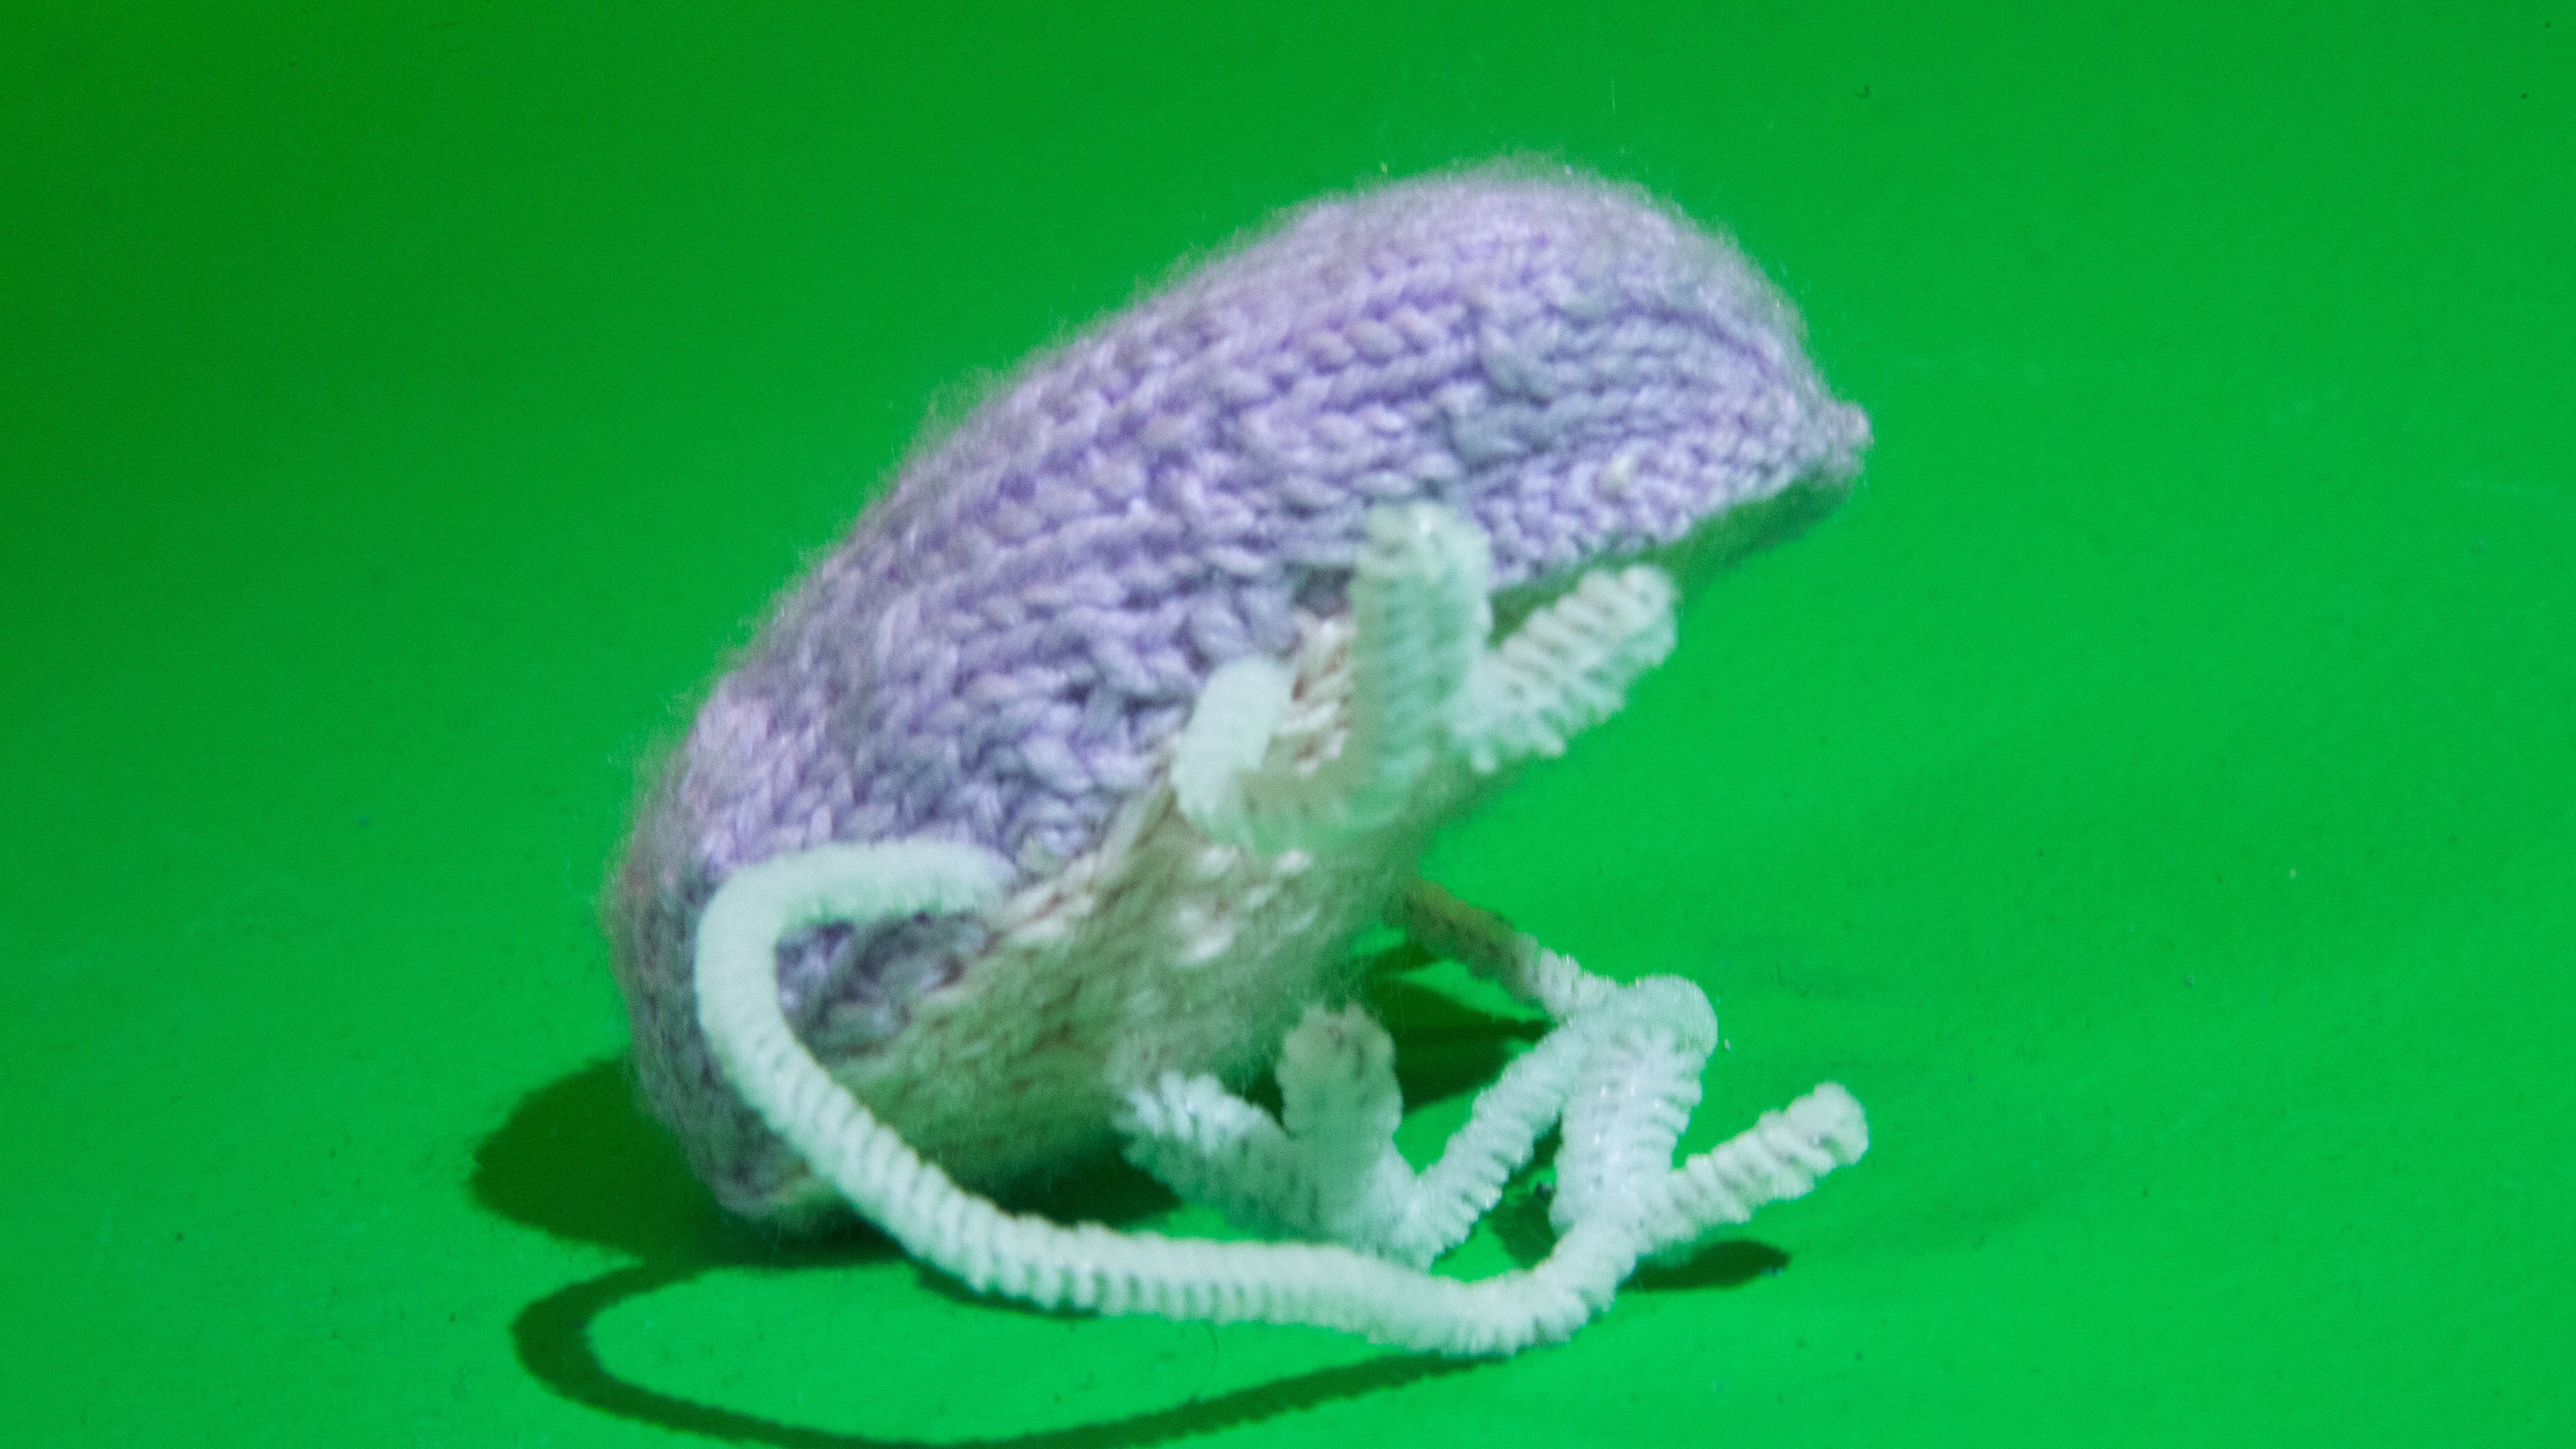
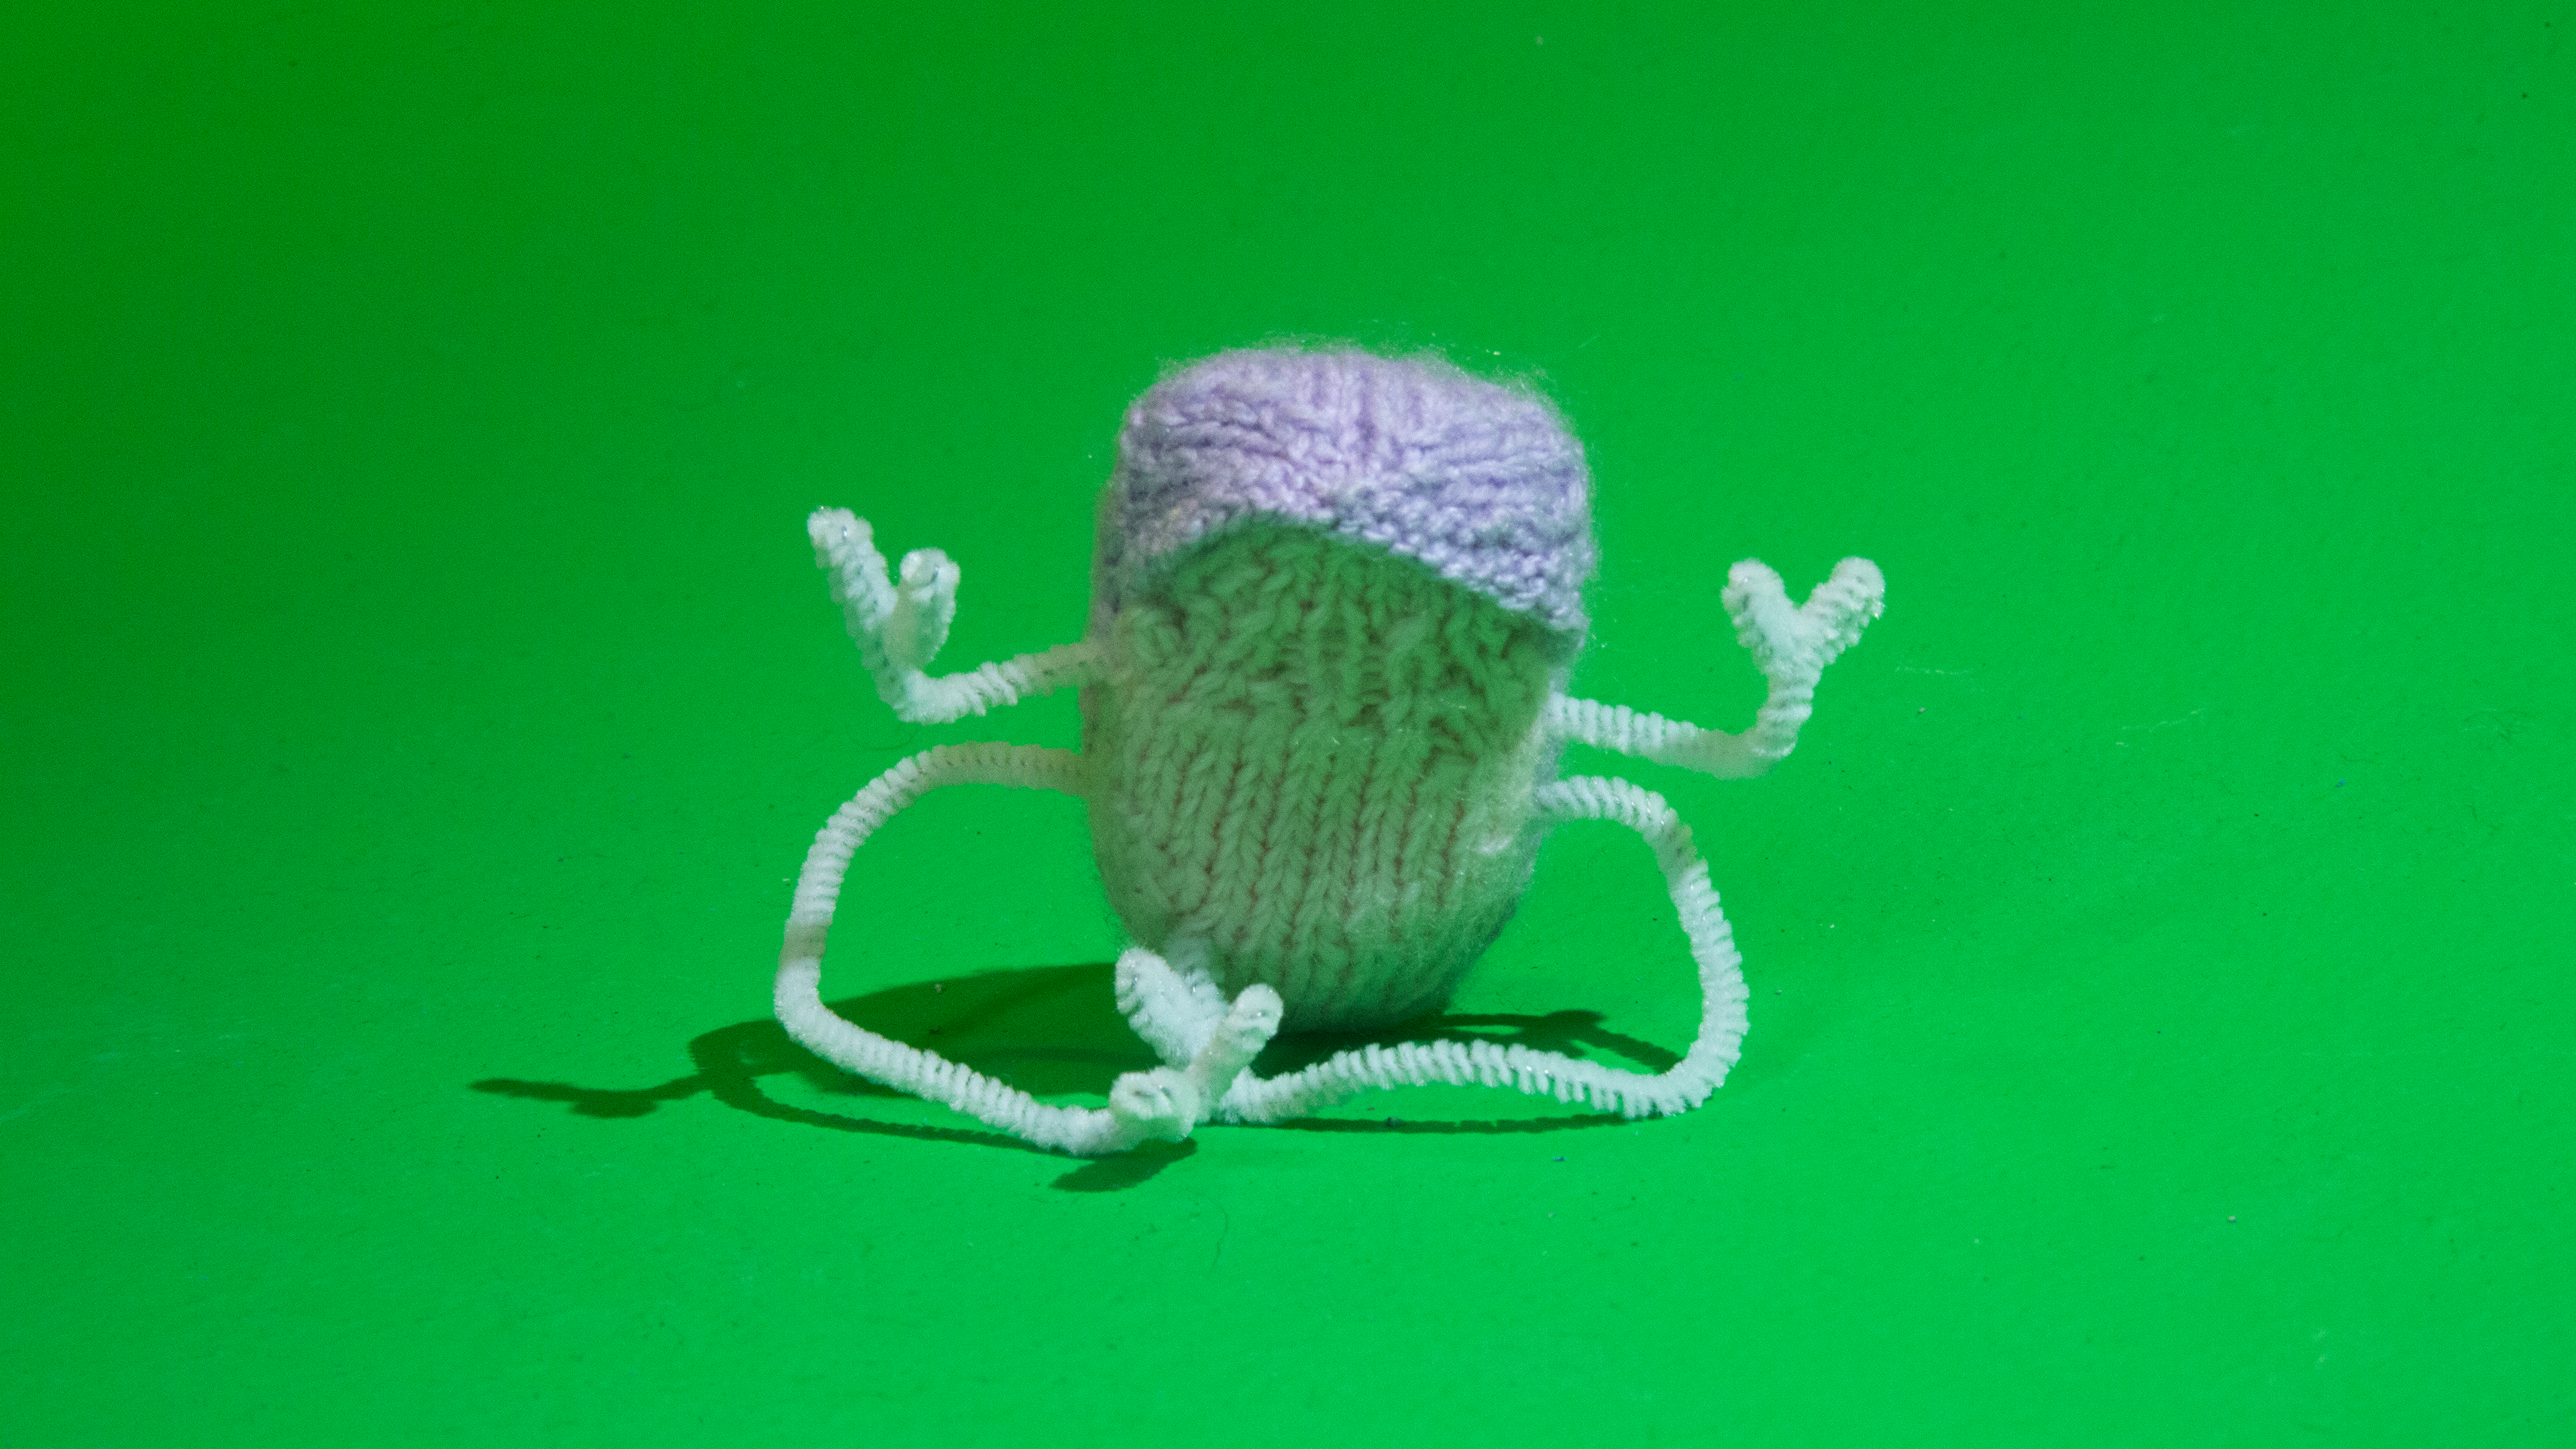
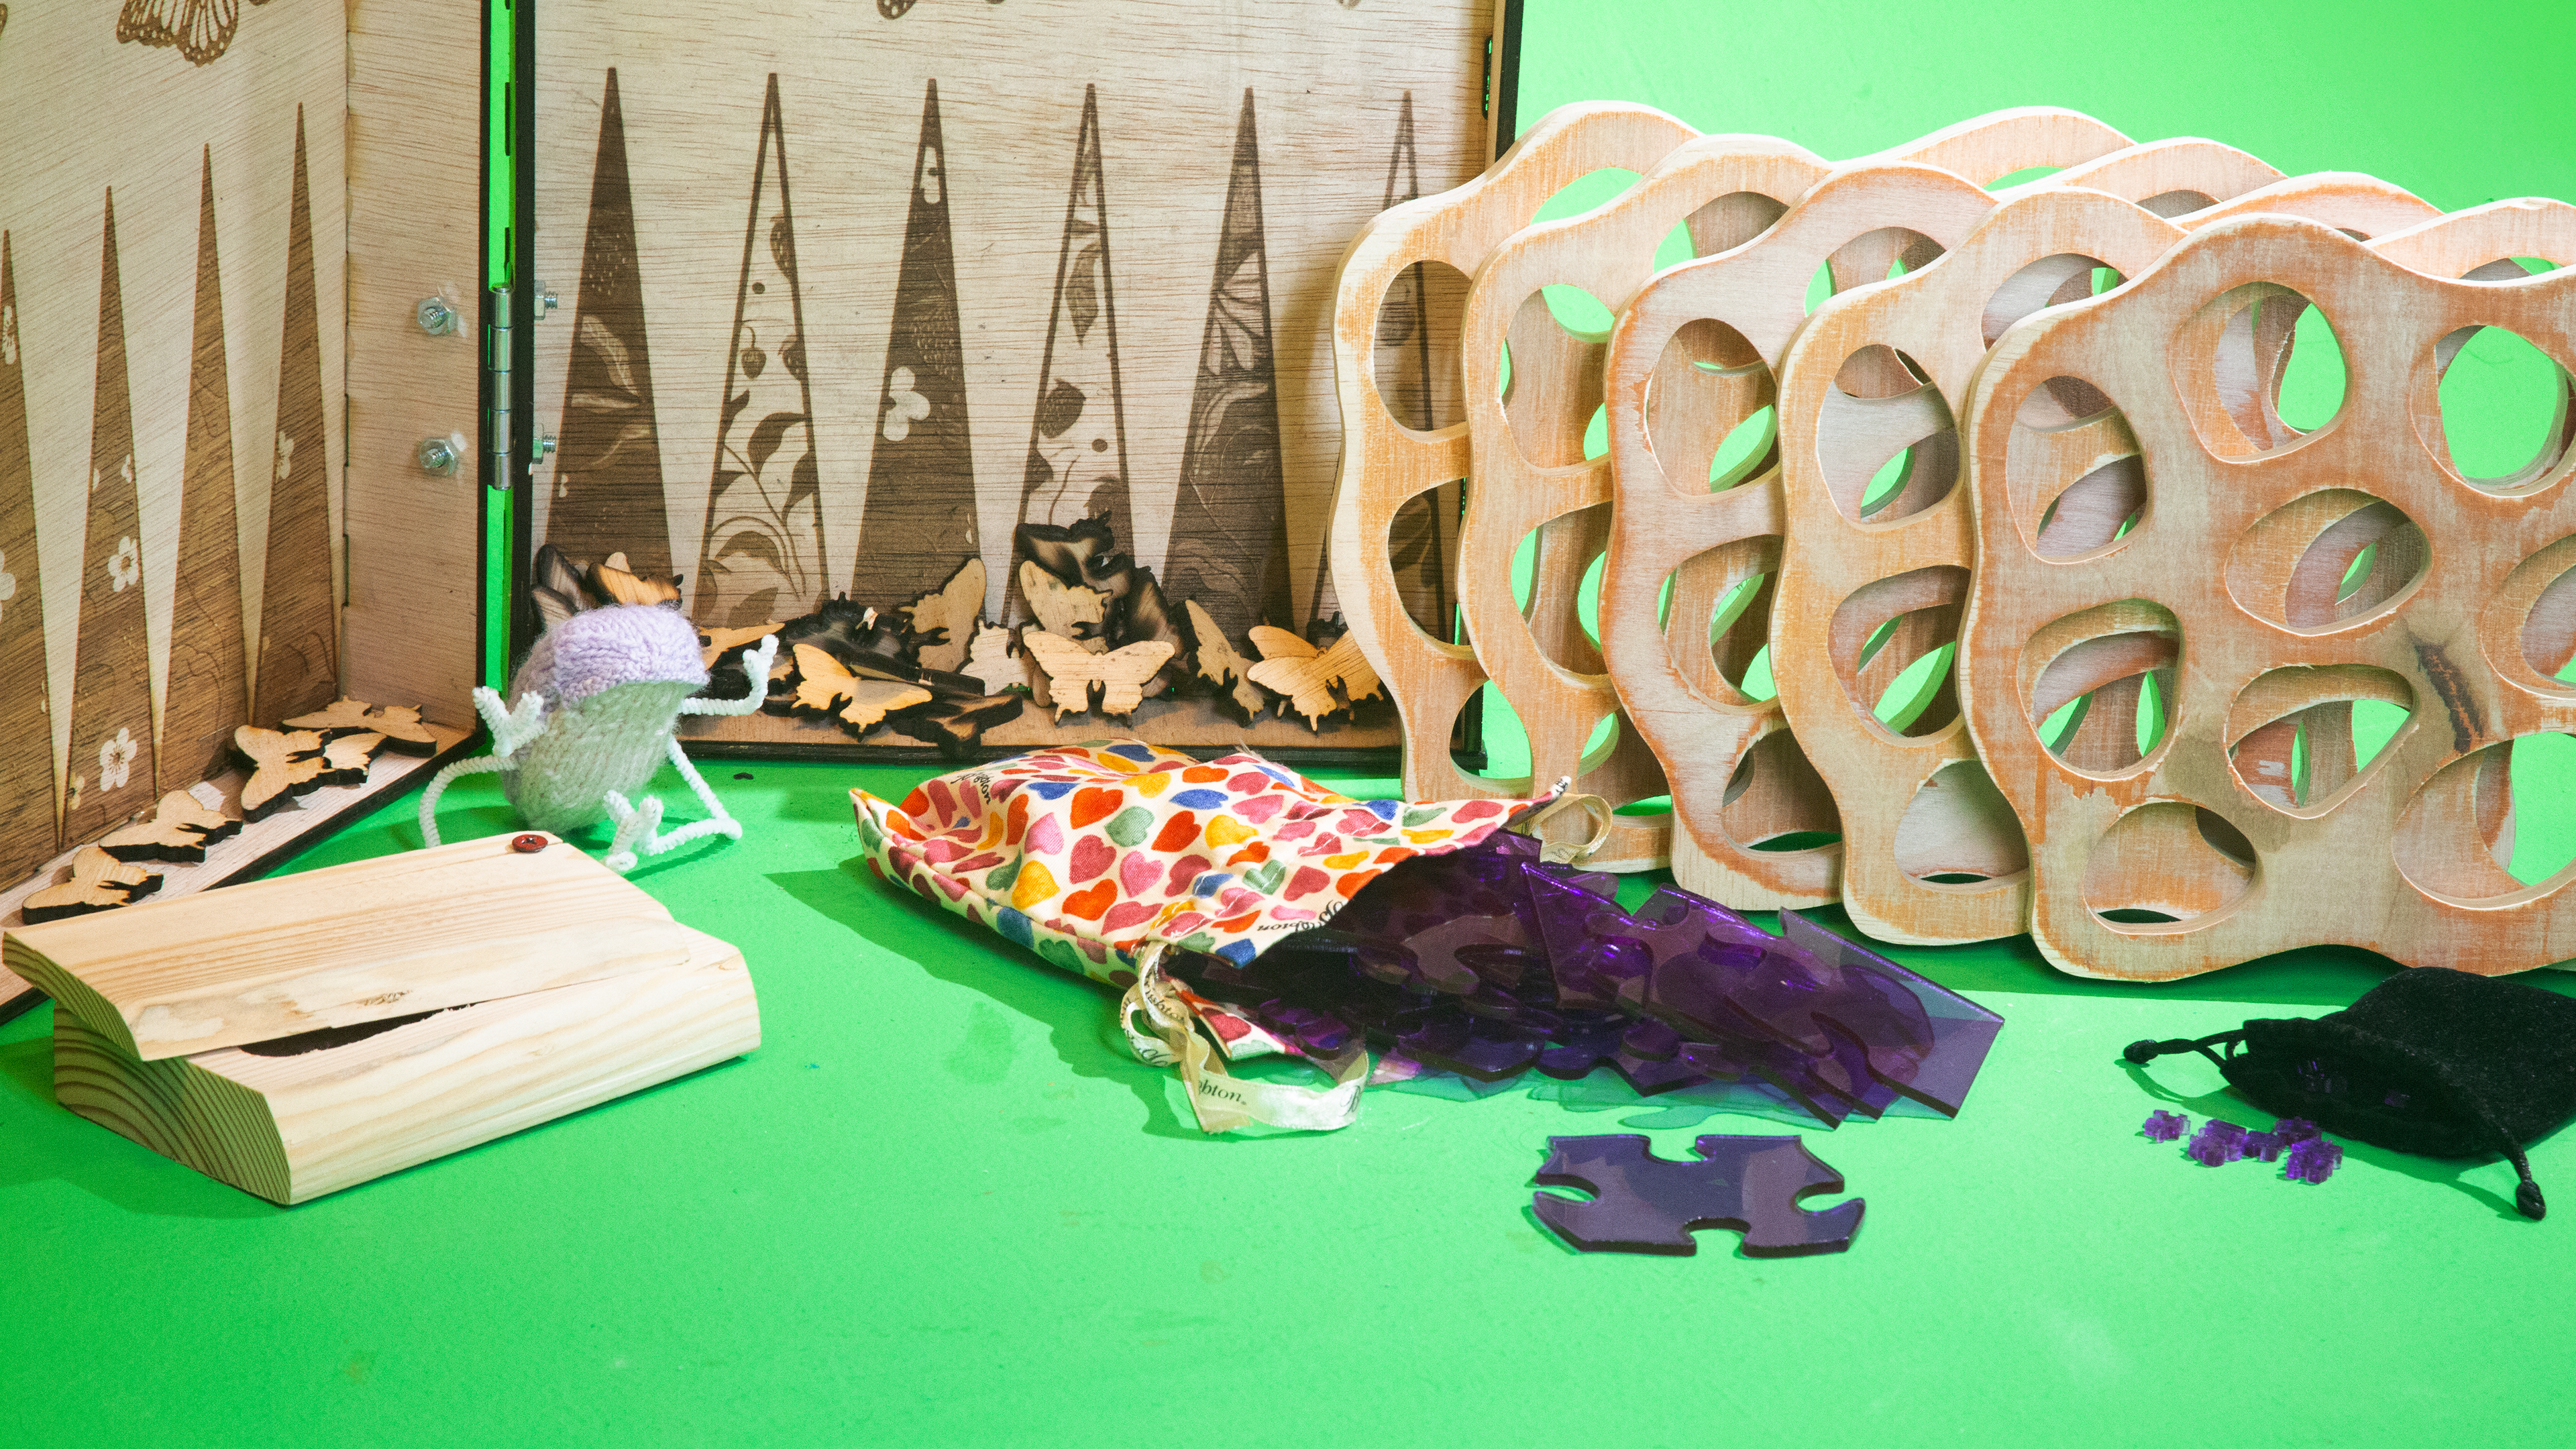
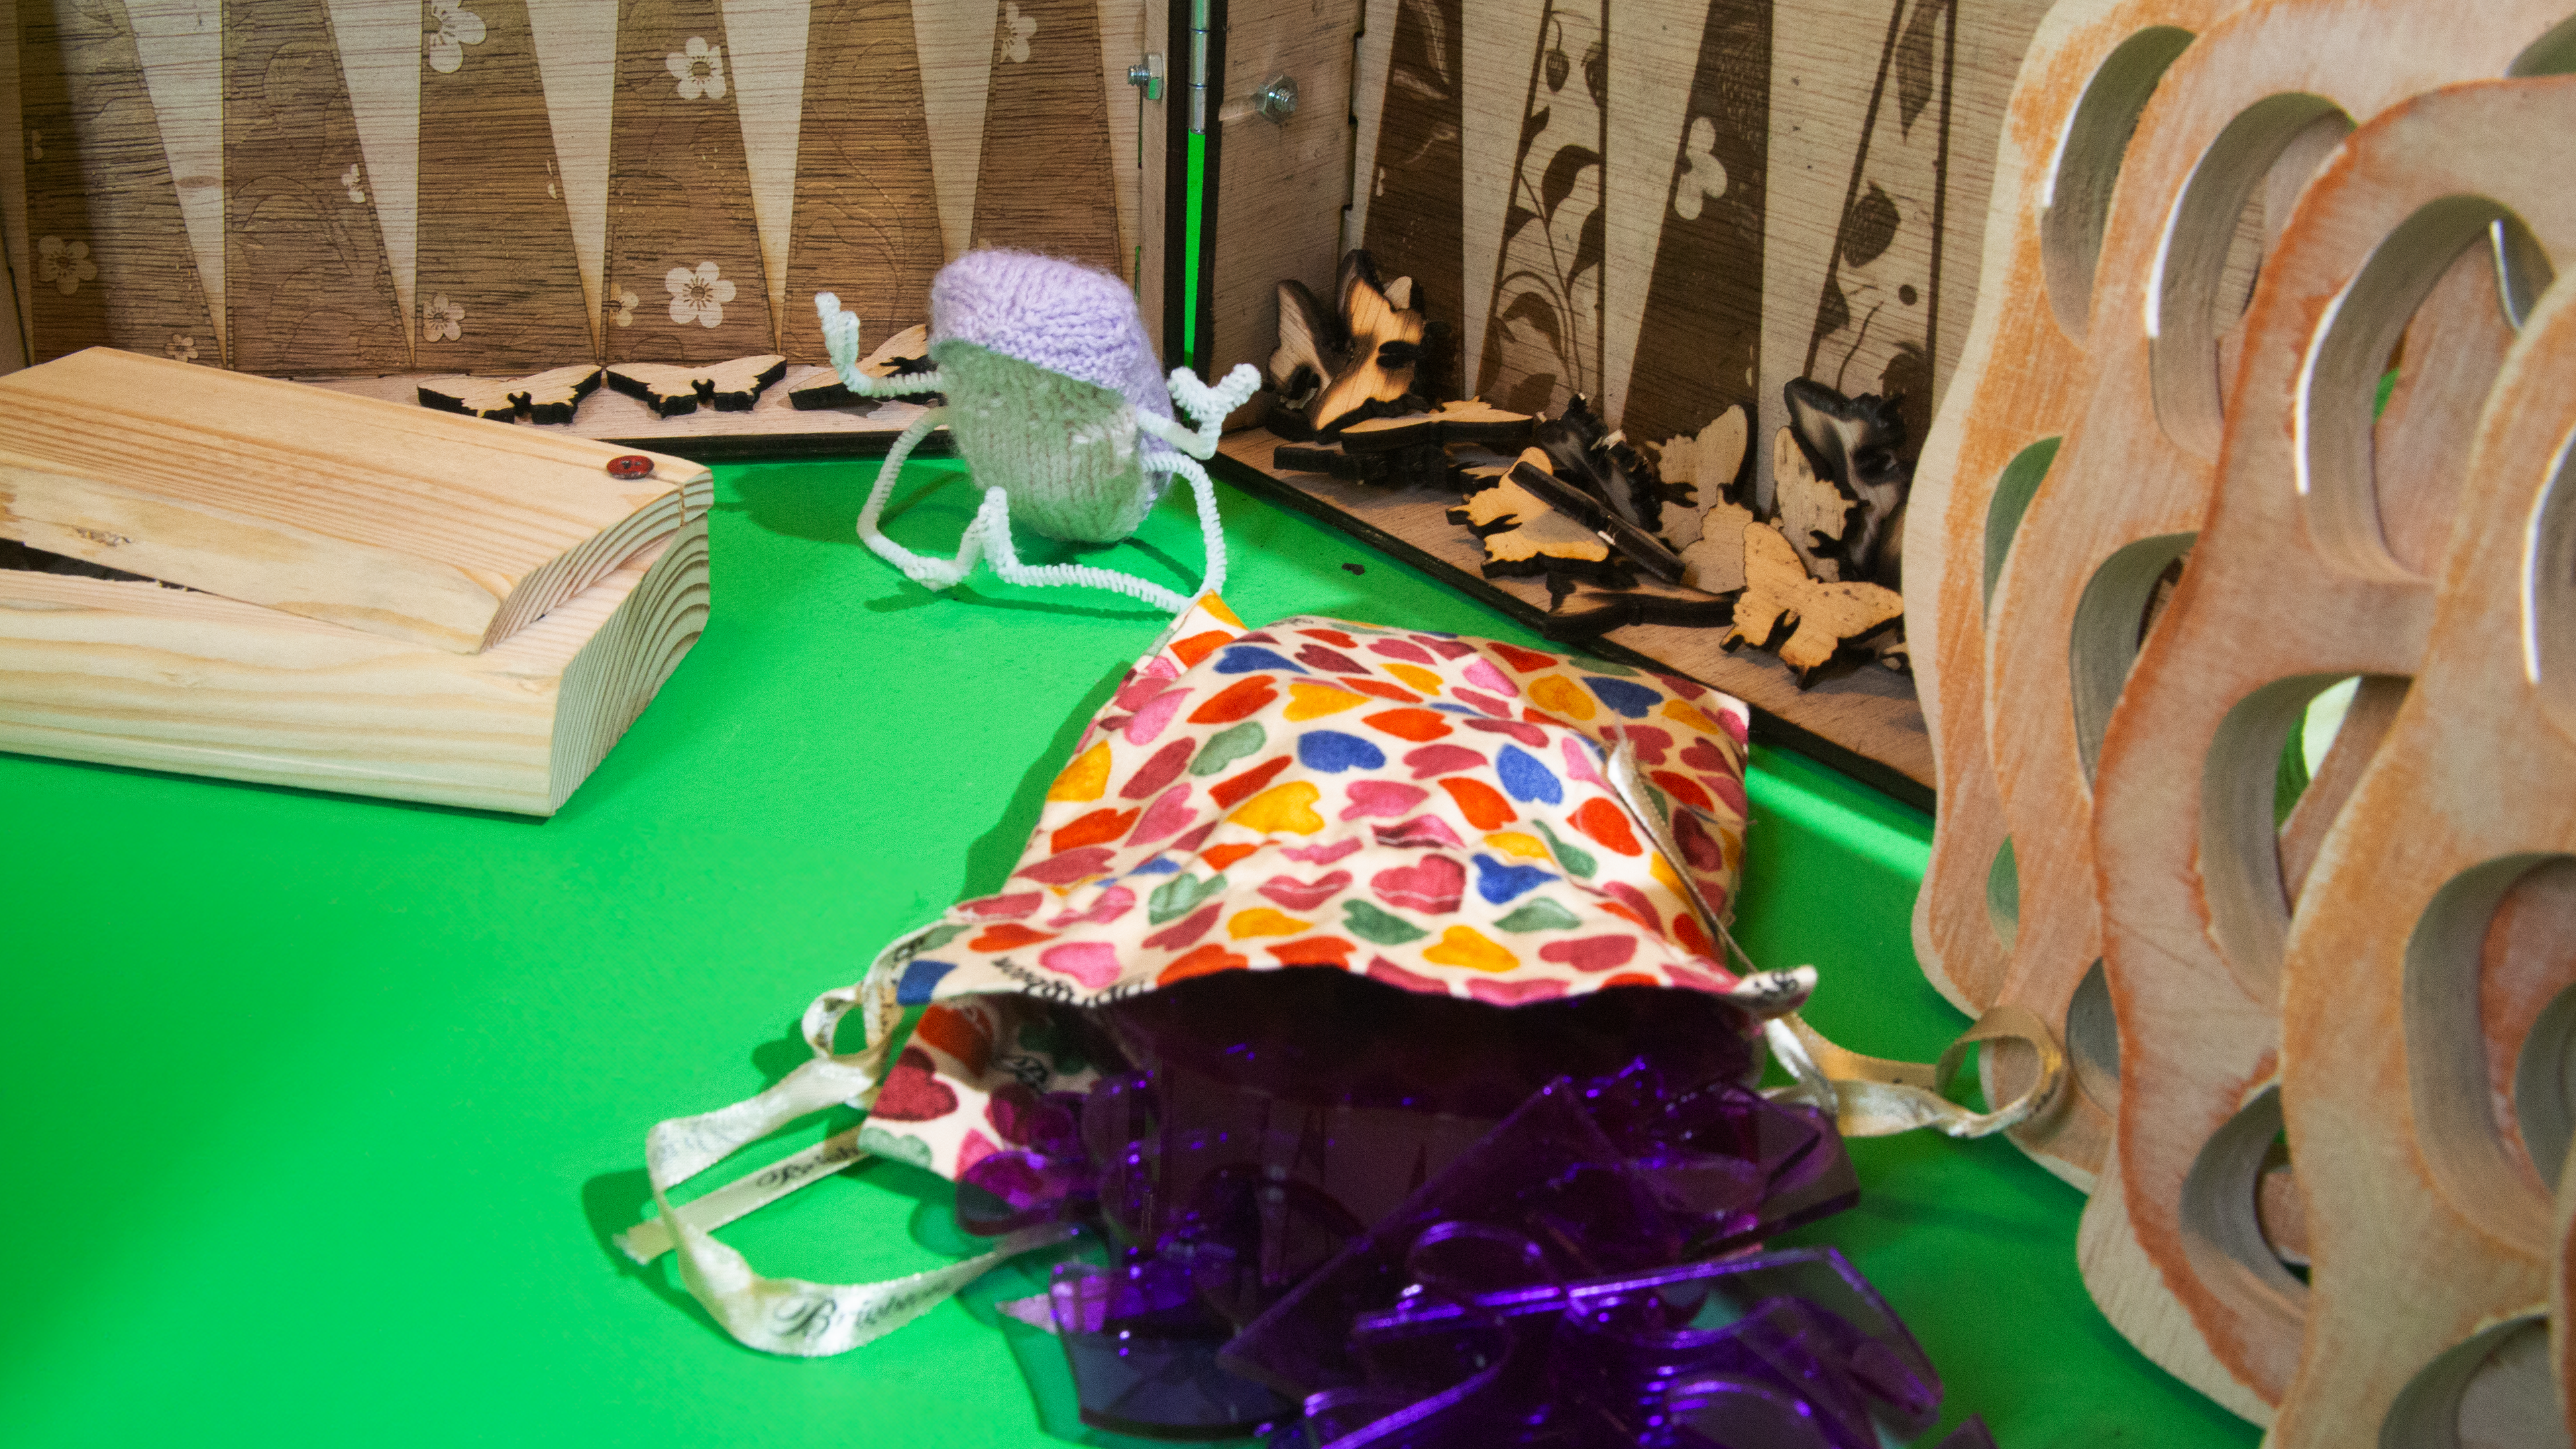
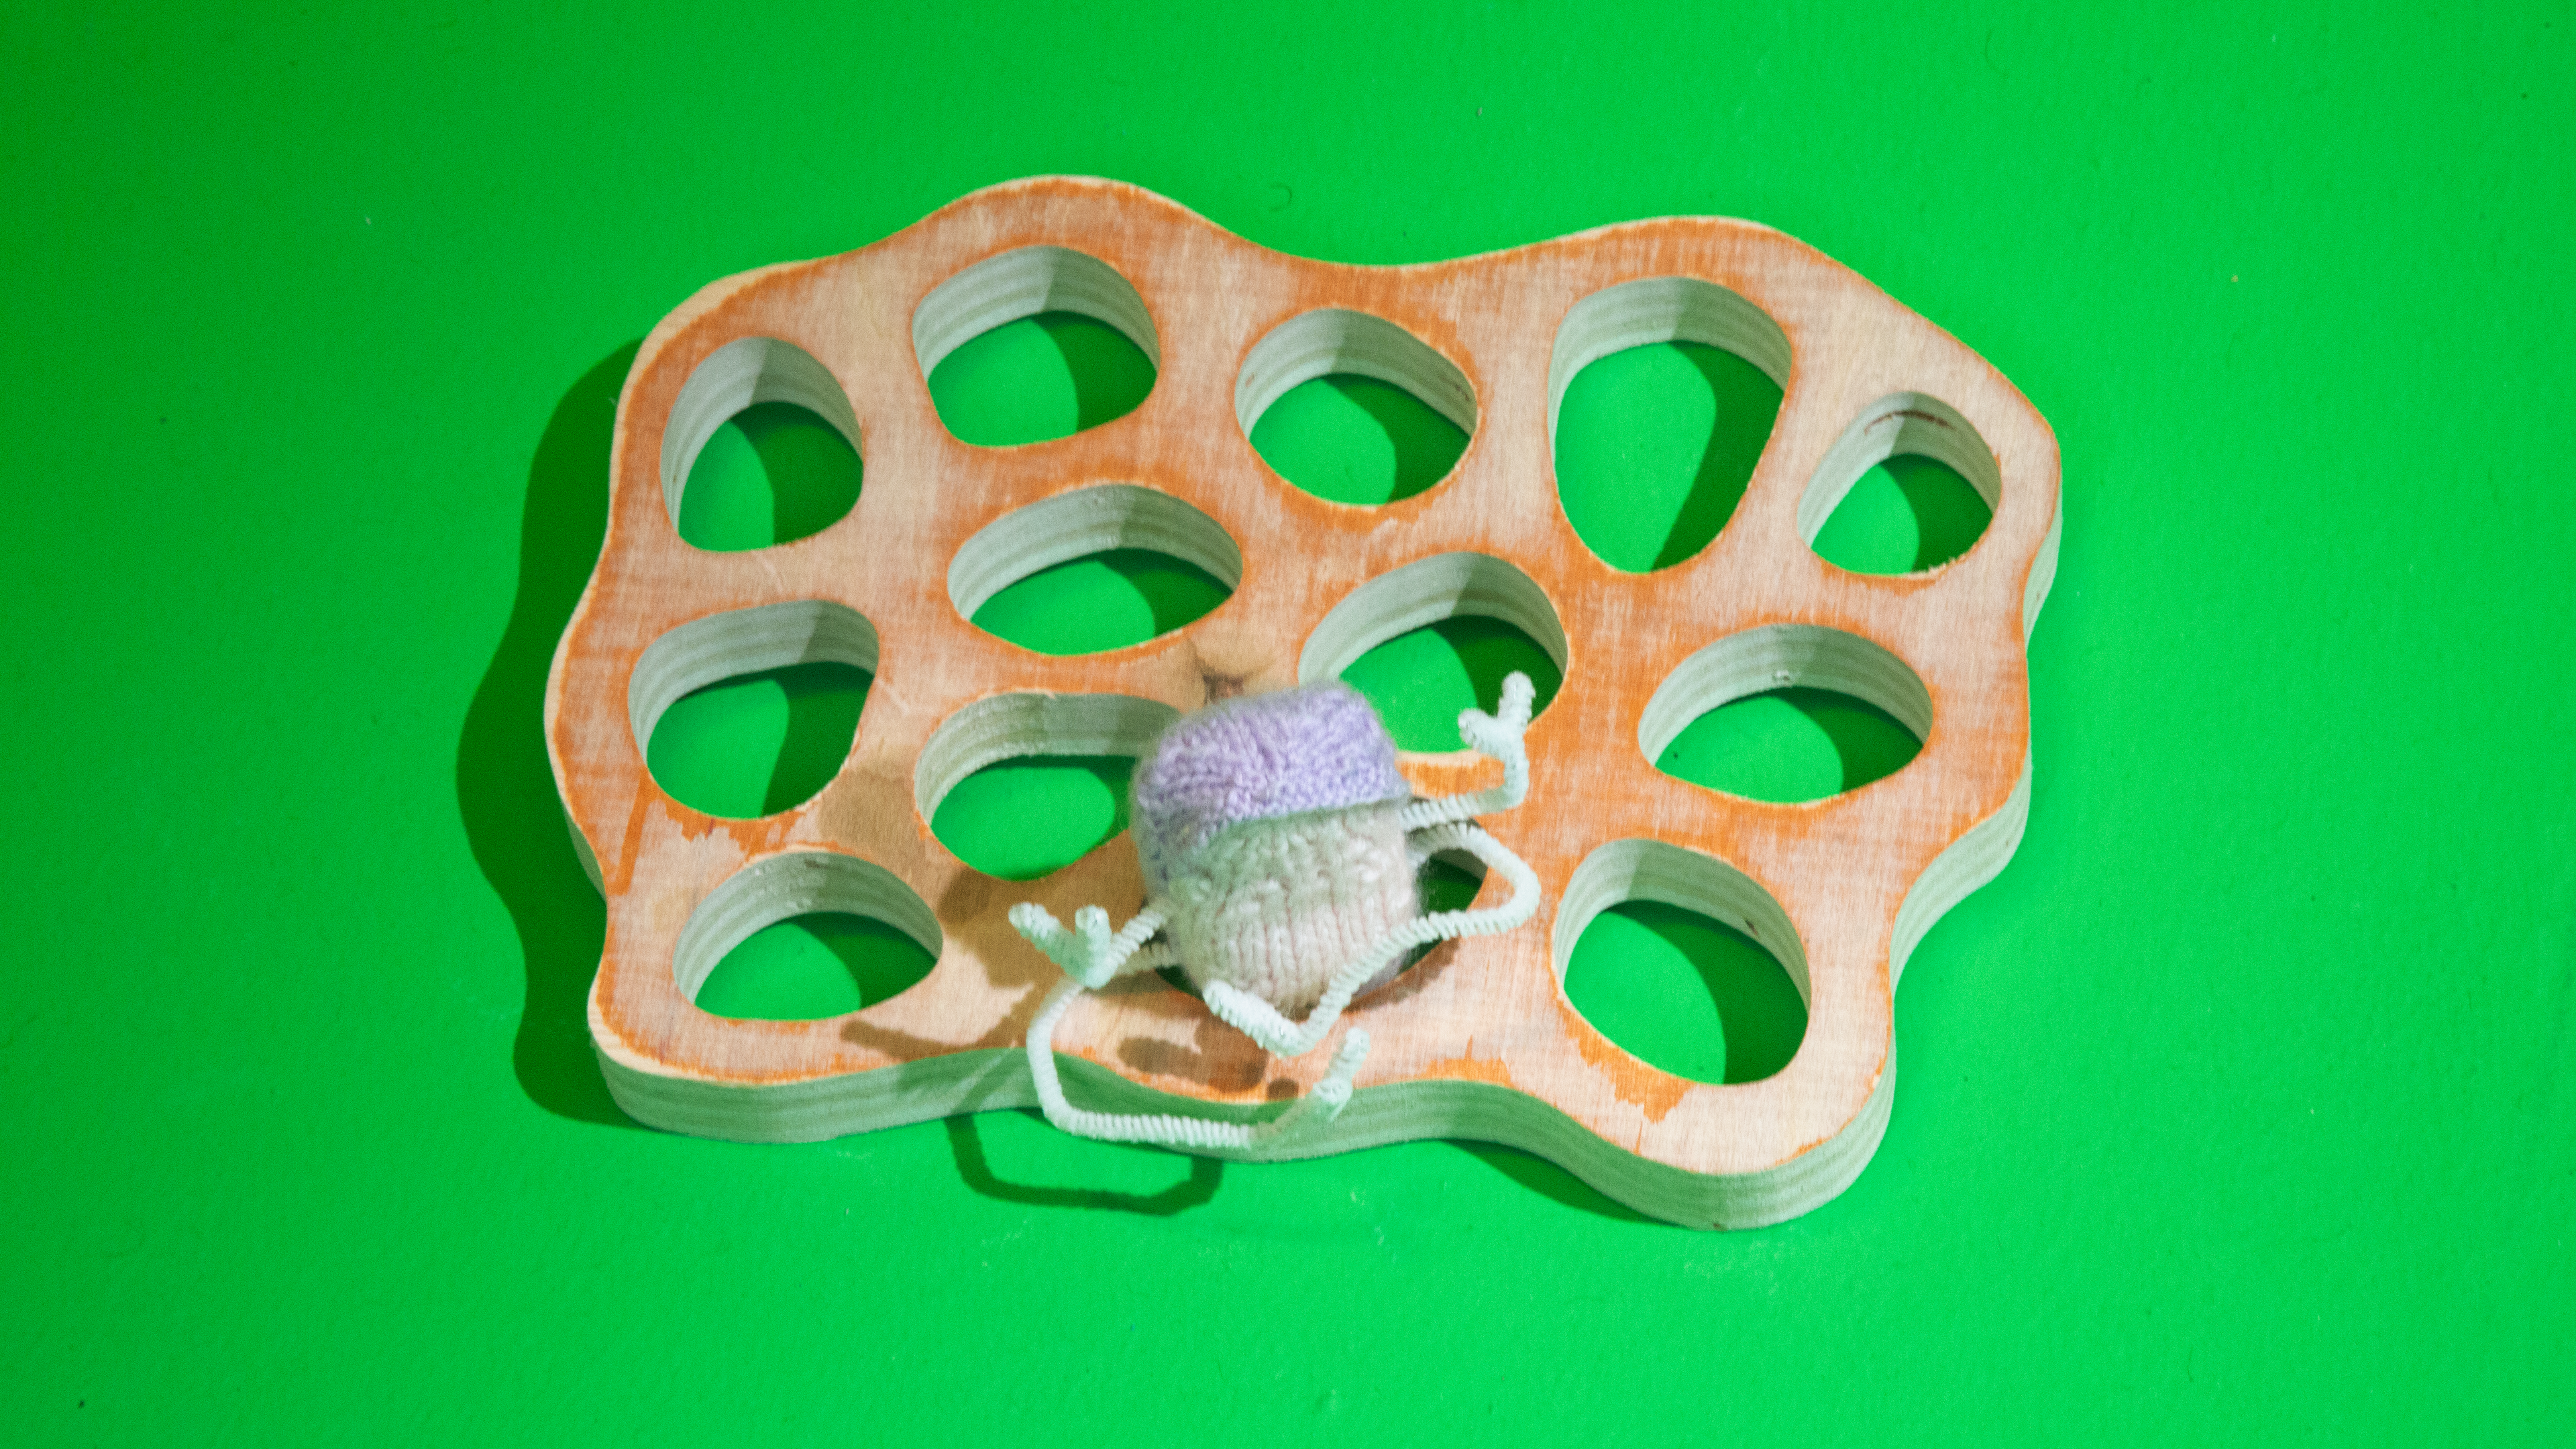
Stuffed Frog
acrylic yarn, cotton, pipe cleaners
Week 5 - Fastener


For the fastener assignment I decided to knit something because knitting is all fastening. I made a frog stuffed toy because I’ve only ever knitted clothes and wanted to try something I knew would be difficult.


I knitted the frog with two different skeins of yarn, purple for the top skin and pink for the underbelly. I had to frog the frog (lol) and start over early on because I was having a hard time keeping track of the short rows and W + tp. I experimented with different eyes like googly eyes and metal ones, but they all looked a bit creepy so I decided to just go without eyes for now. As I sewed up the sides I stuffed the frog with cotton. Once the frog was stuffed I picked up stitches around the mouth to make an upper lip.


I then added some pipe cleaners for posable legs. I’ll probably add buttons for eyes once I acquire them.
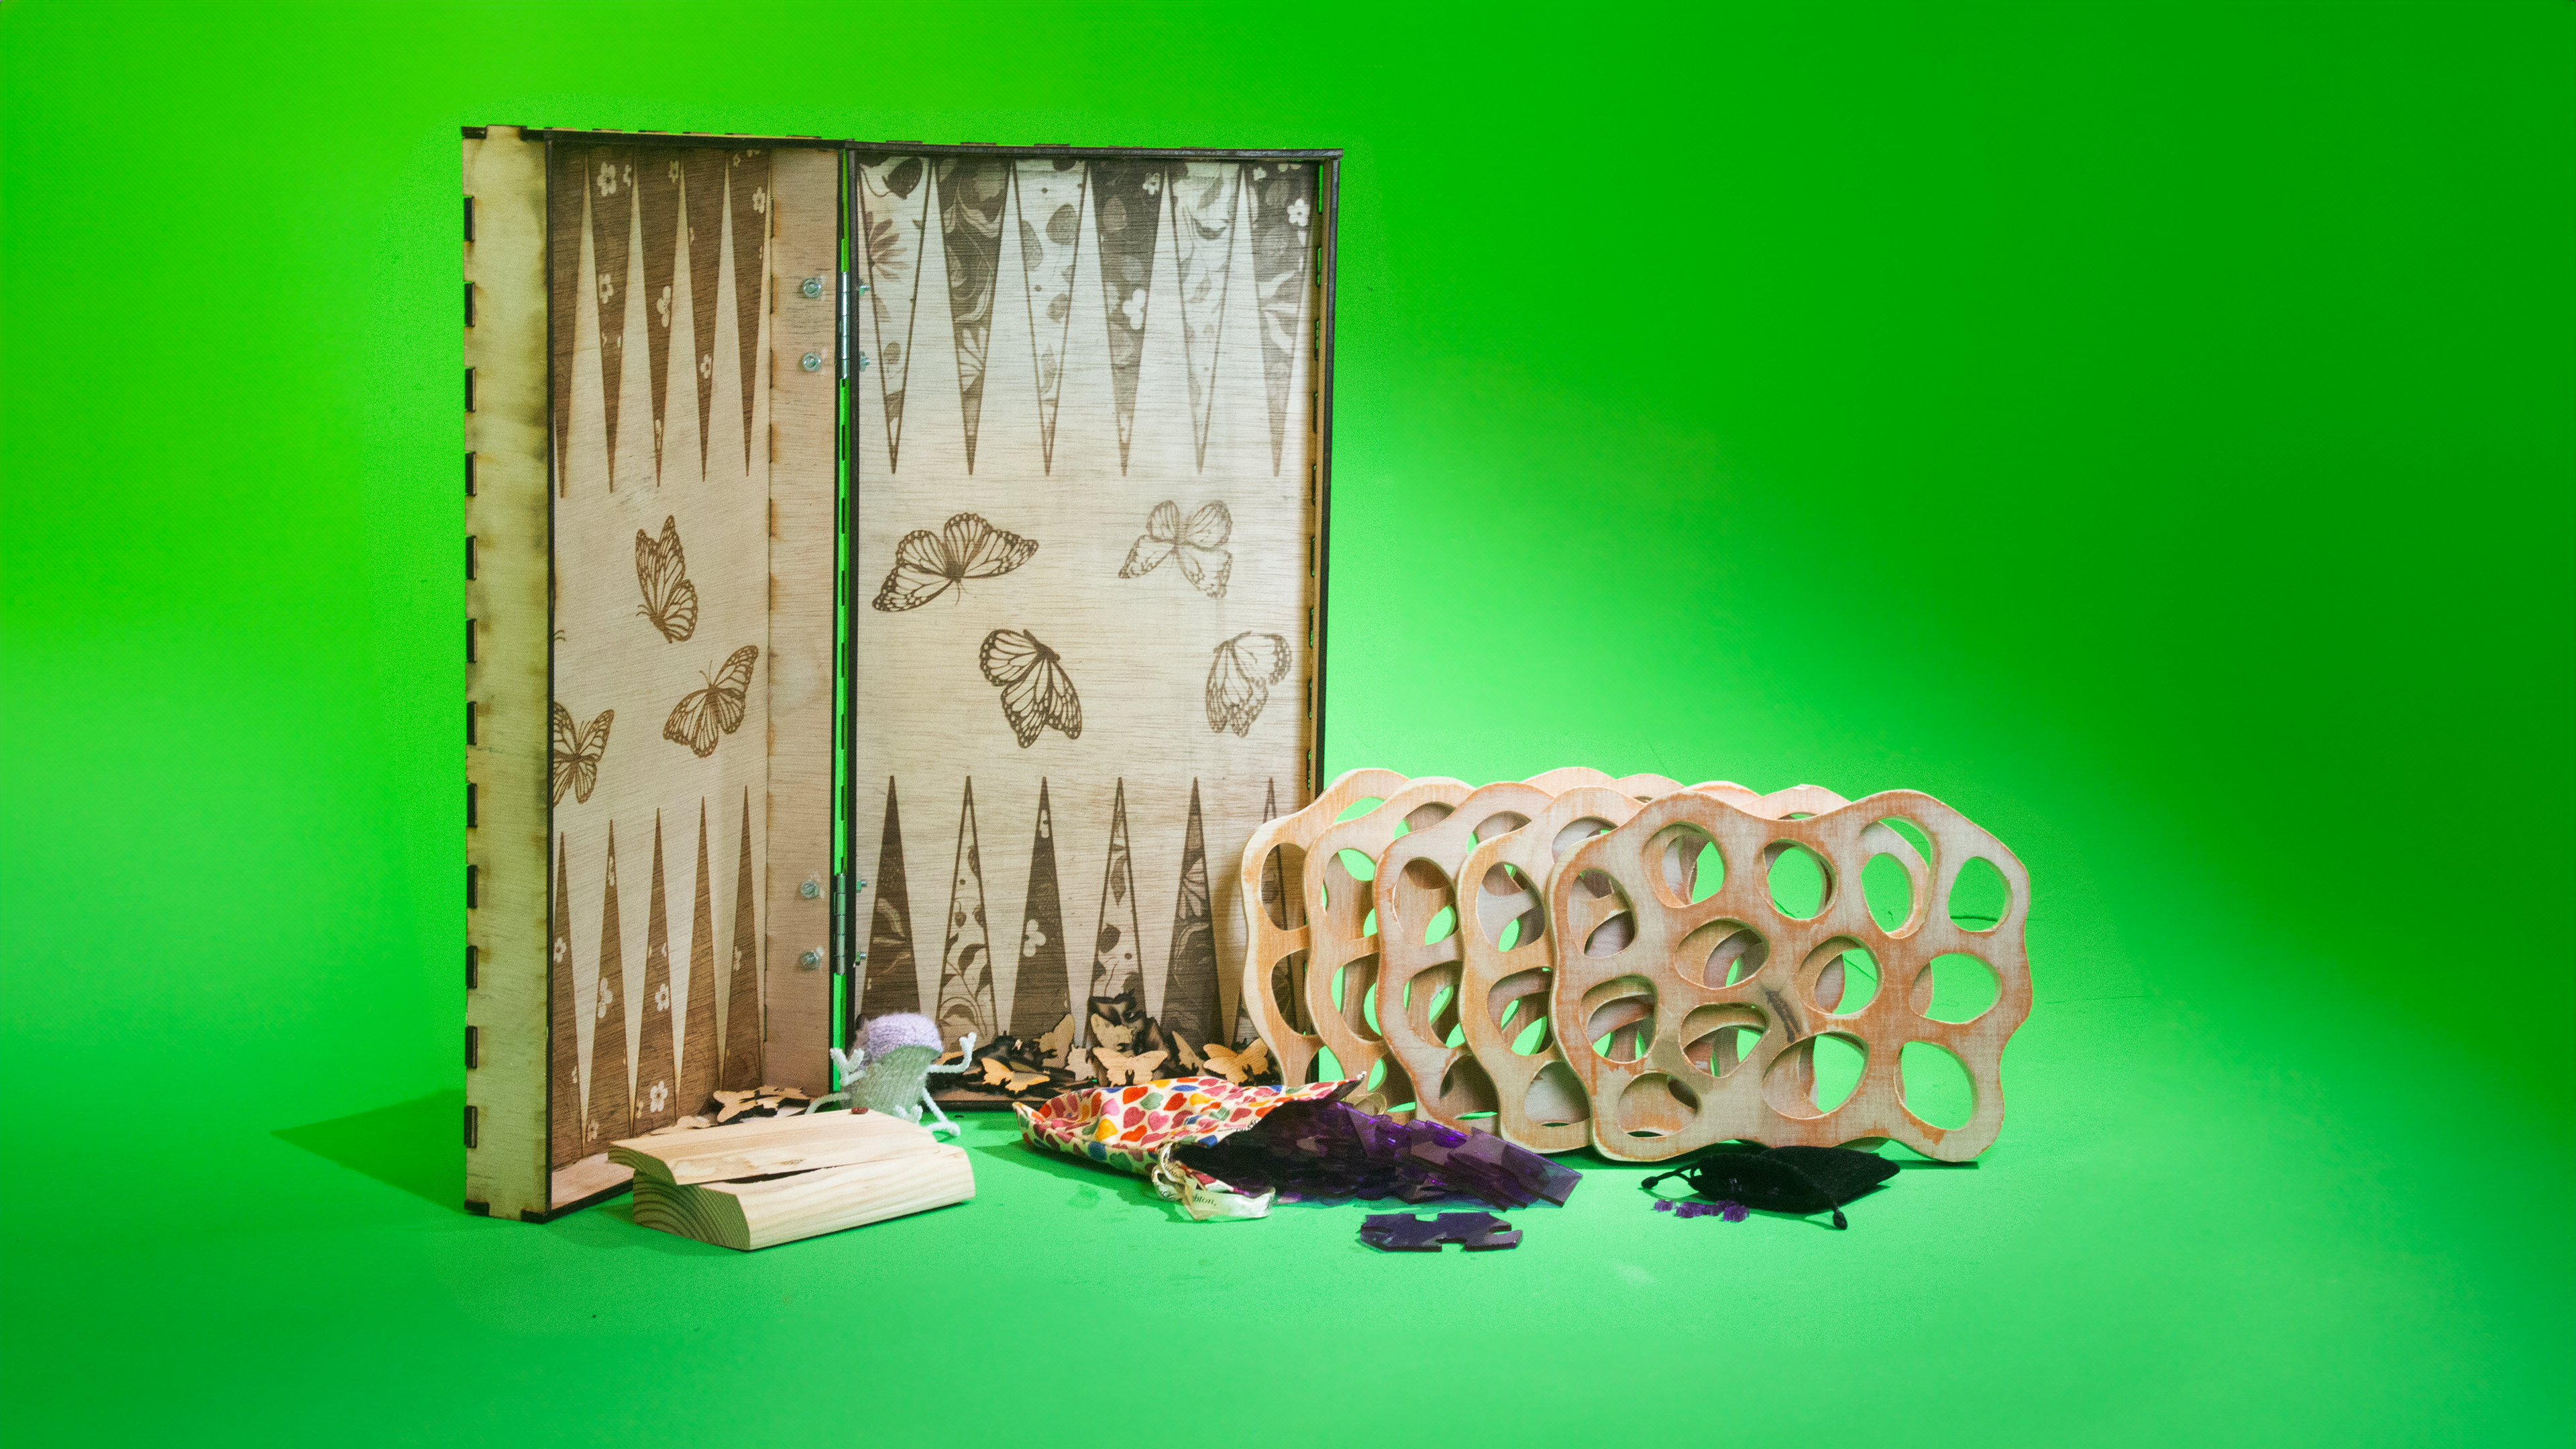
Week 4 - Enclosure
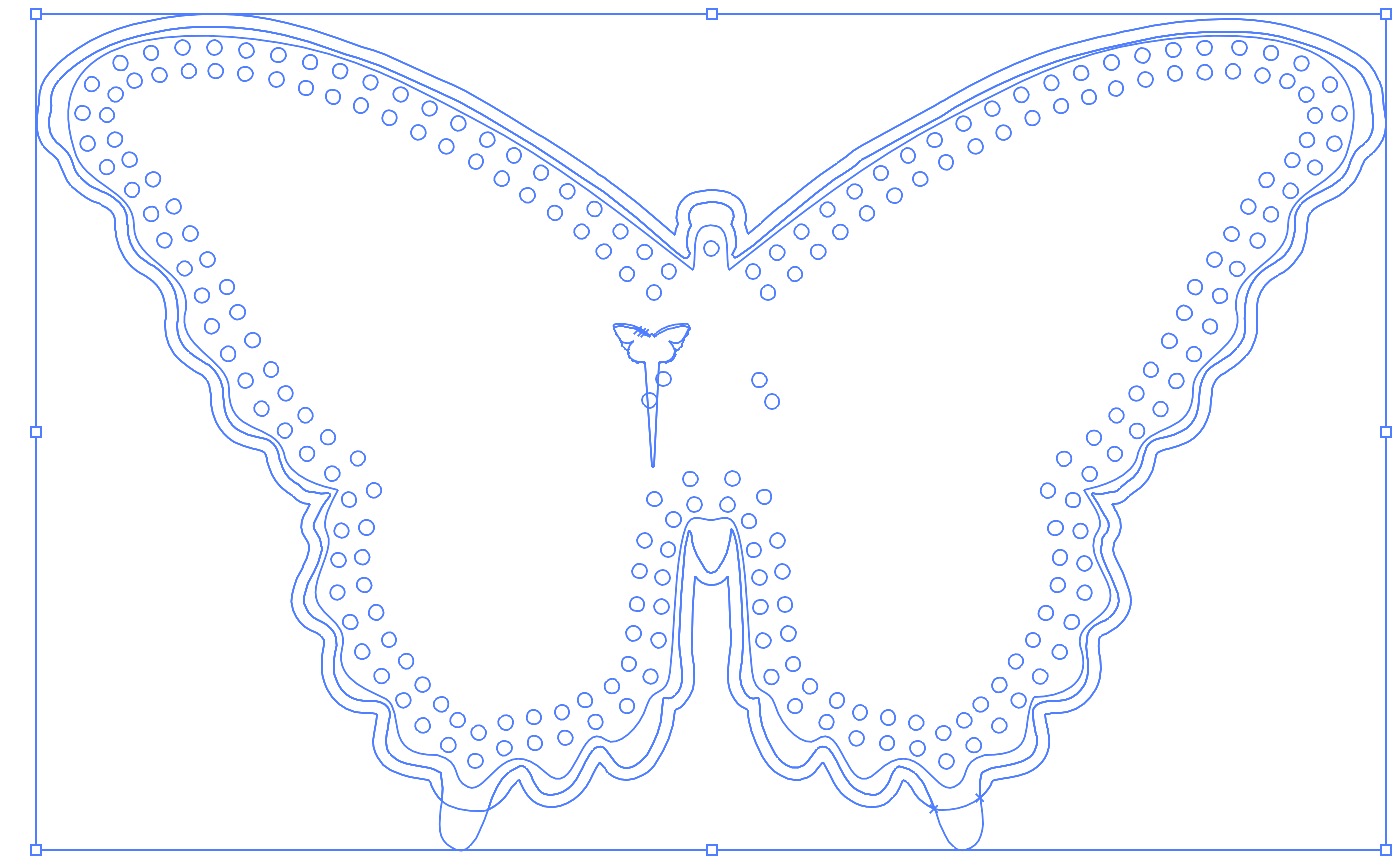
This week I again played around with the idea of making a cribbage board, and using Adobe Stock I designed a board shaped like a butterfly that would be engraved with a design on both the board and the pegs. I made the top layer with the holes is a lid, and made it so that the bottom part of the butterfly wing would stick out so you could remove the lid and store the pegs inside. I made different shape cutouts to glue together.

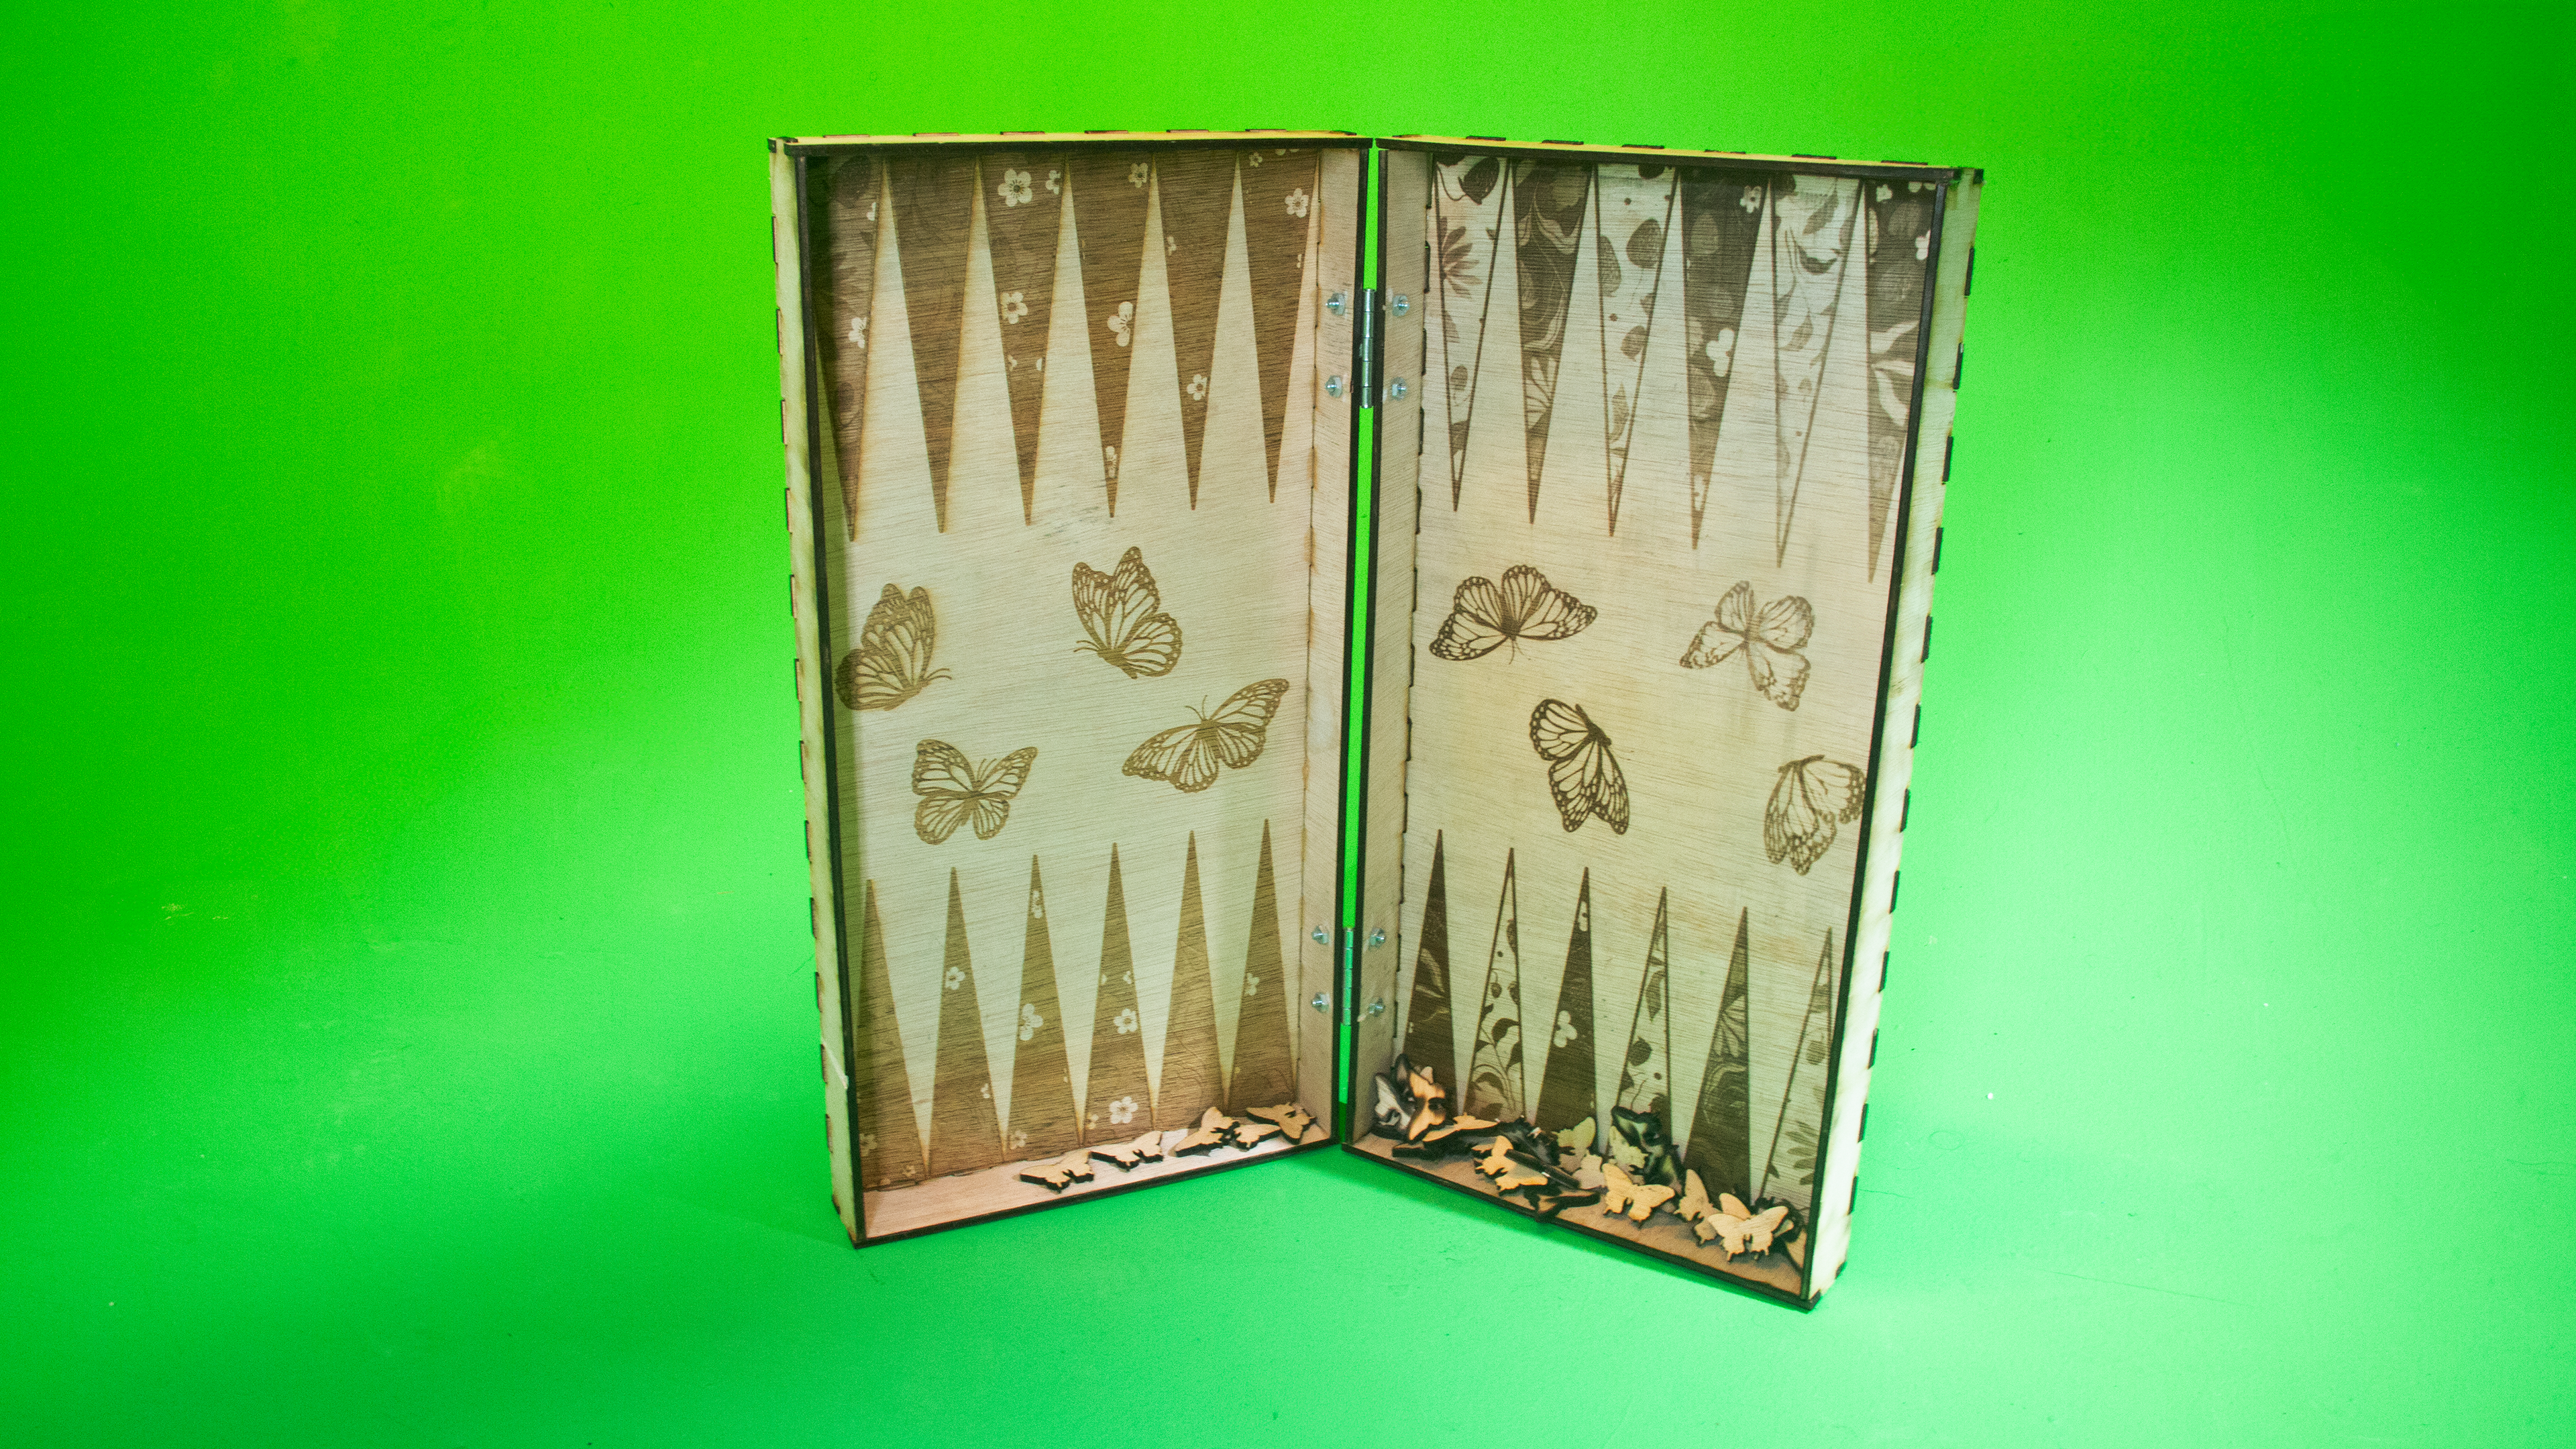
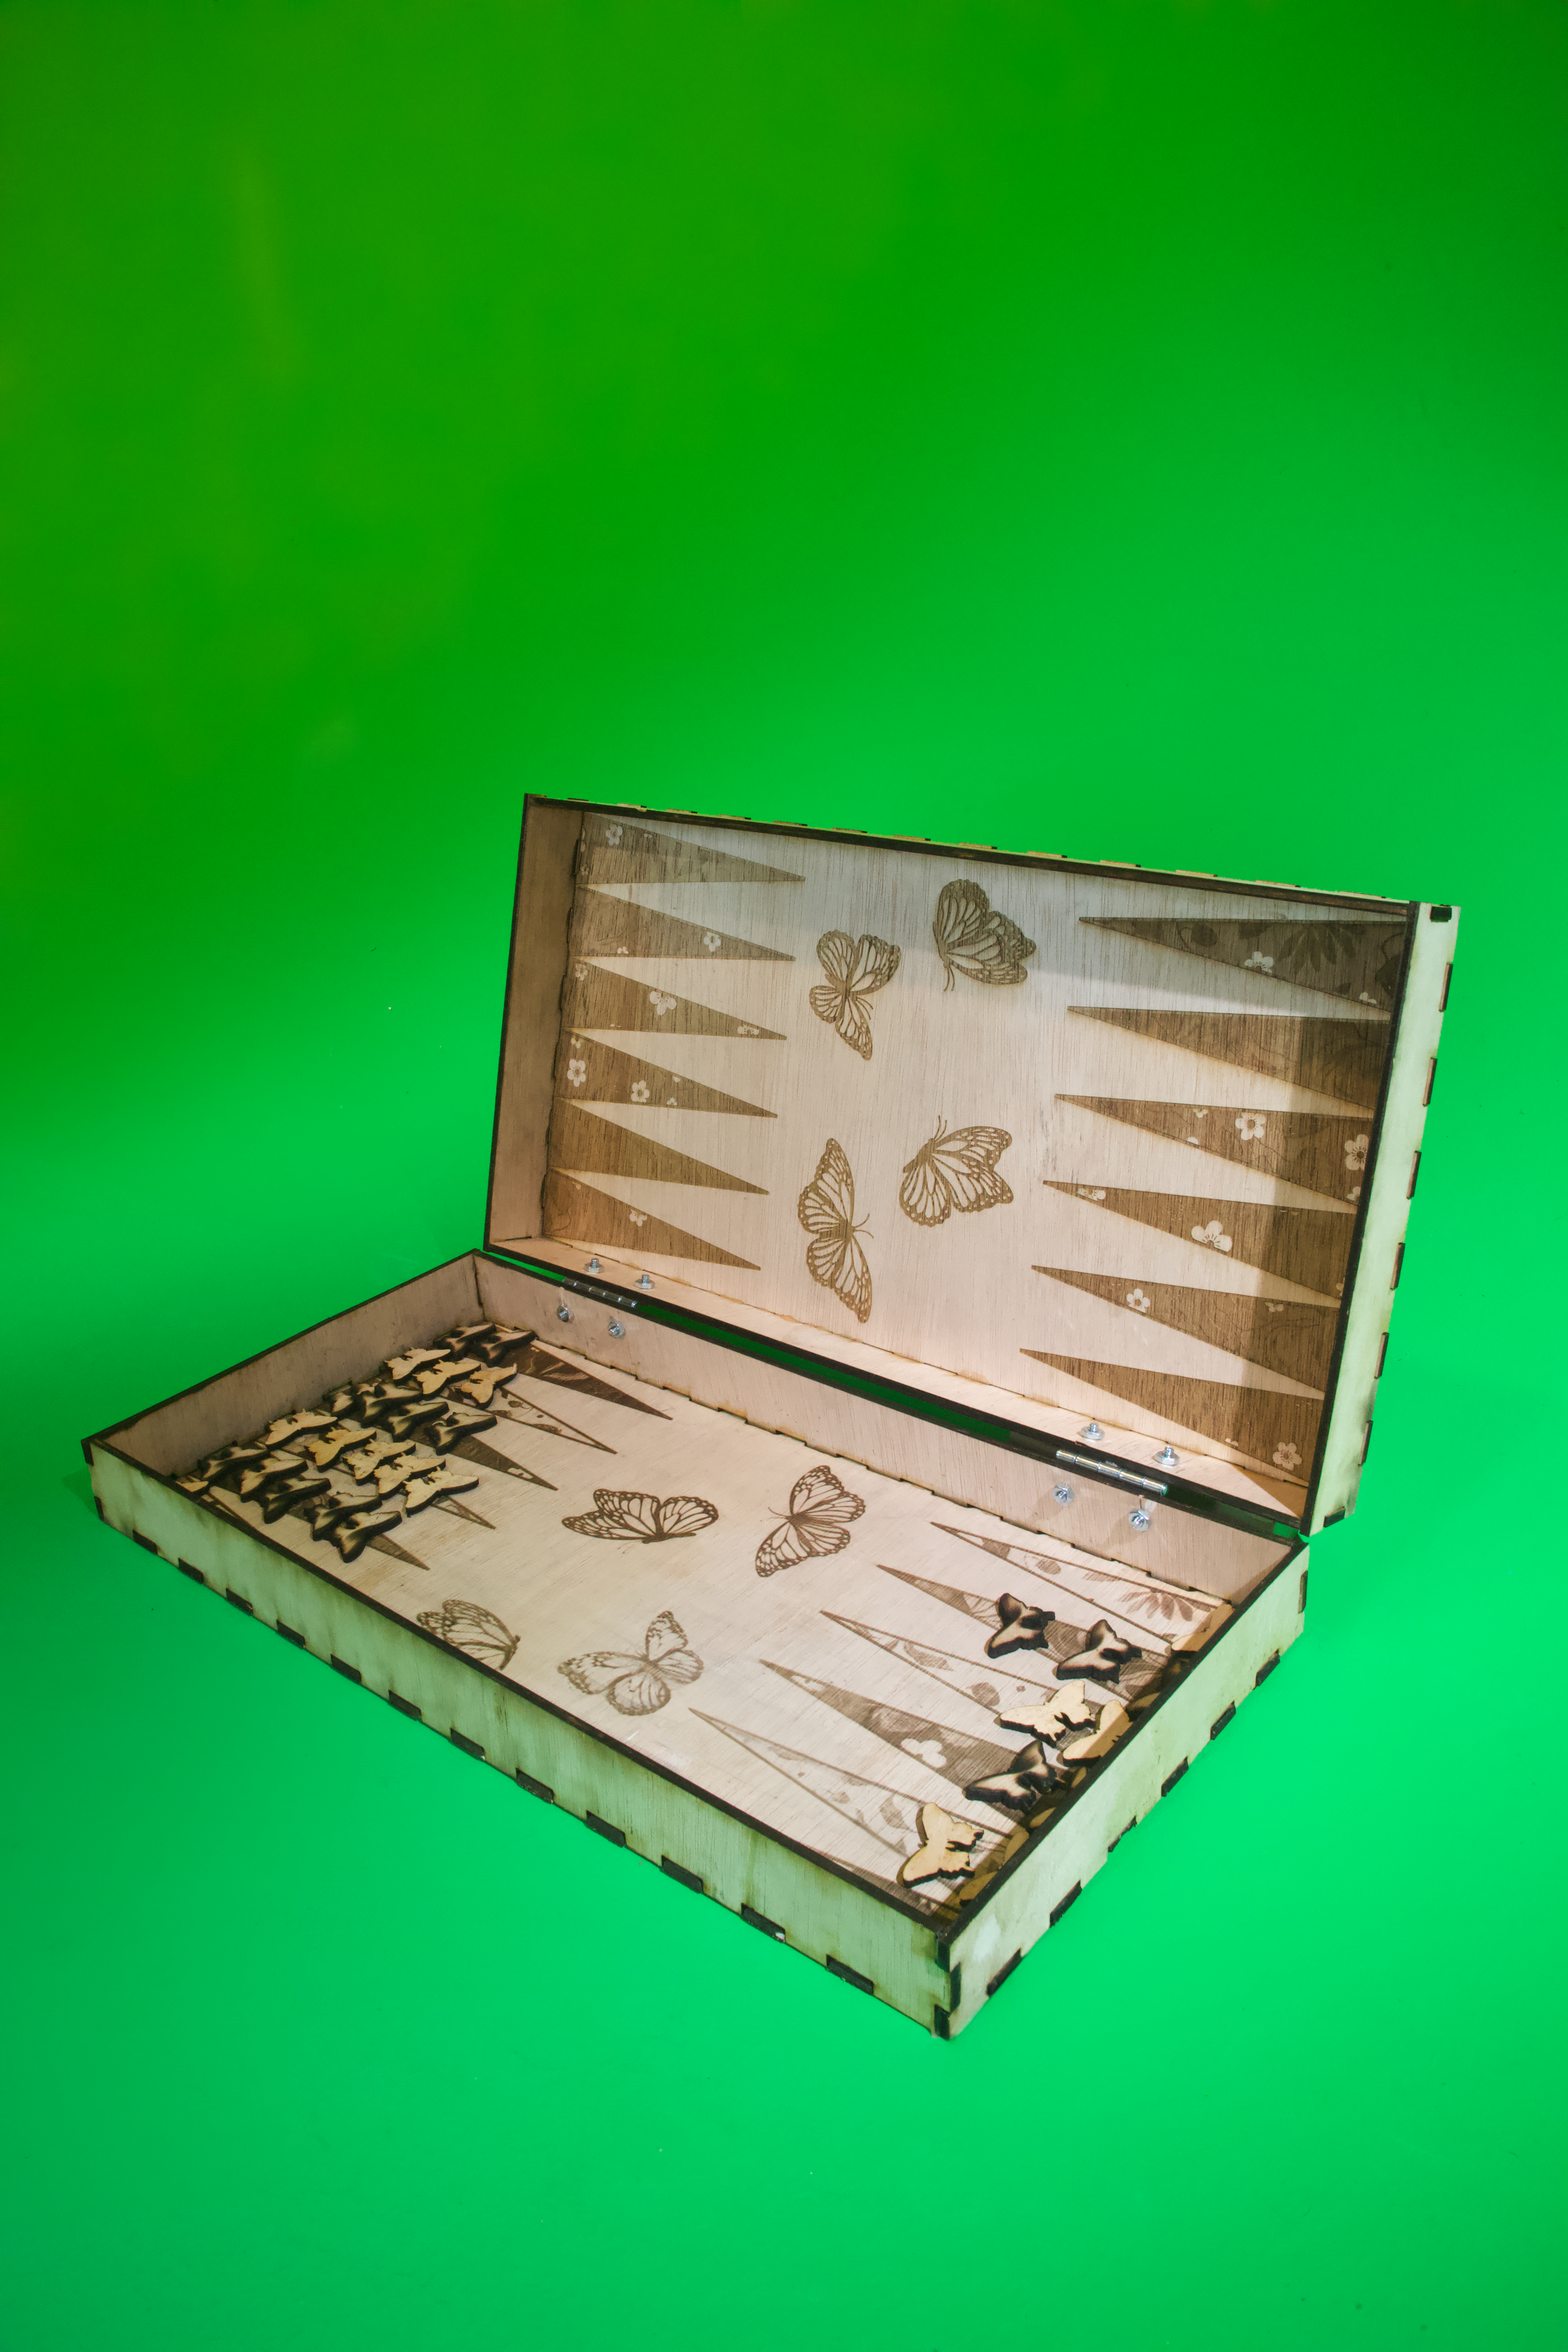
I once again decided against a cribbage board though because I probably would need to use wood, and I figured the holes would burn a lot with plywood. I could drill the holes which is typically done for cribbage boards, but I wanted to try using the laser again for this assignment. I decided to do a backgammon board and kept the butterfly theme.
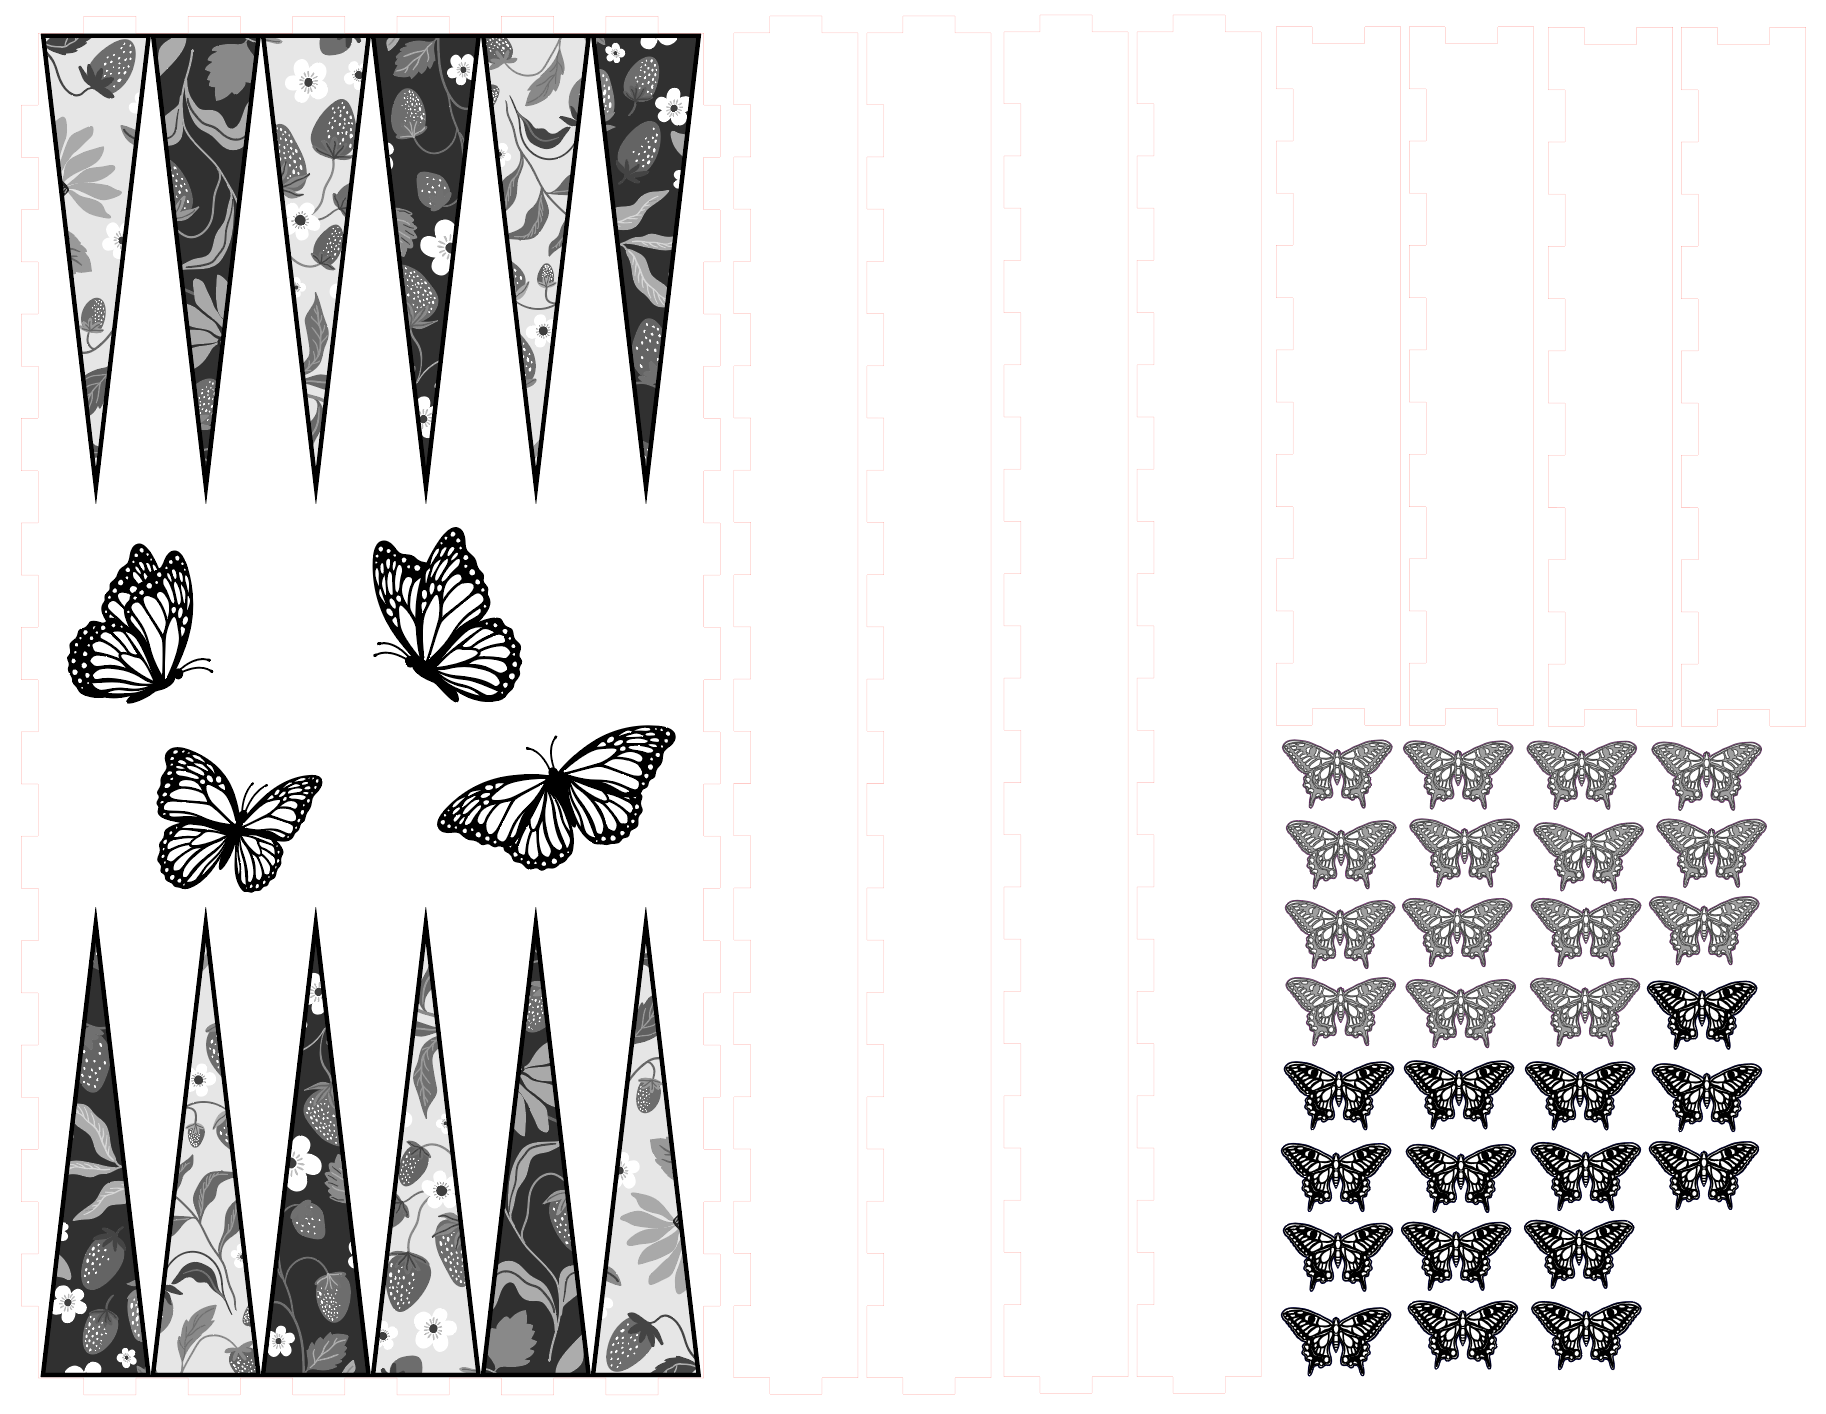
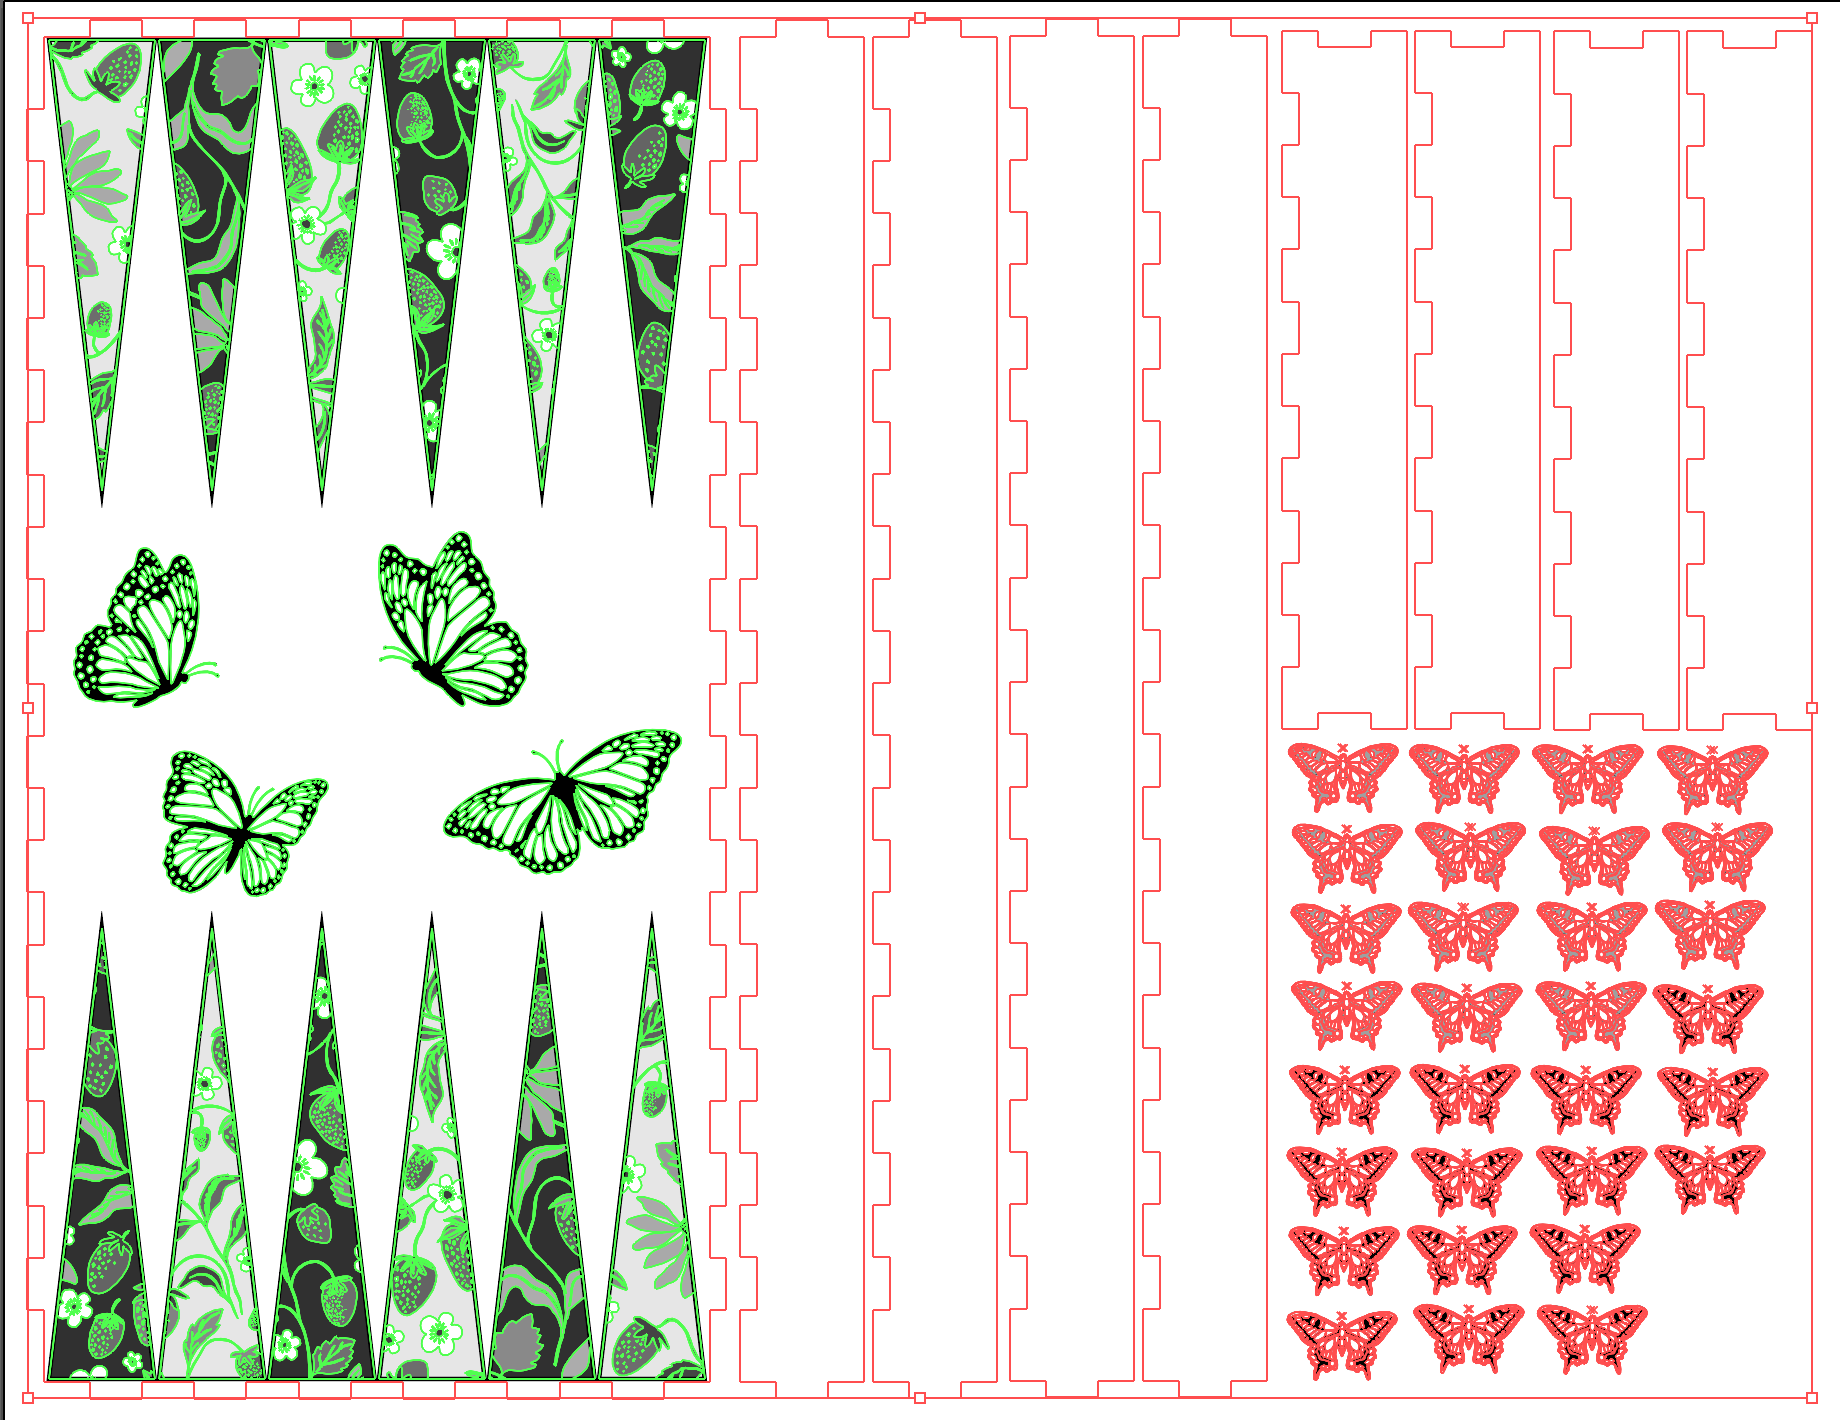
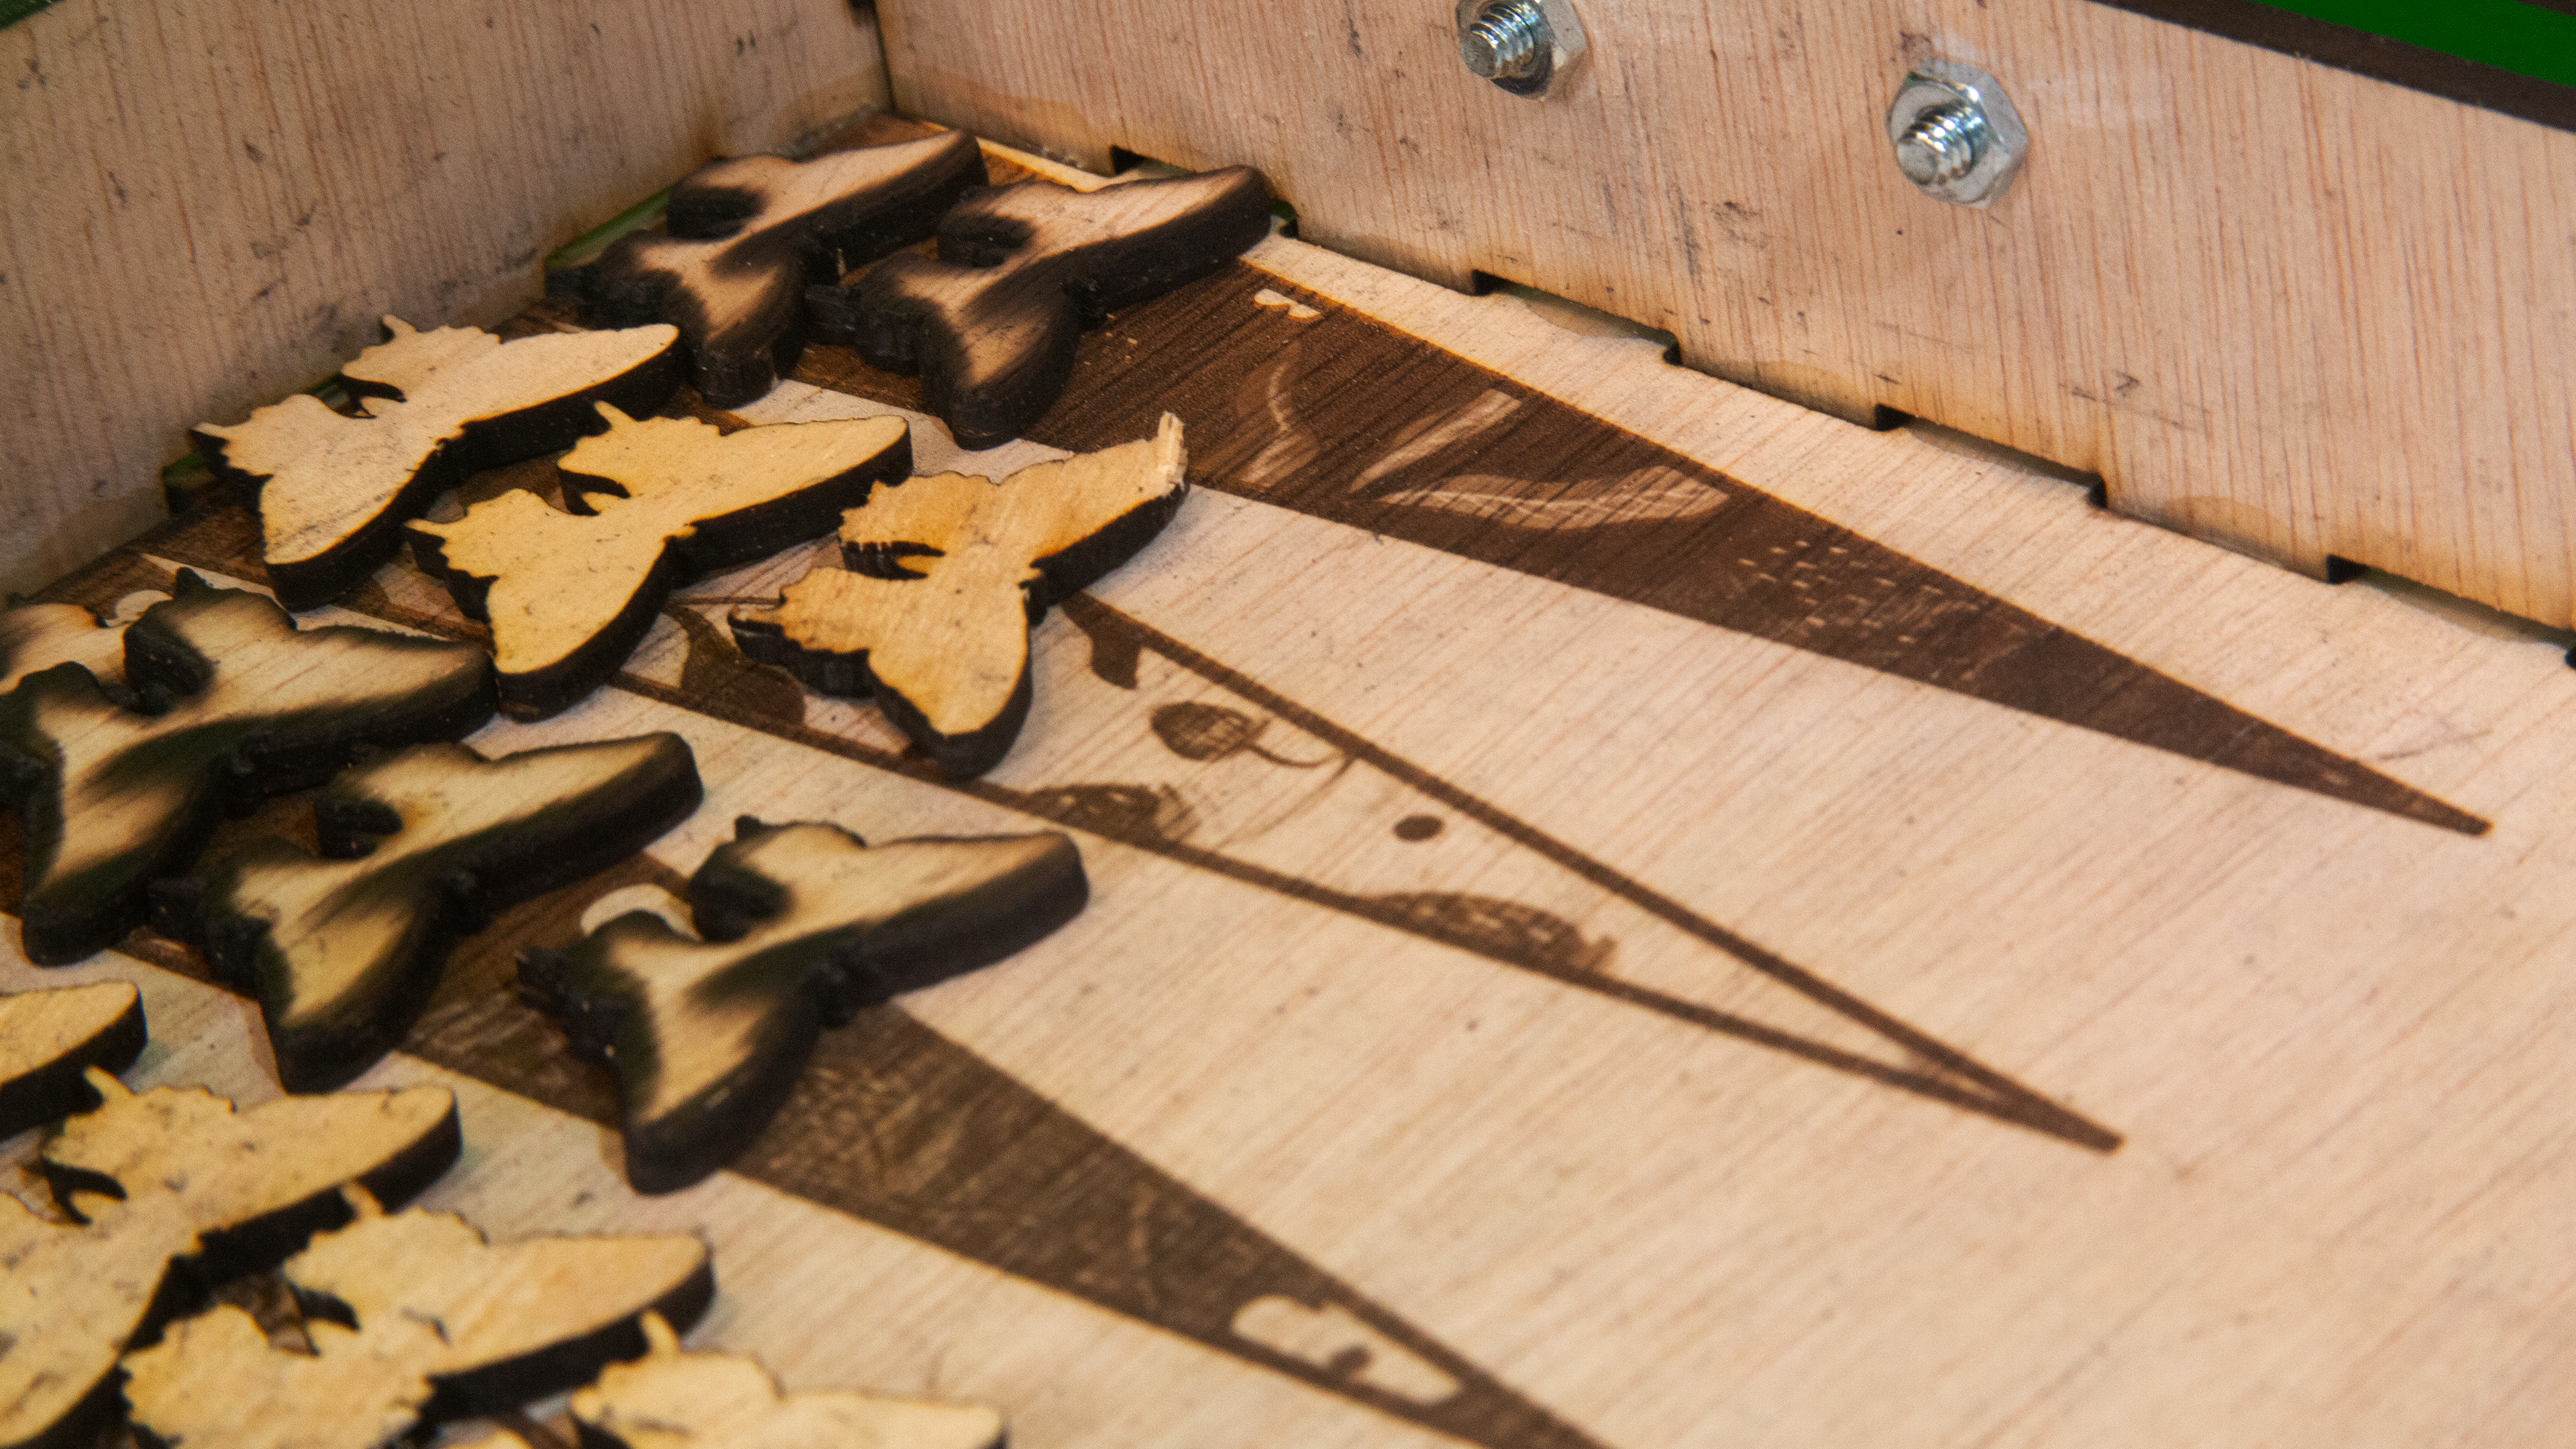
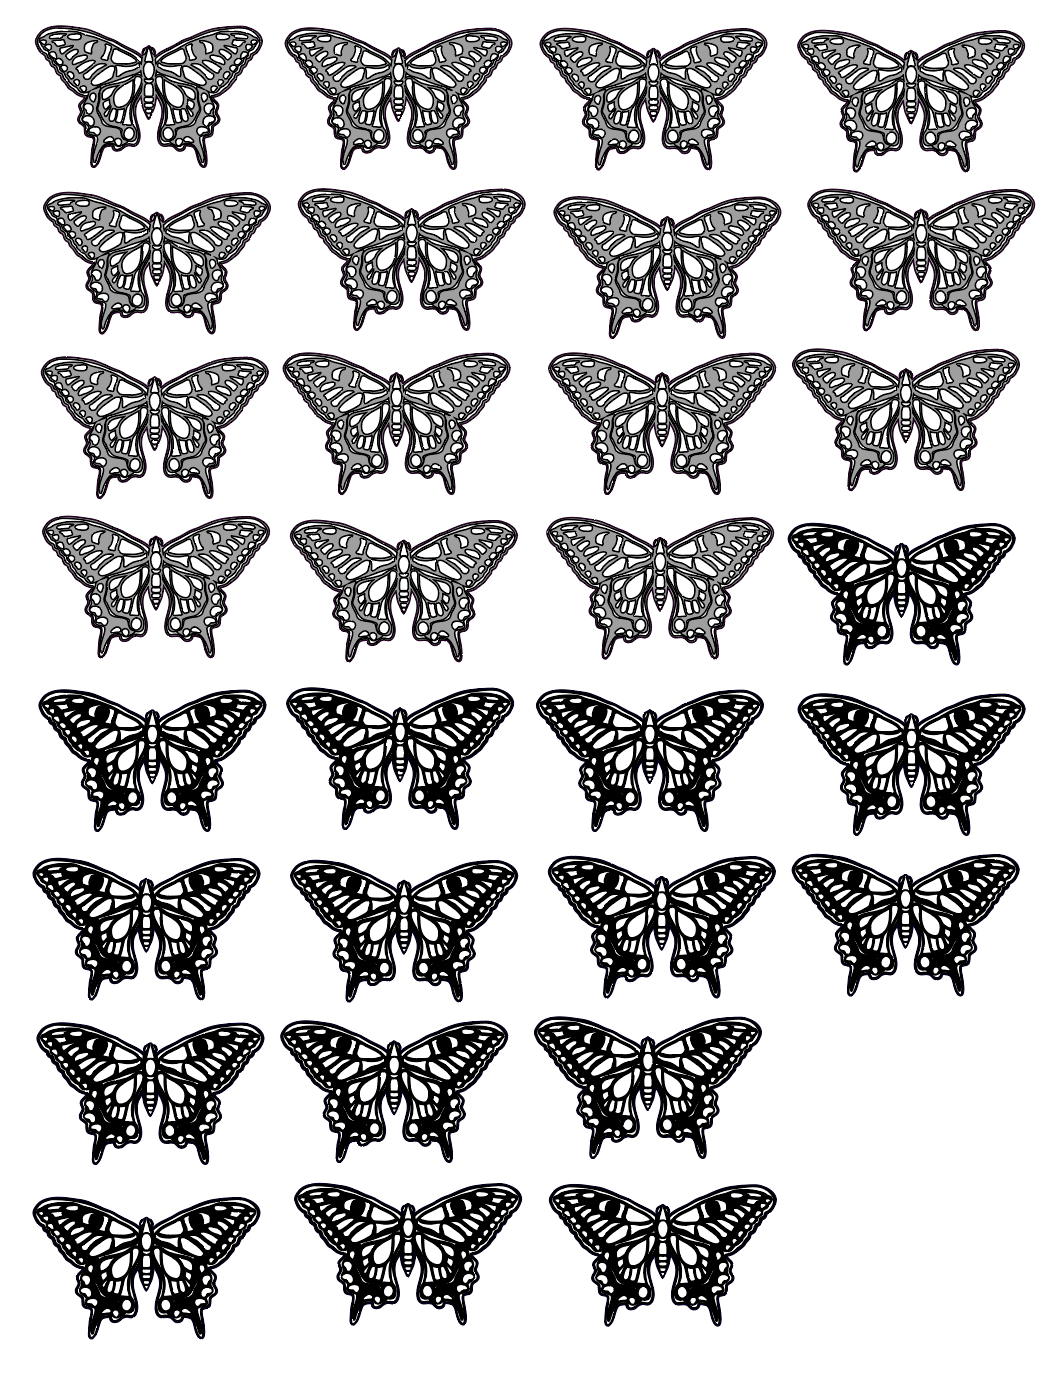
I made this design with Adobe Stock as well and made the backgammon pieces butterfly shaped, and I used MakerCase to generate the jigsaw box cutouts for the laser cutter. I also made a design for the exterior of the box, but I ended up not doing that due to how busy the lasers ended up being.
I got the materials I needed from Home Depot on my lunch break (Is there a plywood shortage? So many local hardware stores do not have any in stock). I got sheets of 4ft x 2ft x 1/8in plywood and smaller sheet of 3/8in plywood, as well as wood glue, hinges, and some nuts and bolts. The plywood was warped so I tried to flatten the sheets by laying down some heavy bags of extension cables on the plywood at work overnight.

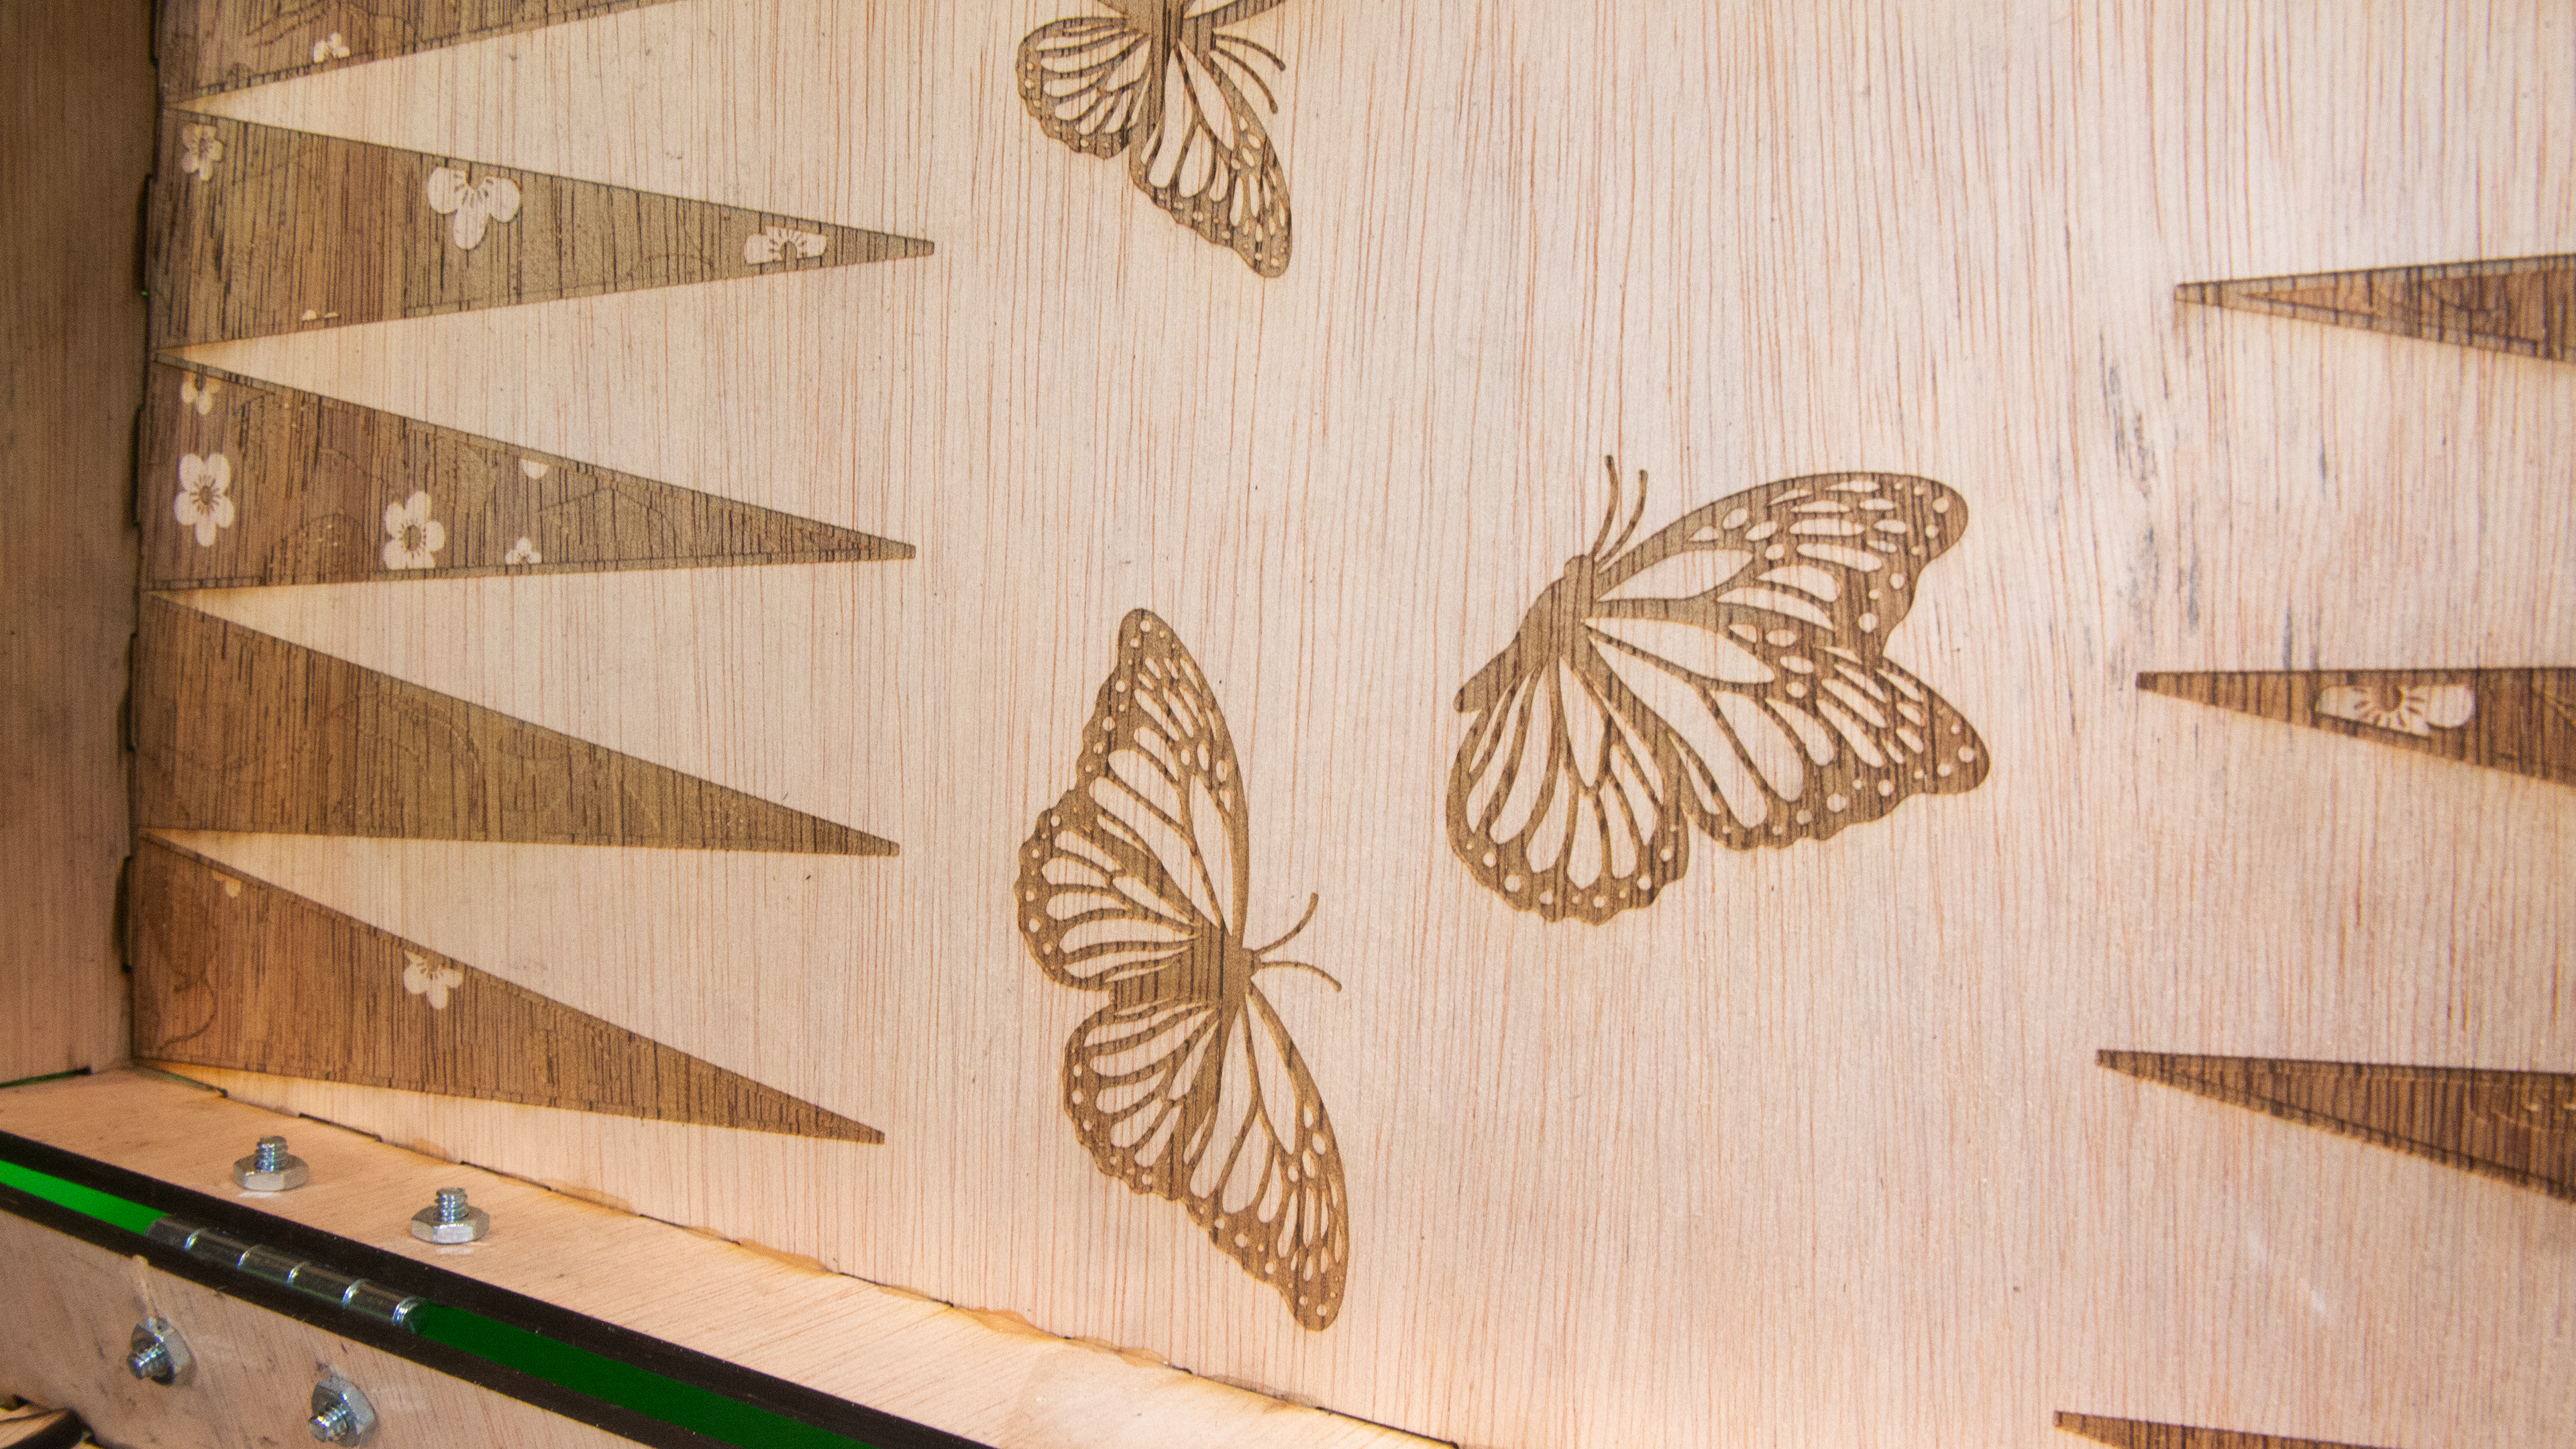
The ITP shop was really busy, especially the laser cutters, so I cut my pieces over a few days. I immediately noticed that the laser cutter did not engrave the lighter parts correctly and seemed to engrave everything uniform. Some parts of the plywood also burned more, such as the shorter end pieces.


The other half of the board seemed to engrave more correctly for some reason, even though the settings were the same, but the sheet of plywood was more warped and the laser scraping it a lot, so the pieces were more burned and cut incorrectly. I had to break them off the sheet in the middle. I didn't end up engraving the butterfly pieces because the laser cutters were so busy, and I knew they would probably burn a lot anyway.


I started assembling the box together with wood glue, which was difficult since the top of each side of the box was open and the plywood was warped, so I had a lot of issues getting the wood to dry before it would lift, especially in the corners. The plywood was too thin to clamp and I was worried it would break.


I left the middle walls of the boxes for last so that I could attach the hinges first. I drilled the holes with the drill press and inserted the nuts and bolts. I realized too late that the hinge would not allow the boards to lay flat because I attached them so flush. I will probably replace the hinges with felt and epoxy.


I weighed the warped plywood down with a large clamp while the wood was drying and that helped a bit. I also clamped the table on the sides of the box and glued the edges more, then slide the box between the clamps and left it to dry overnight, which helped with the warped corners. The board has a lot of imperfections and if I were to do it again I would probably try to find a way to make the box out of acrylic instead.


Week 3 - Measurements and Lasers
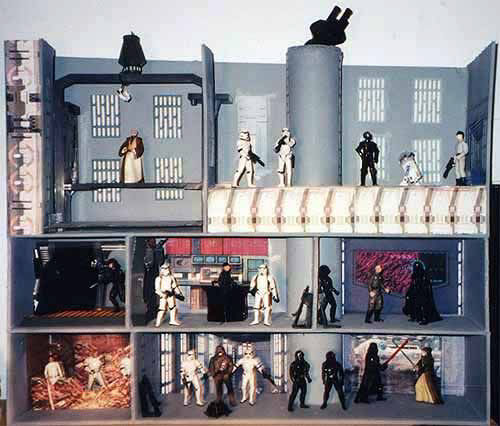
This week I thought of doing a diorama, because I like collecting toy figures but wish someone would make interior models of their environments to play with like a dollhouse. I have Star Wars toys I wish could hang together in their starships, but they only make models of ship exteriors.

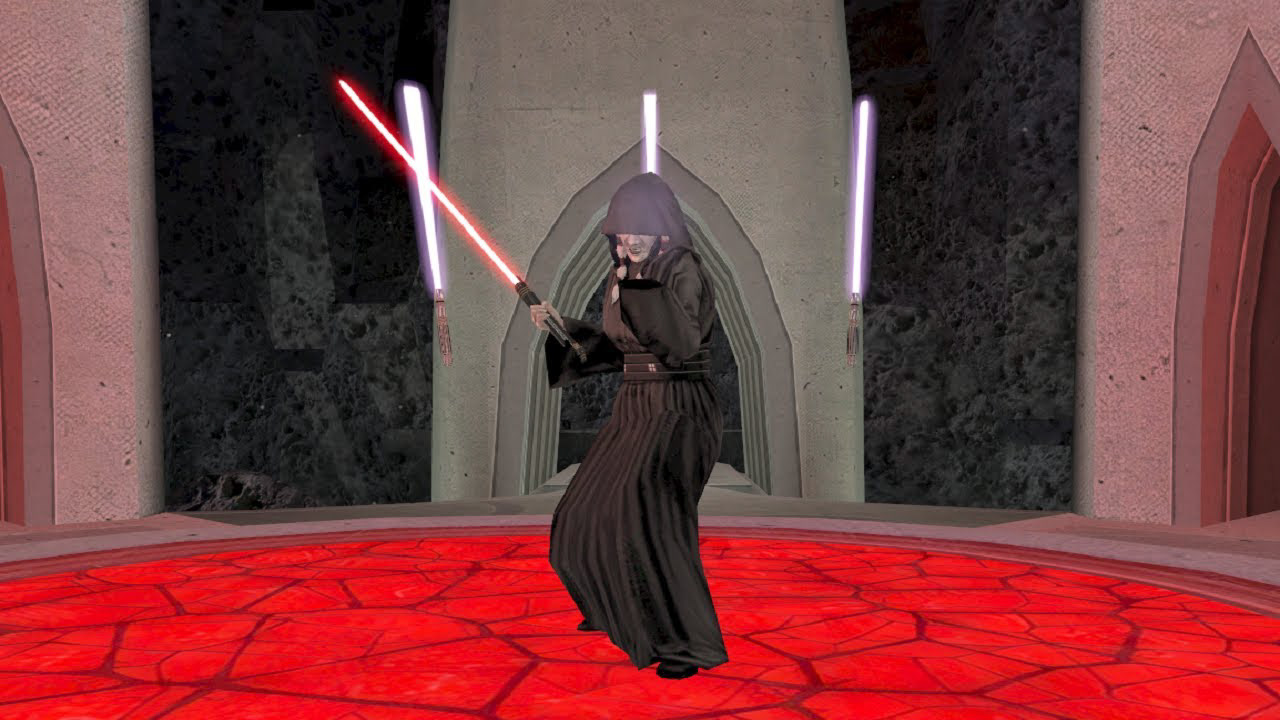
I really wanted to recreate the Trayus Core from the game Knights of the Old Republic 2, where the final battle on Malachor takes place. I really like this level design because the altar feels very hostile and the battle is against my favorite character, Kreia. The level having no ceiling is perfect for toys.
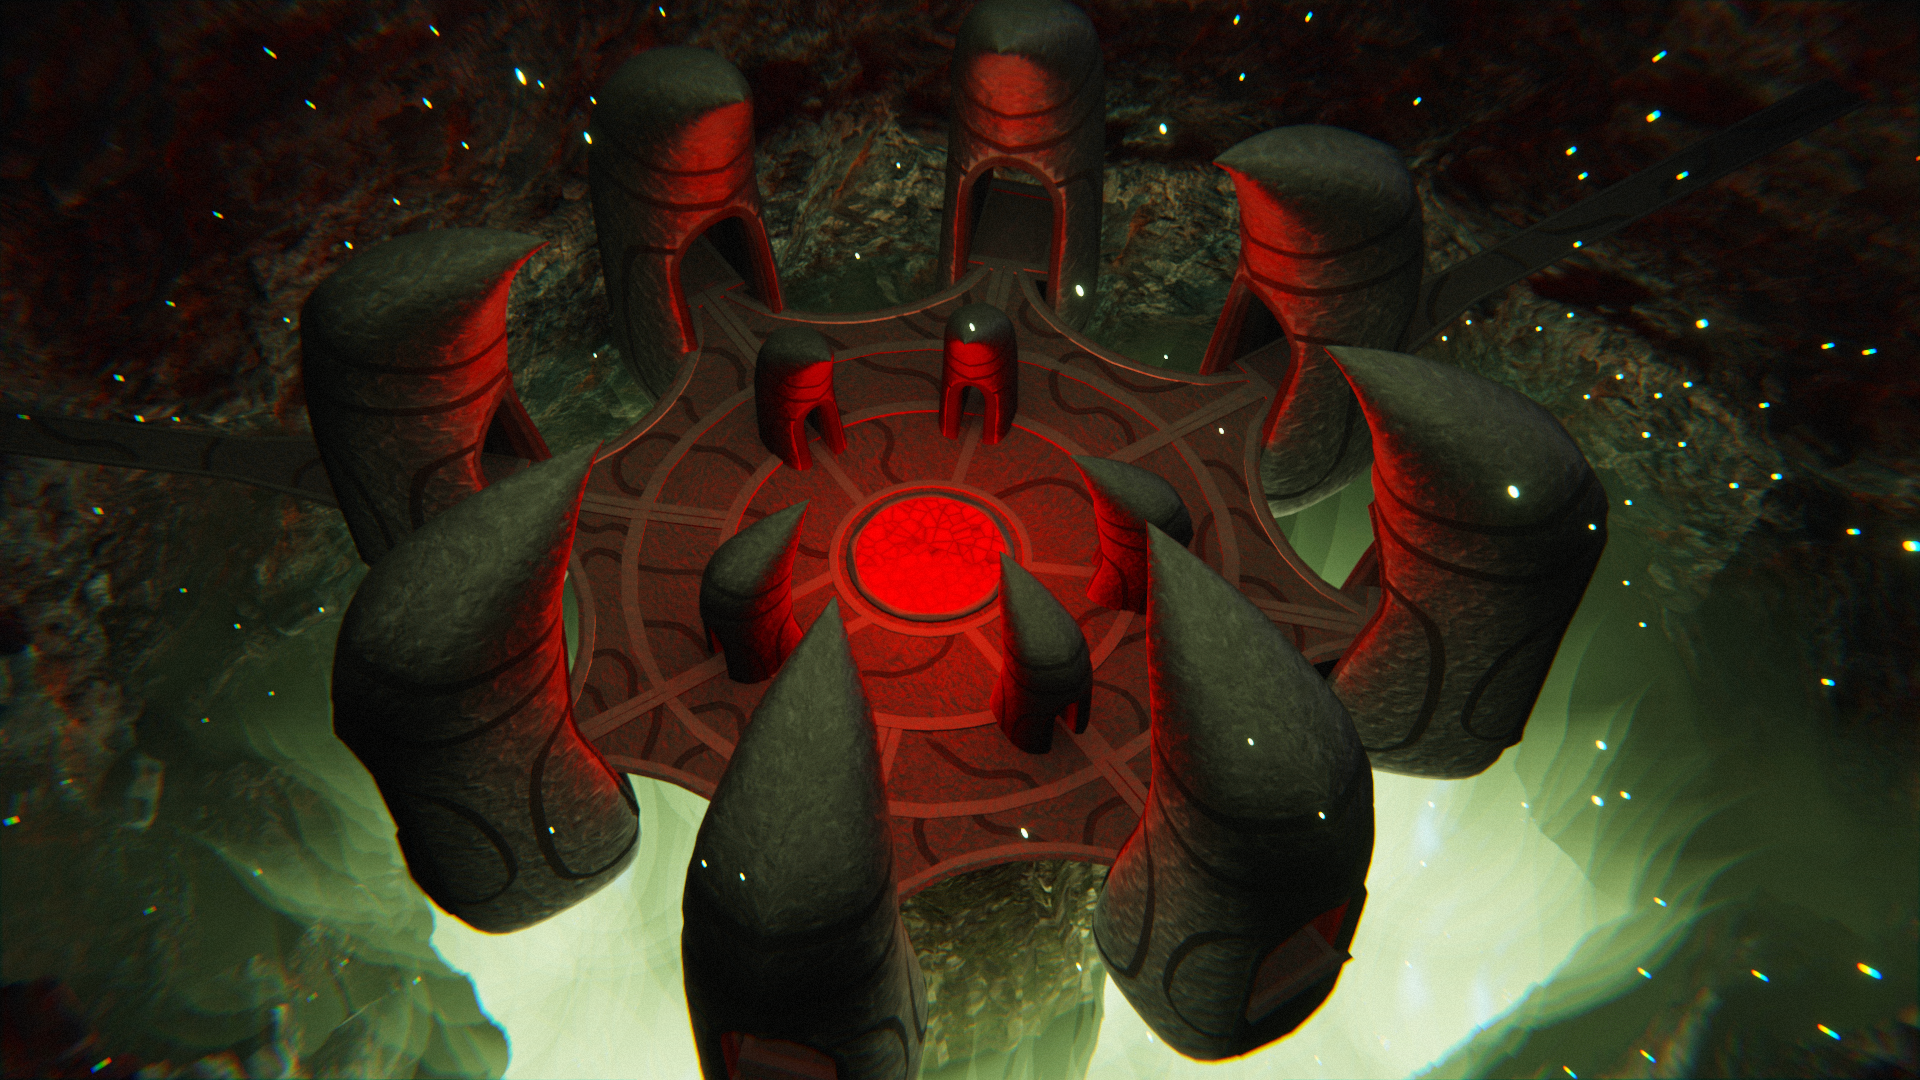
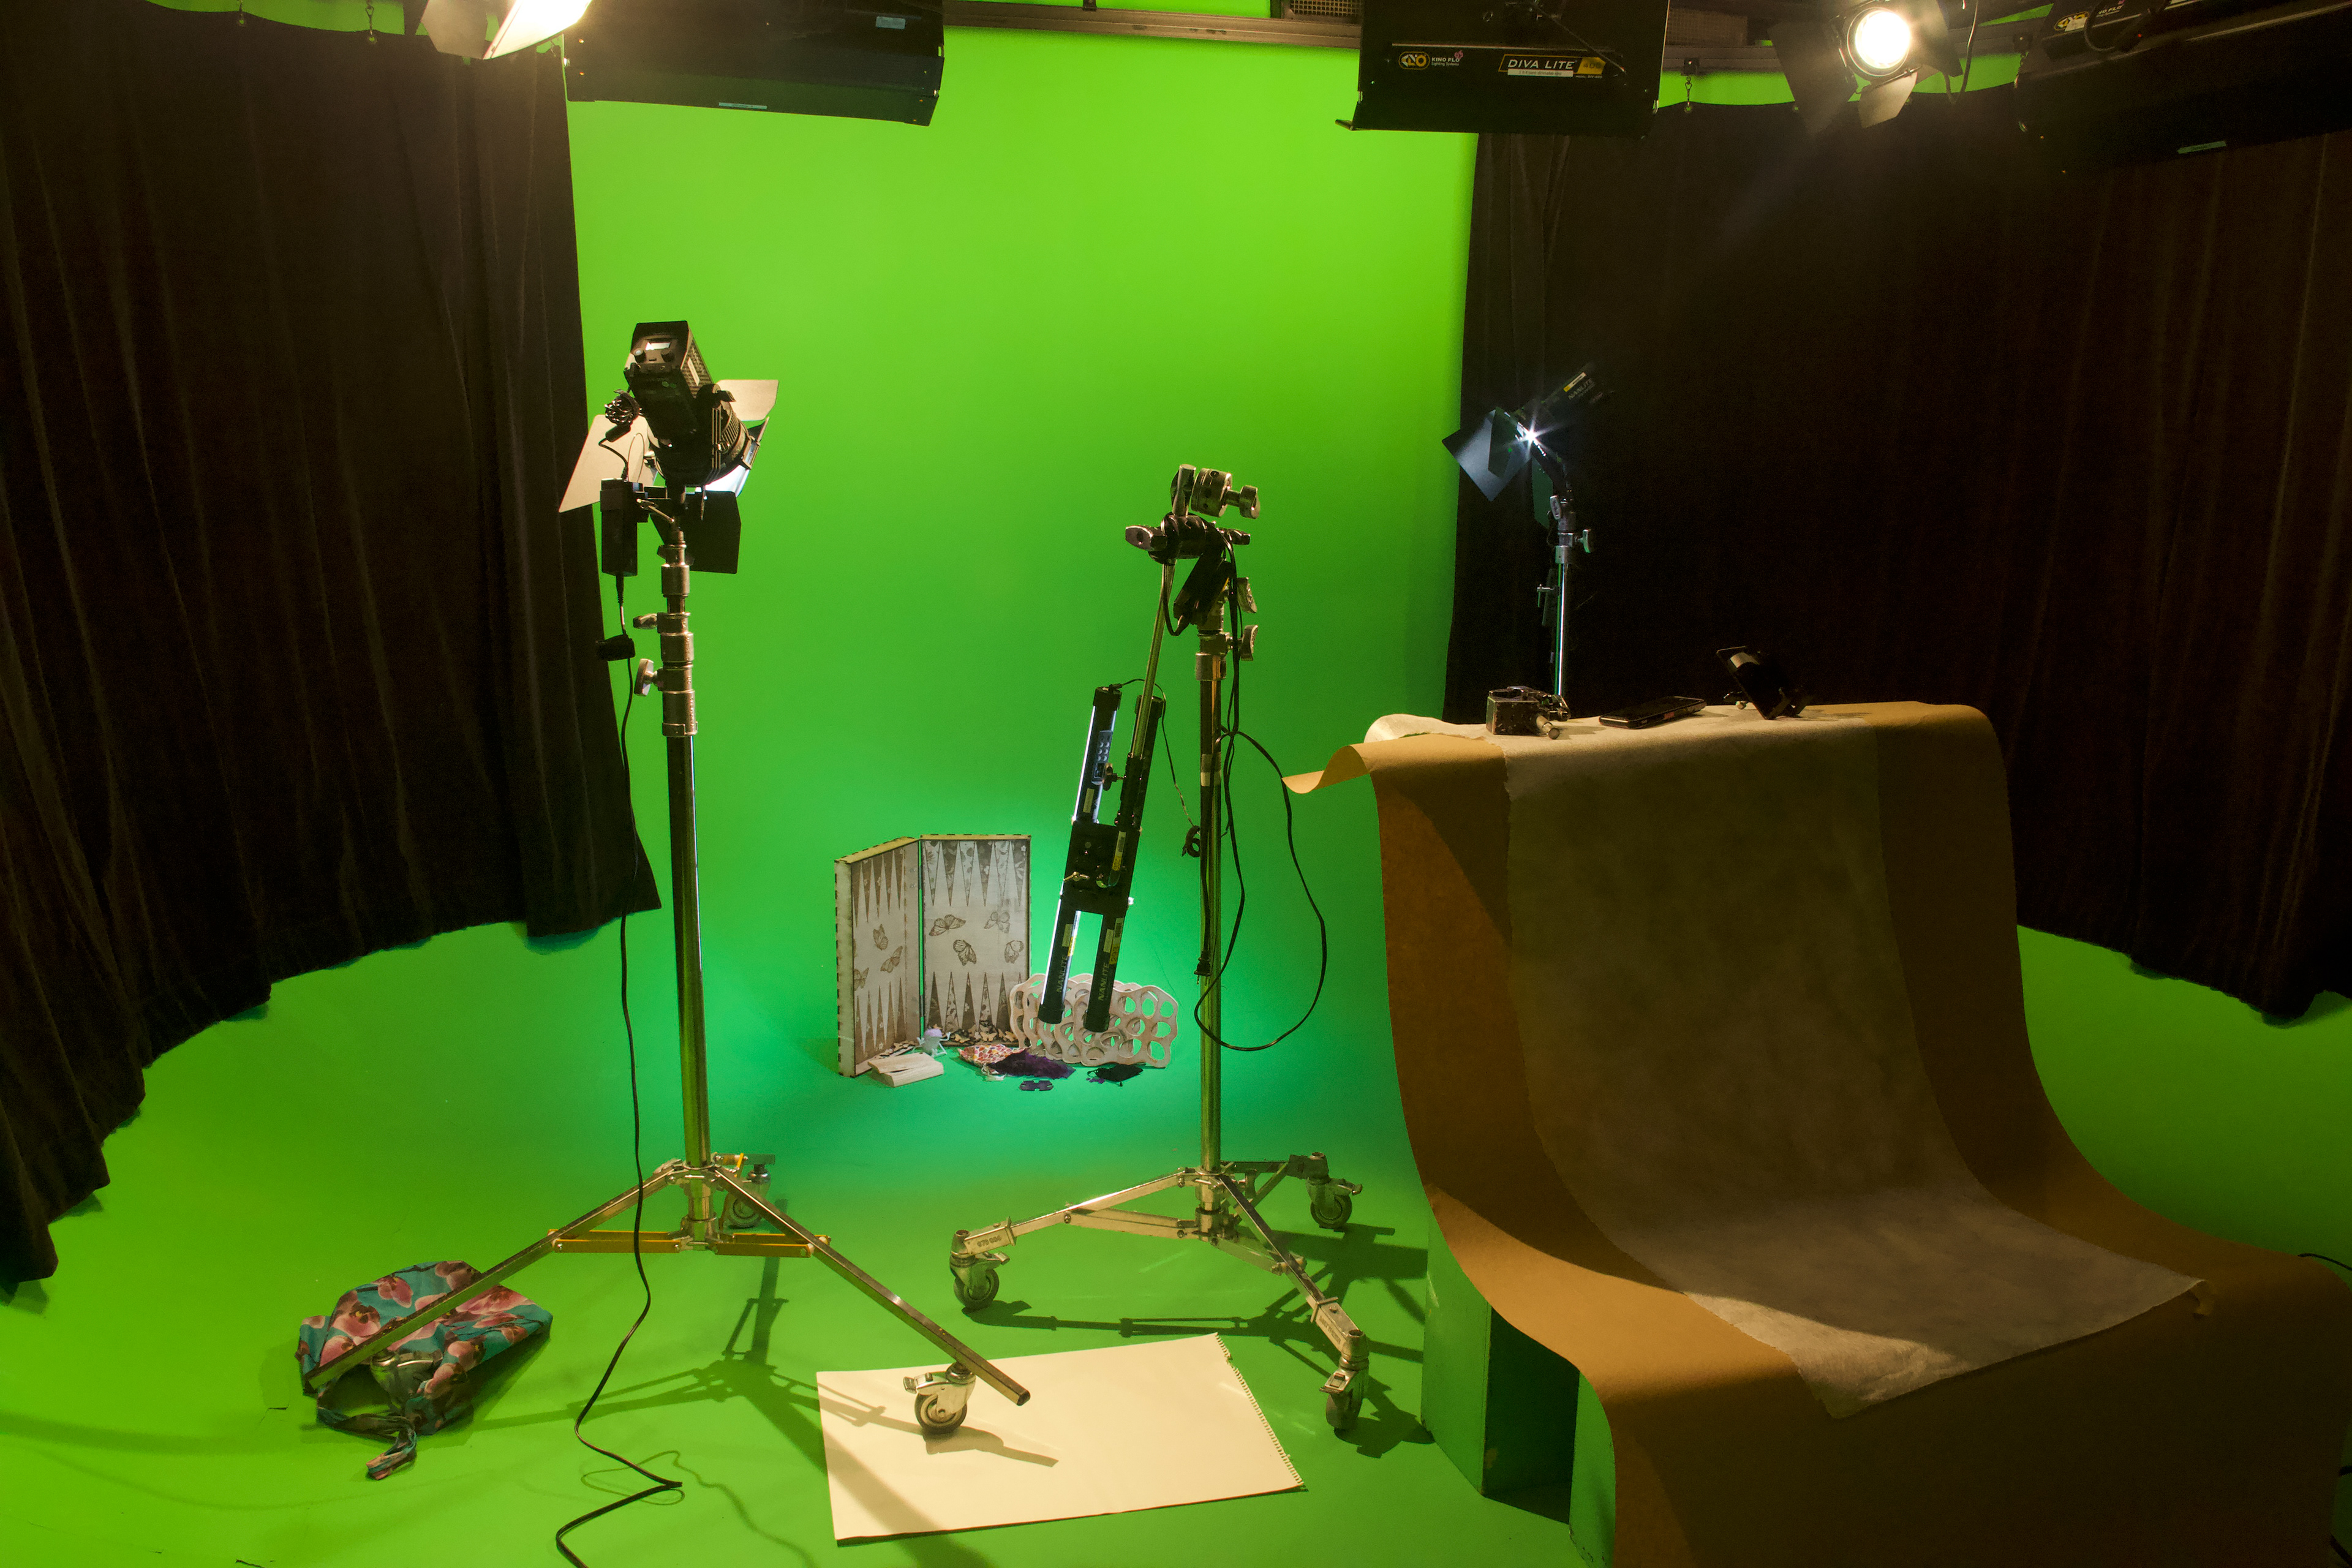
I also thought it would be an interesting challenge to try to imitate the lighting in this scene with acrylic. The lighting from the planet makes the altar appear green, even though it is made of rock. I thought maybe the base could be burgundy, the glass altar red, and the claw-like archways could have red on the front from the altar's light, and green on the sides from the planet's light. Or I could just make everything green and put a tiny light under the red acrylic in the middle.


I worried though that I wouldn't have enough time to plan and draw all the pieces for this, so I decided to do something less 3D. I thought about designing a custom chess or cribbage board with unique player pieces, but I worried again about having enough time to do so, and also about the scalability - it would be mostly decorative to have a miniature cribbage or chess board, and with cribbage the holes can only be scaled down so much.
I decided in the end to make a custom puzzle, as I've seen miniature puzzles and models, and I think even though they're not practical the miniature version would still make a picture. I think a puzzle is good for matching my toy theme, and I really wanted to laser cut something I've drawn. I used Draradech's Jigsaw SVG generator to generate different patterns and number of pieces.
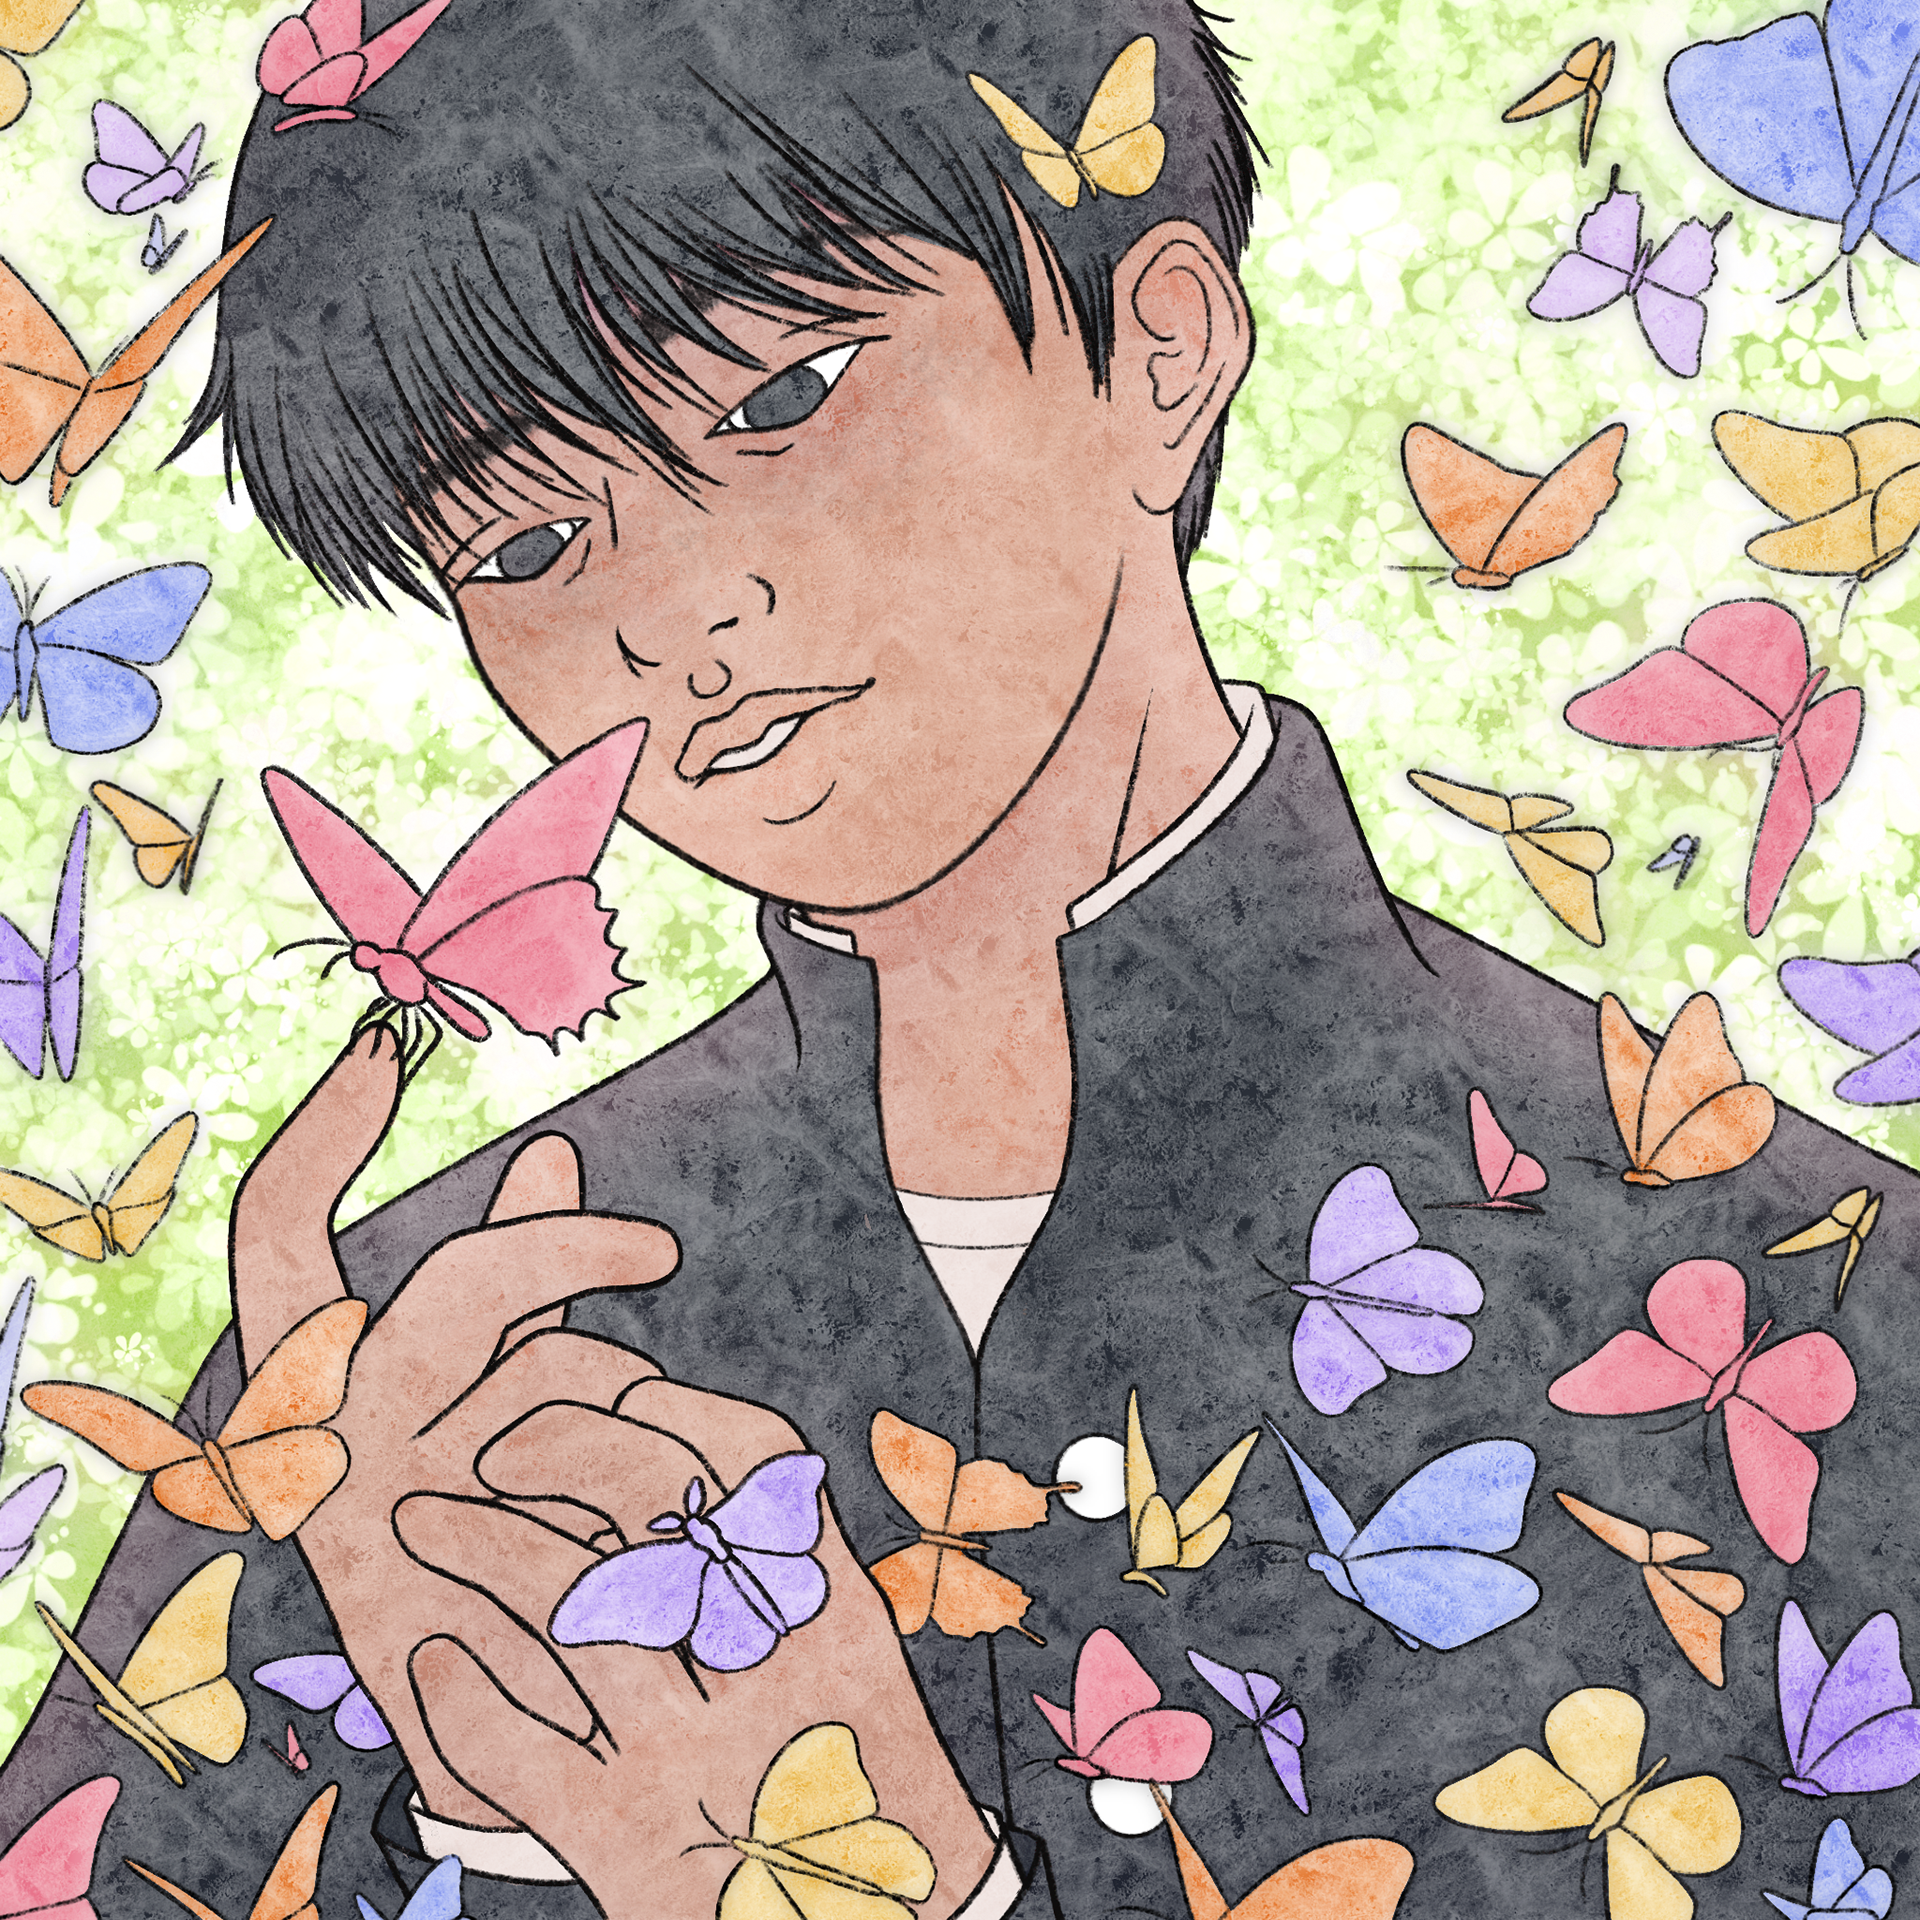
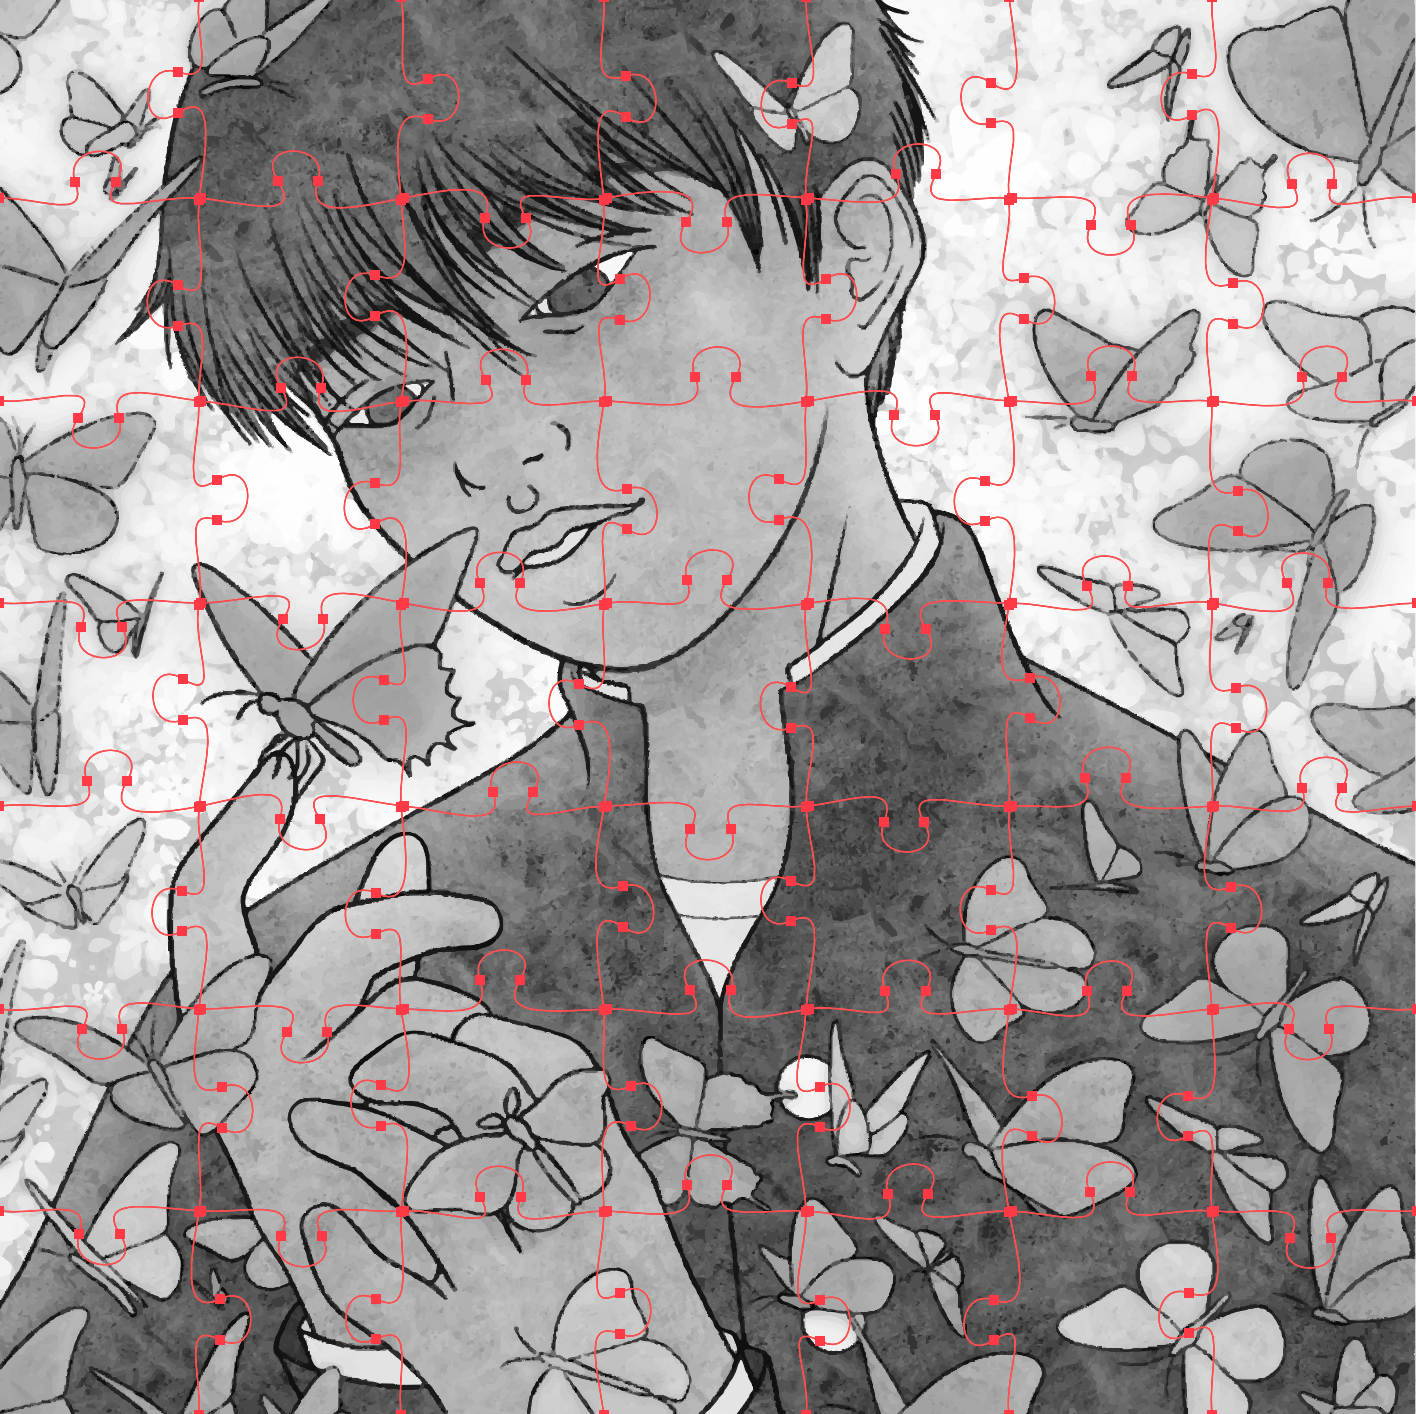
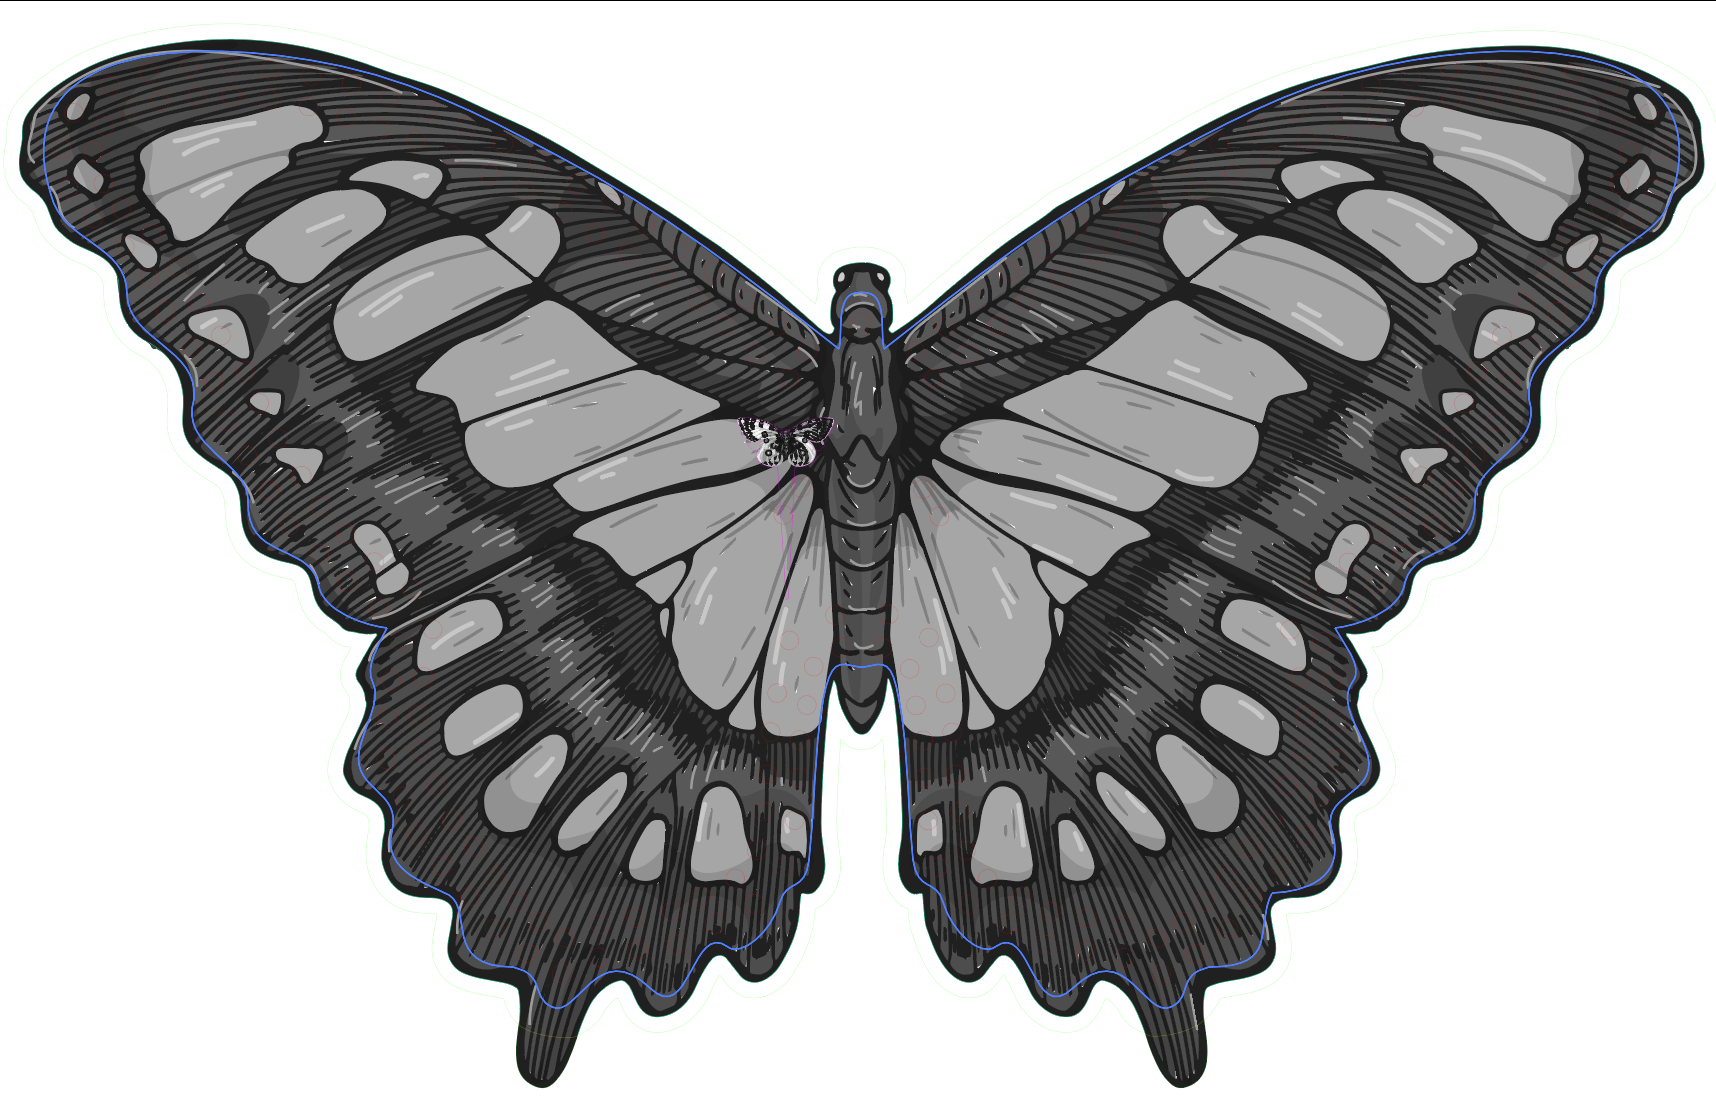
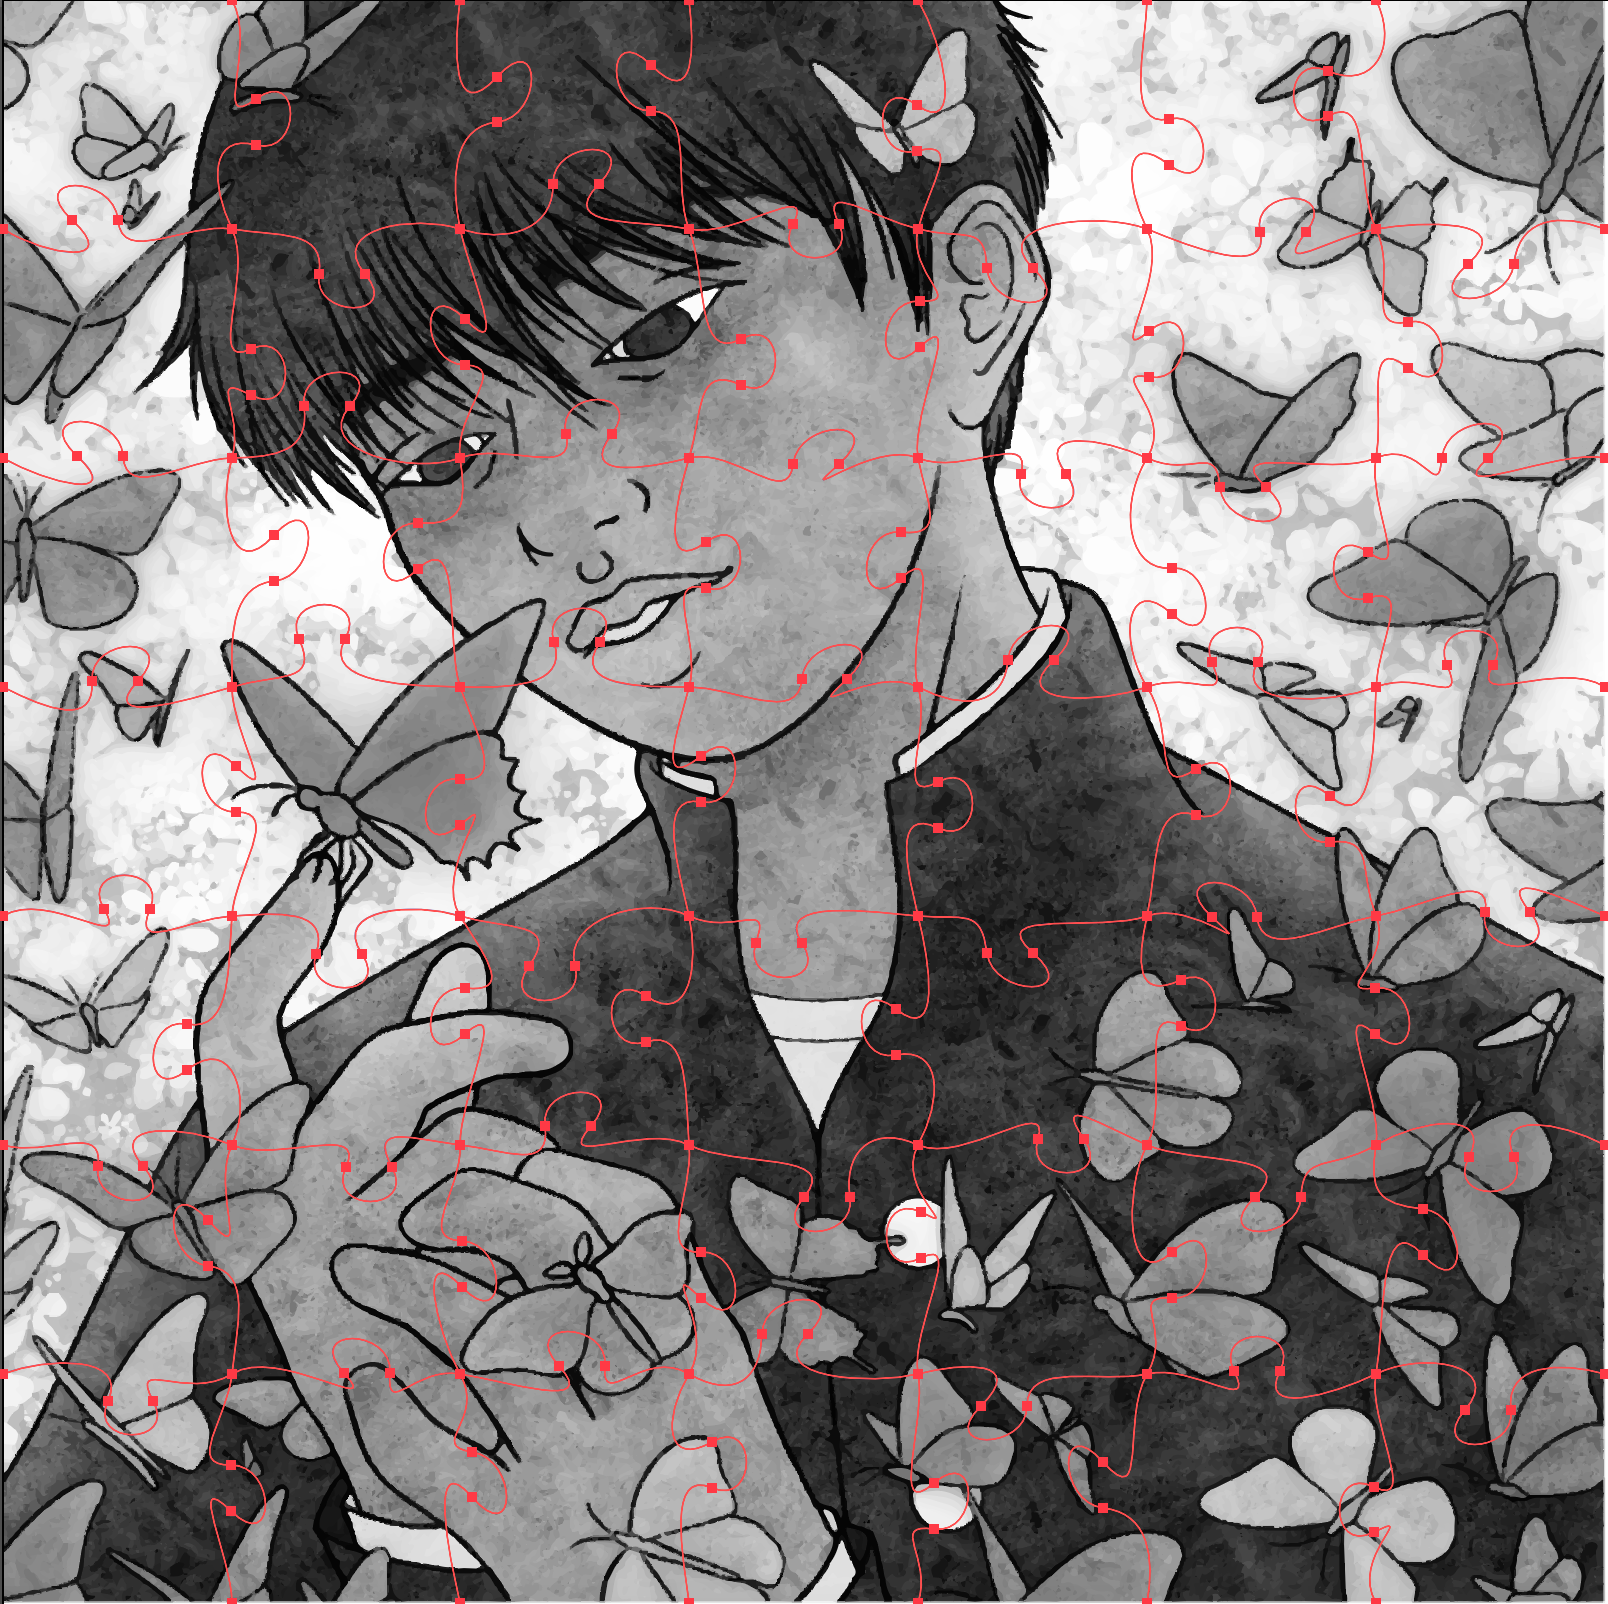
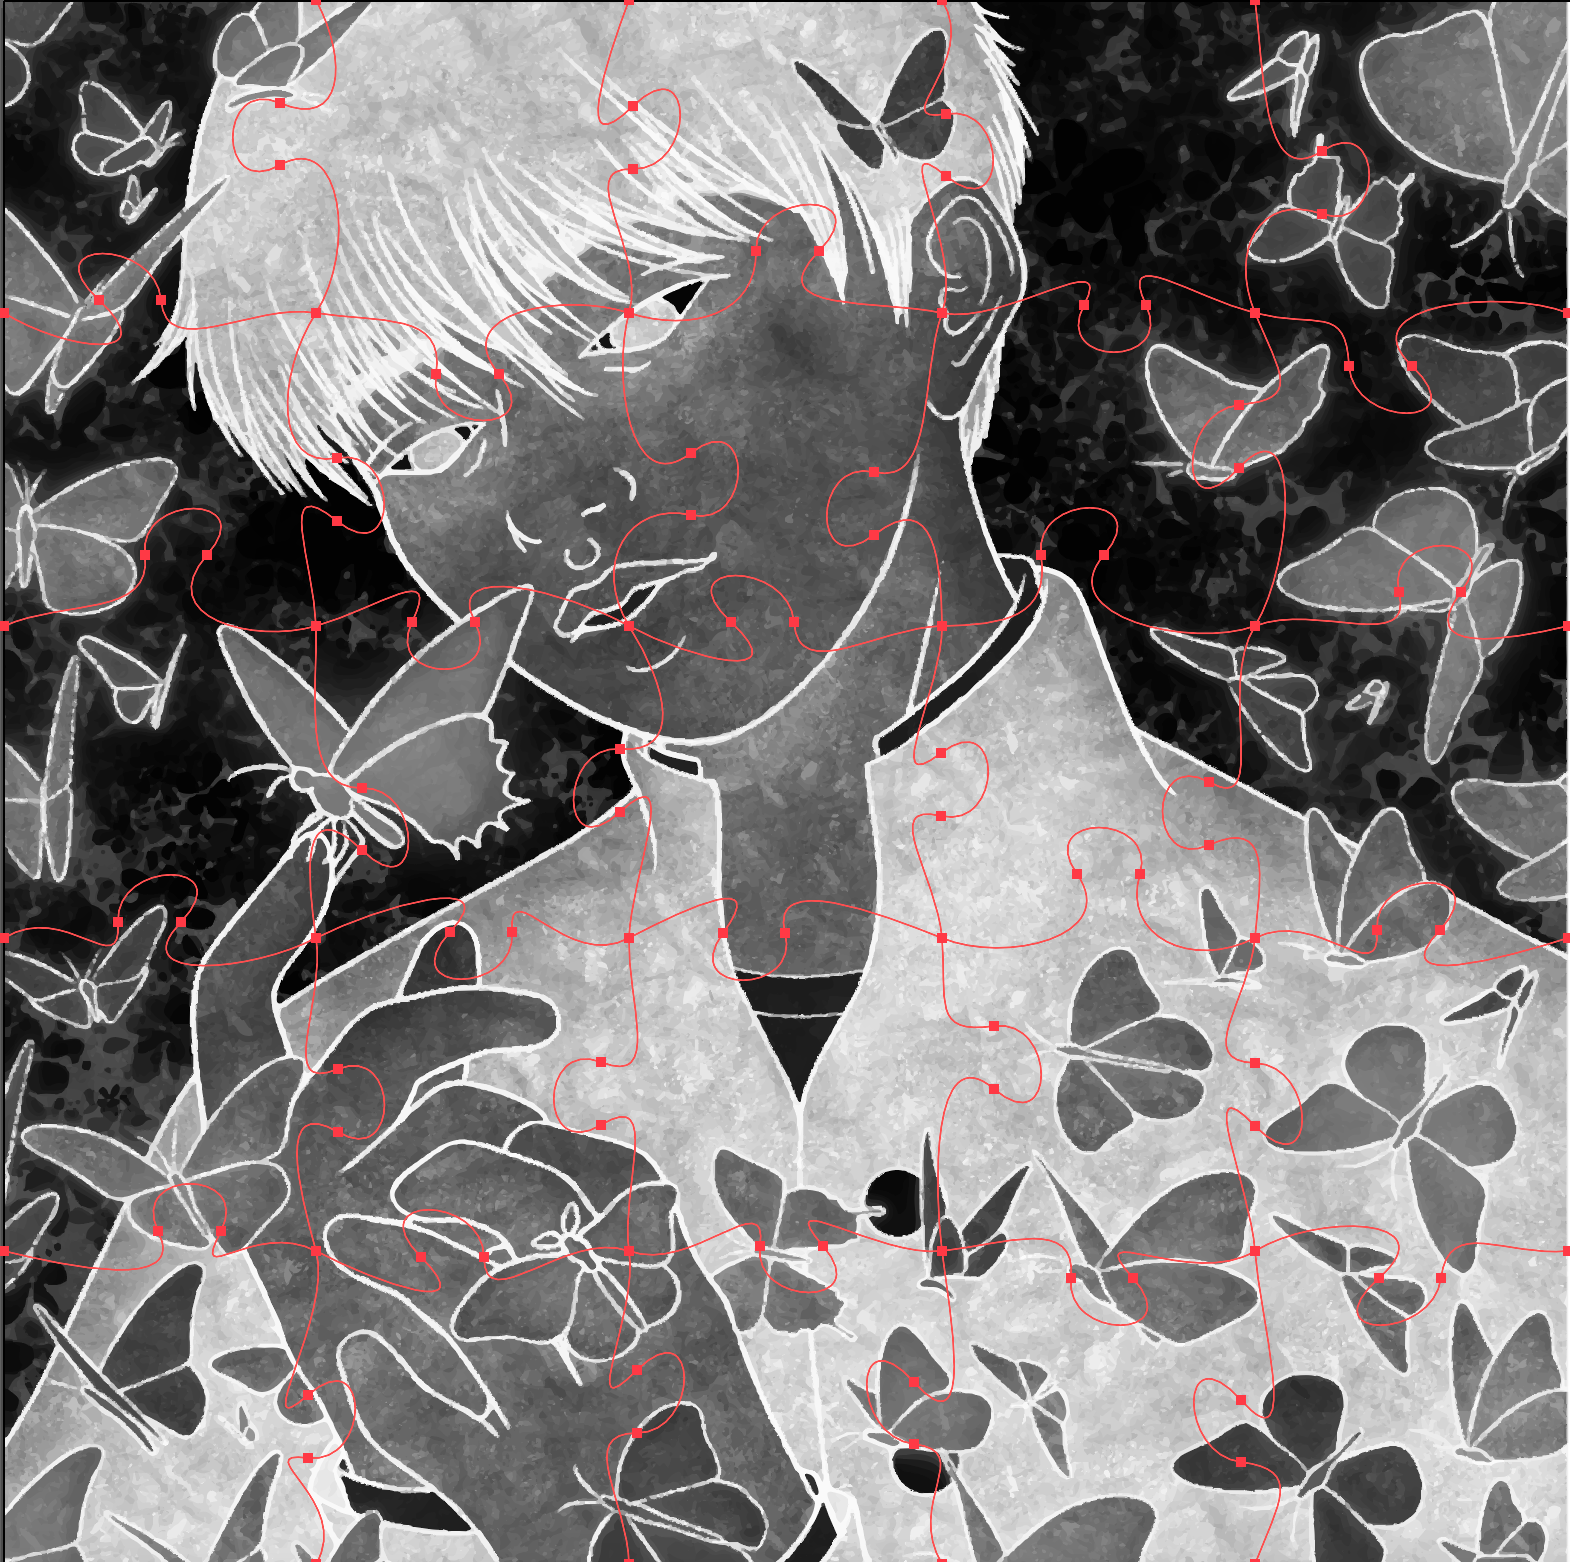
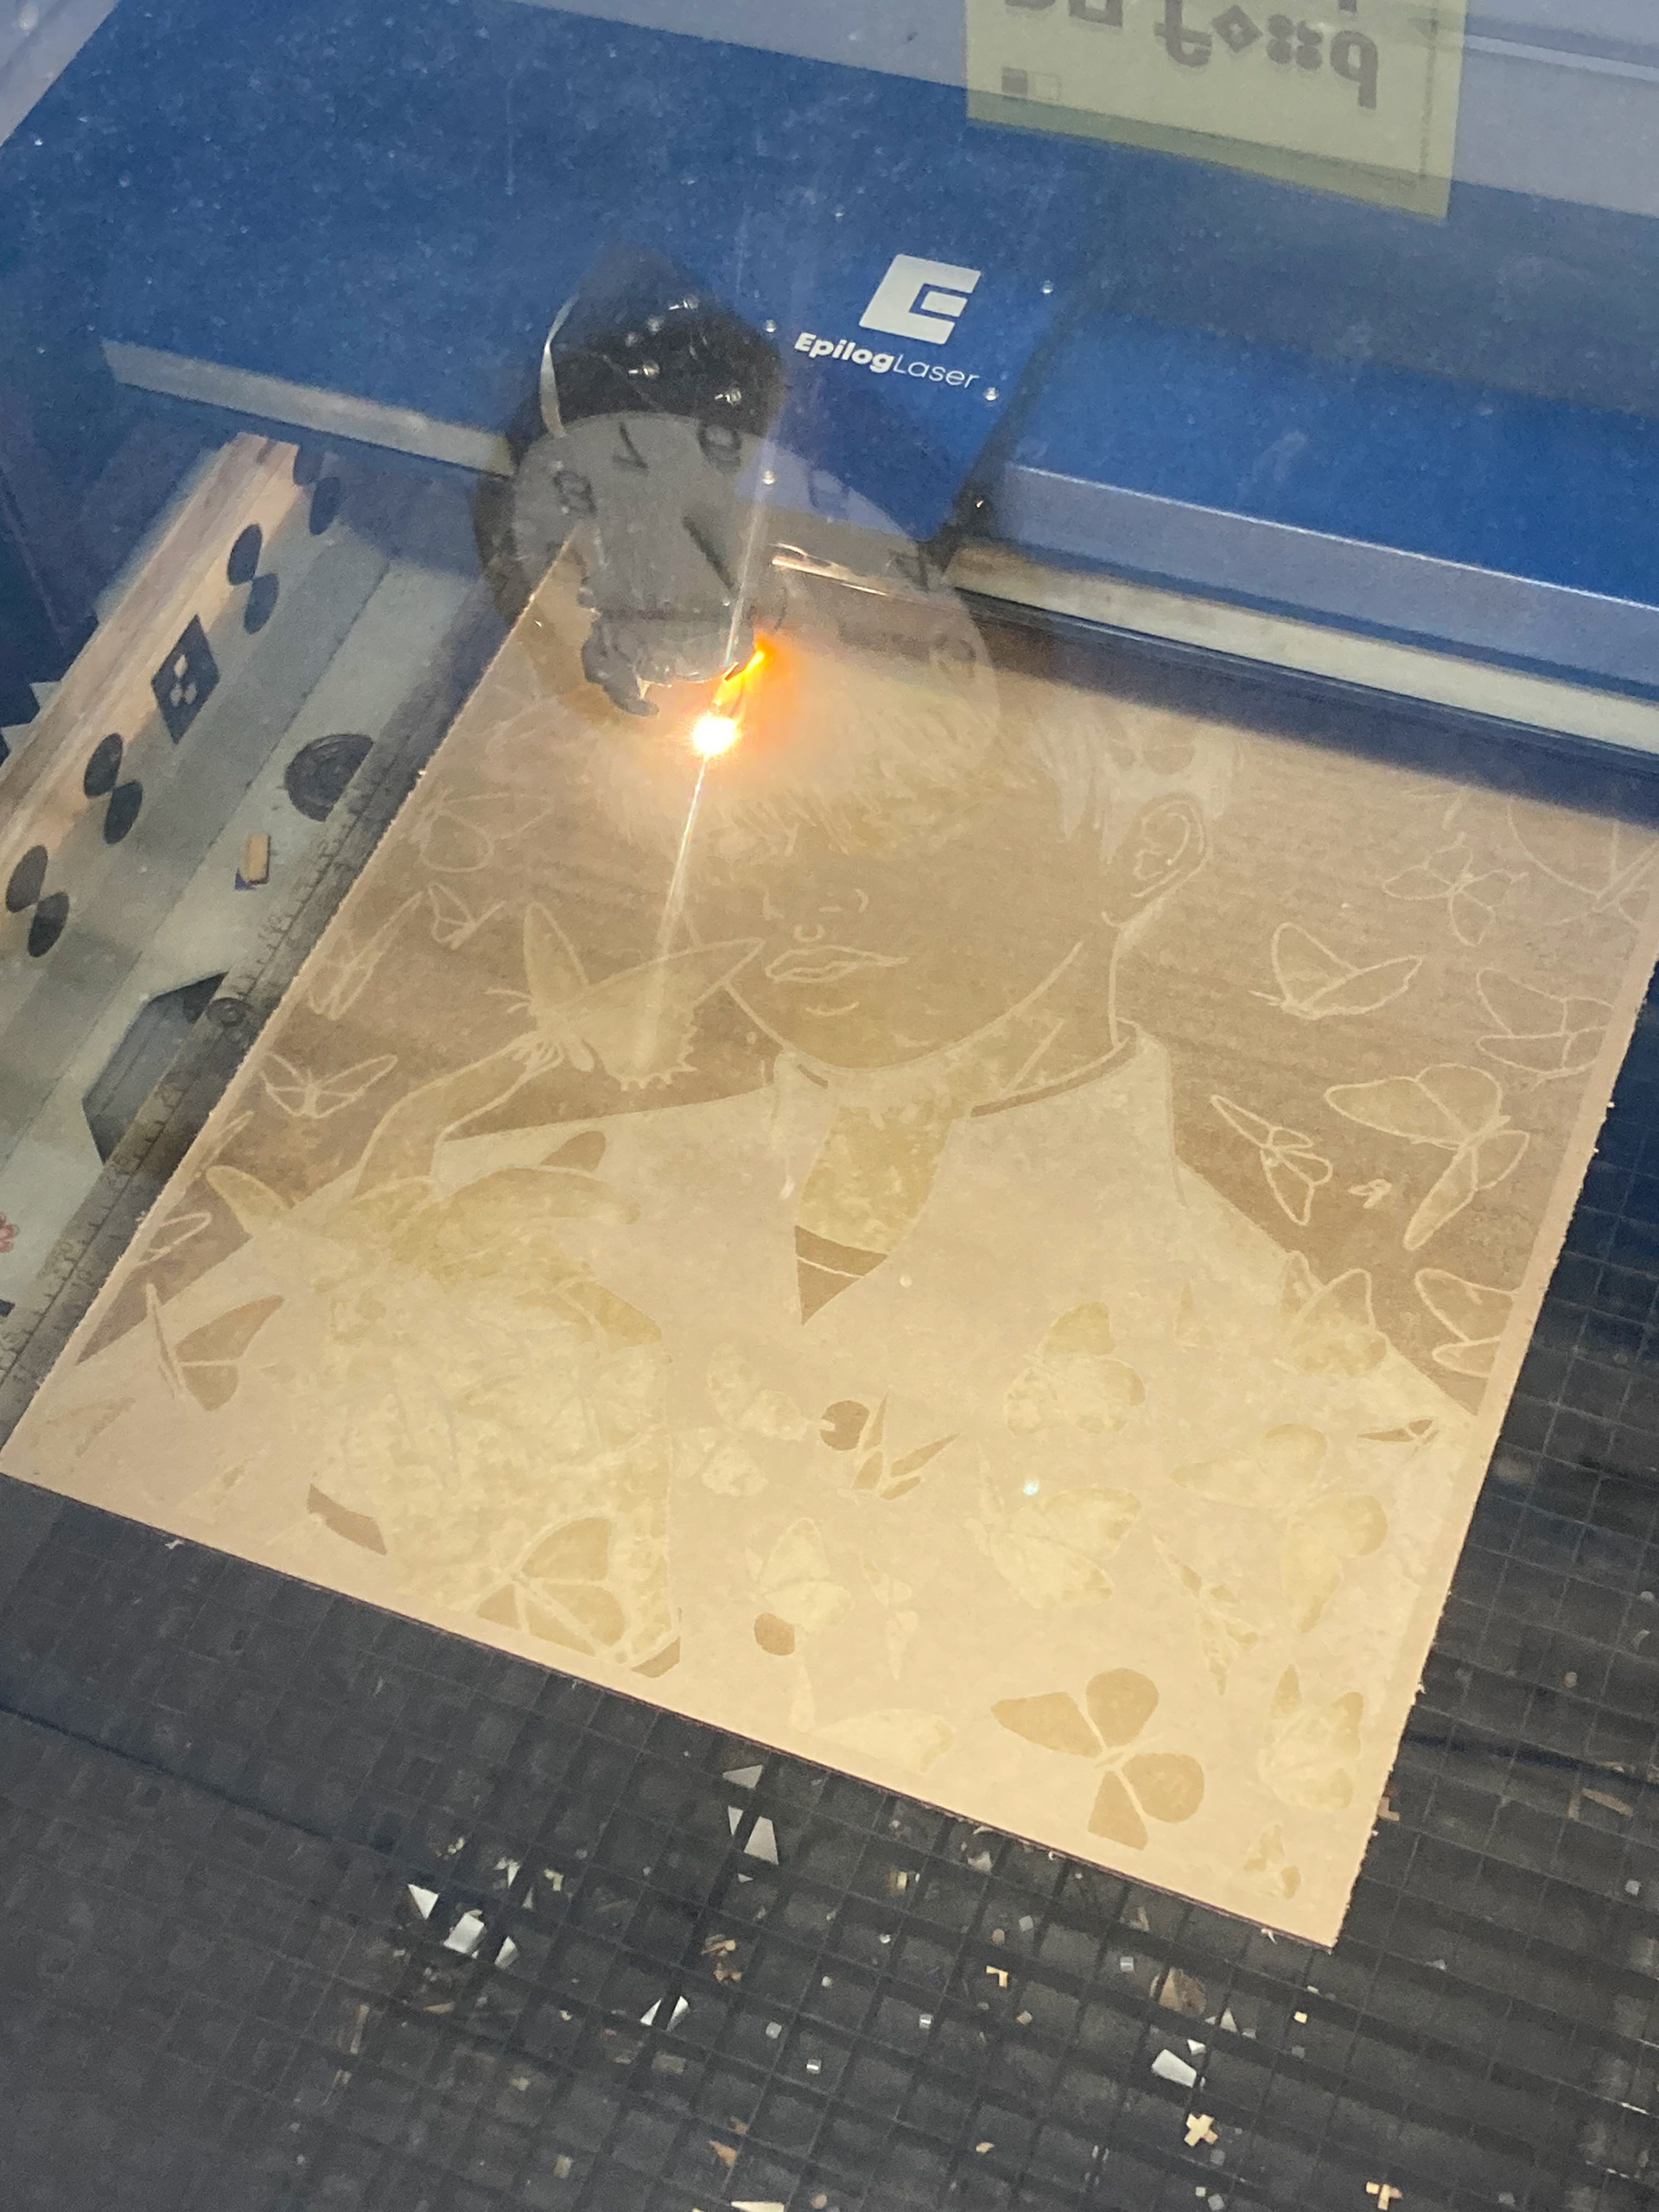
I picked this drawing because I like the arc of the butterflies and I was curious how a very textured drawing might look engraved. I made the contrast higher because although I like the pastel, lighter feel of the original drawing, I figured having deeper blacks would engrave better. I also inverted the drawing and did an image trace in Illustrator again, as I wanted to test to see if it would be better to engrave the negative space.
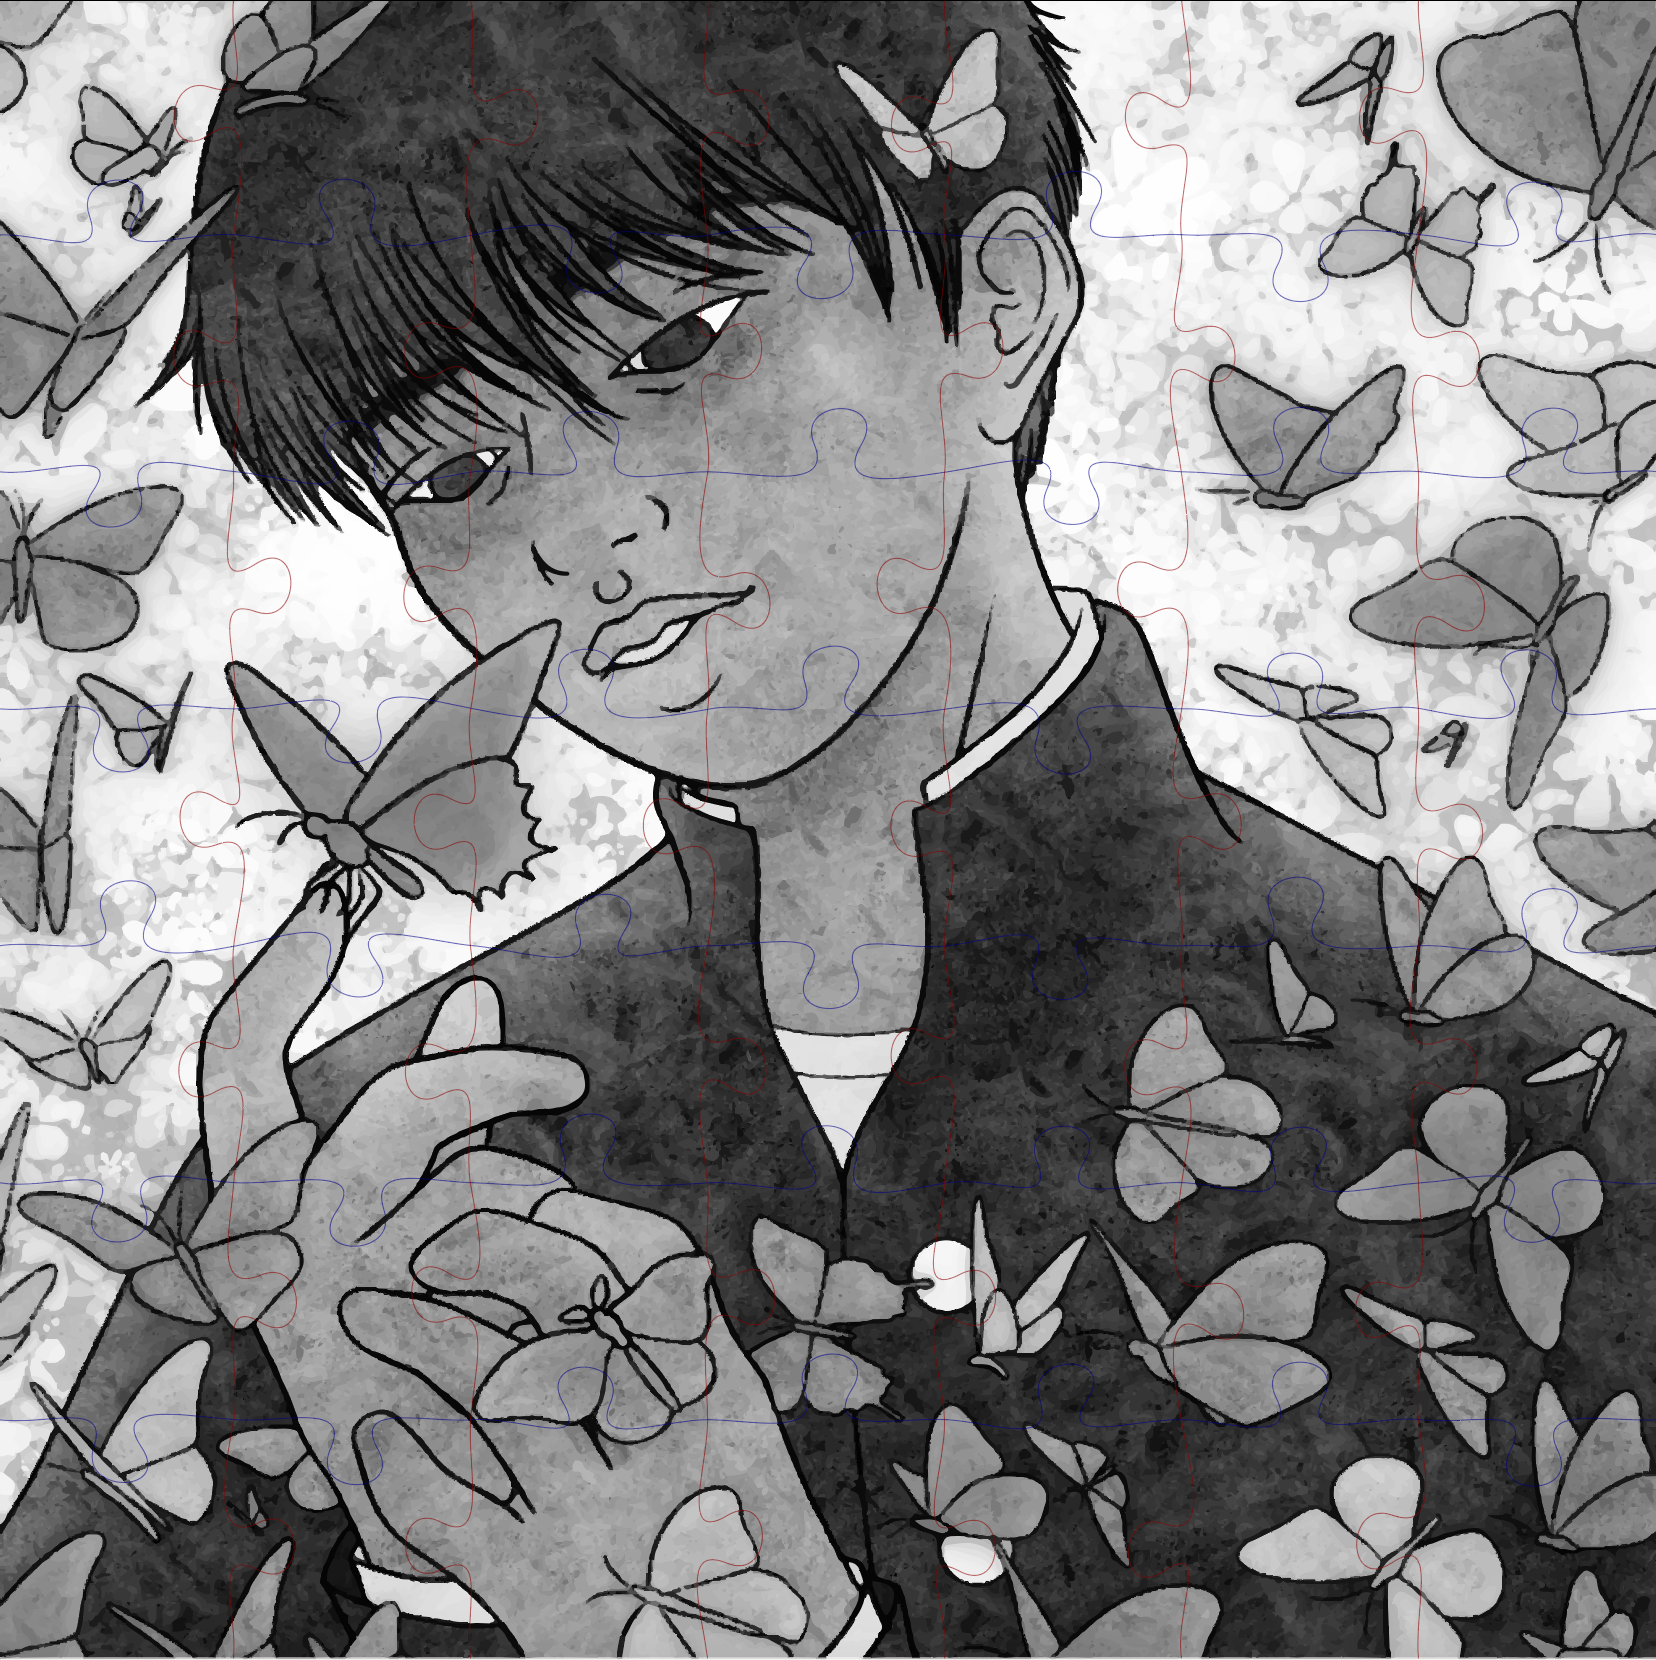

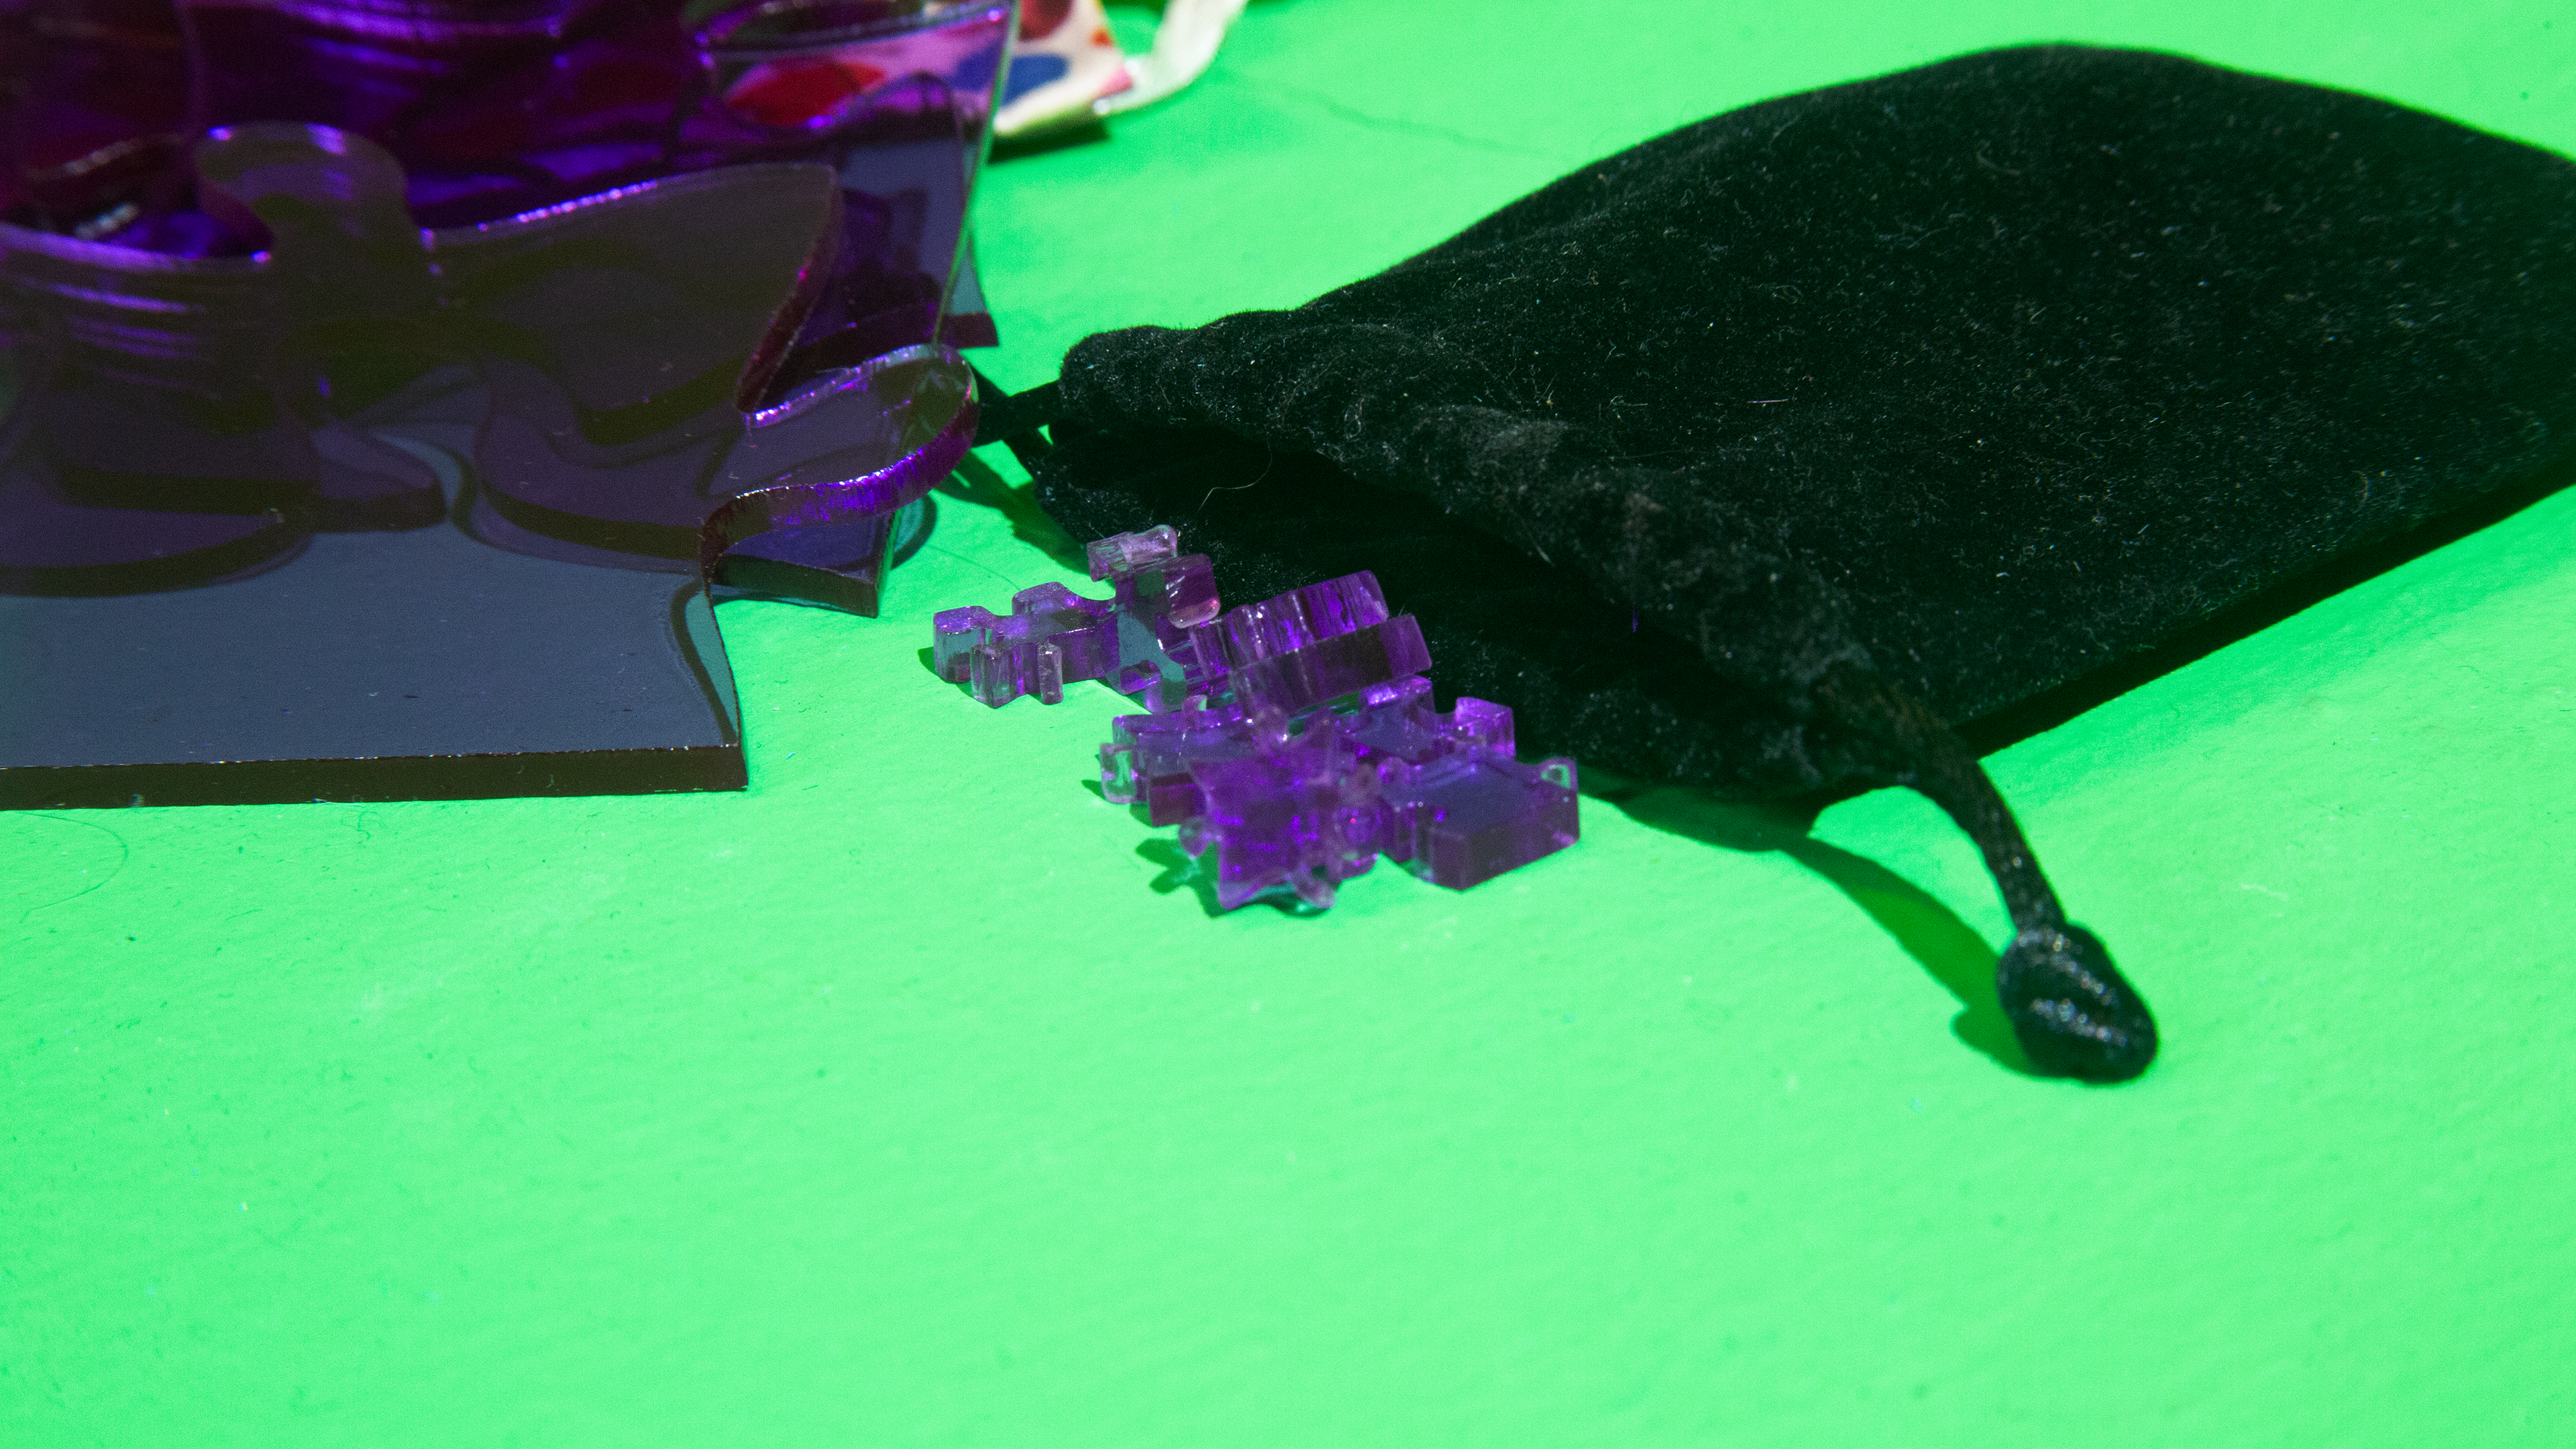
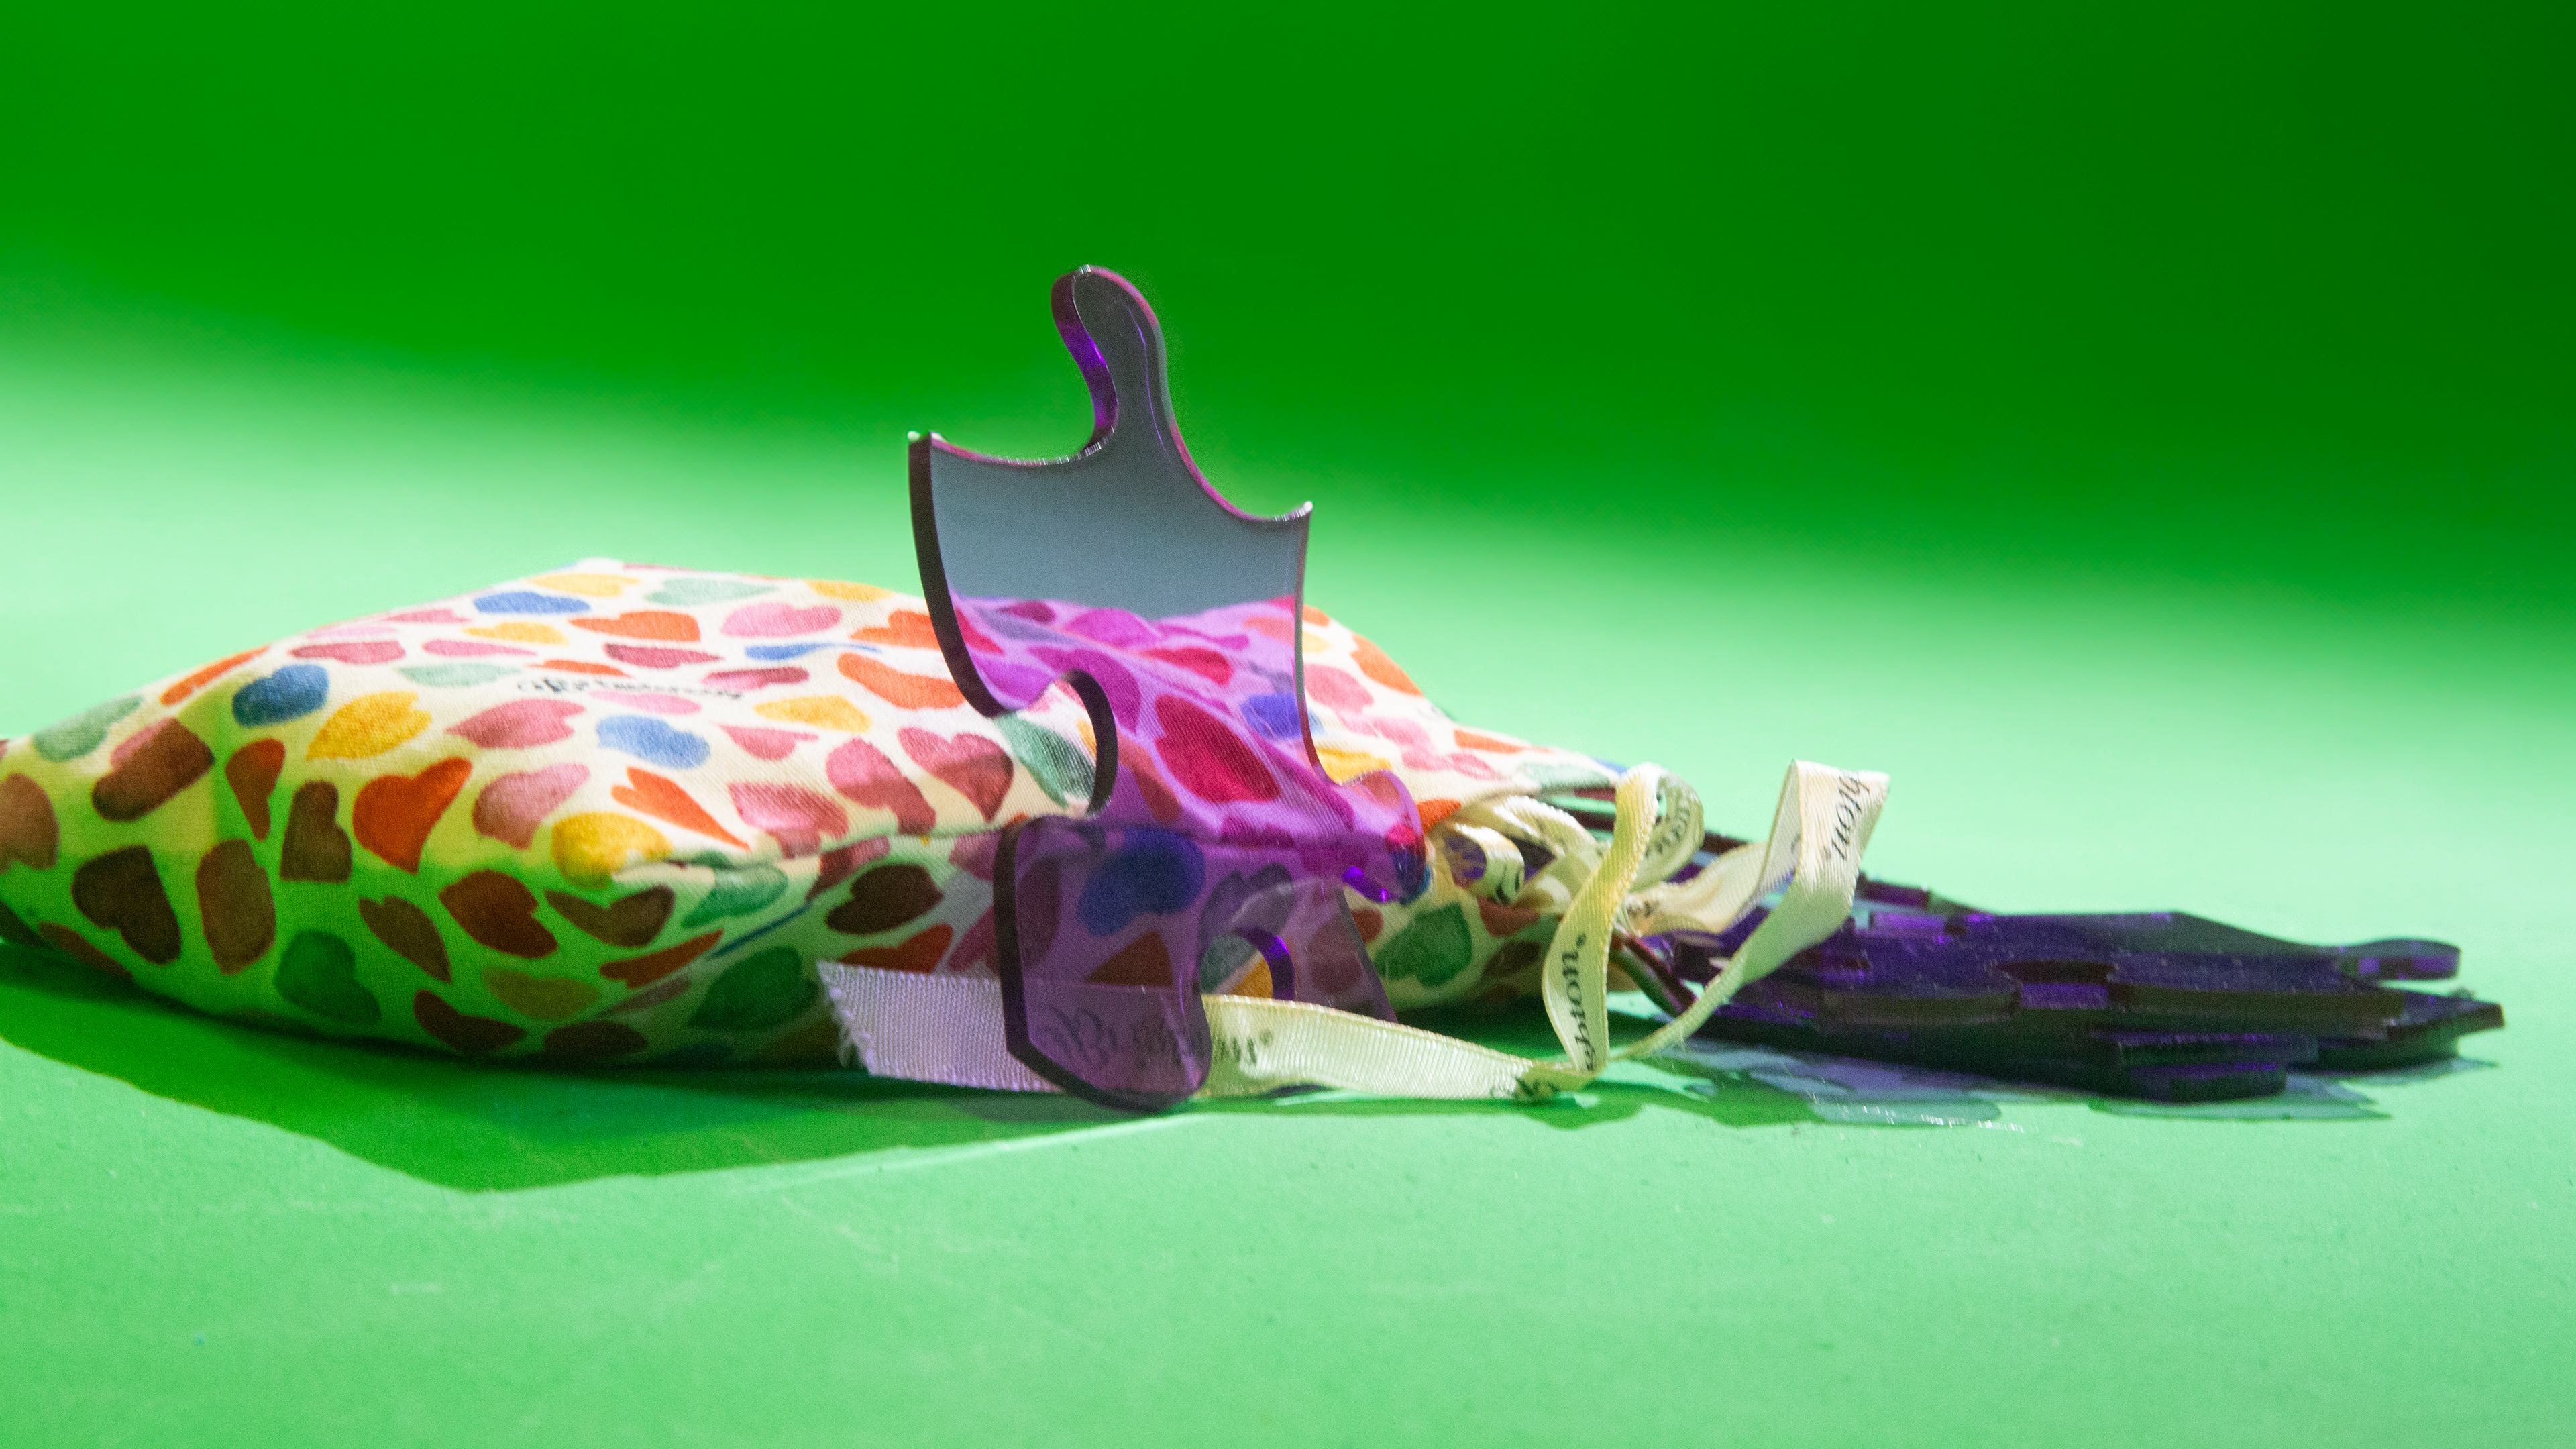
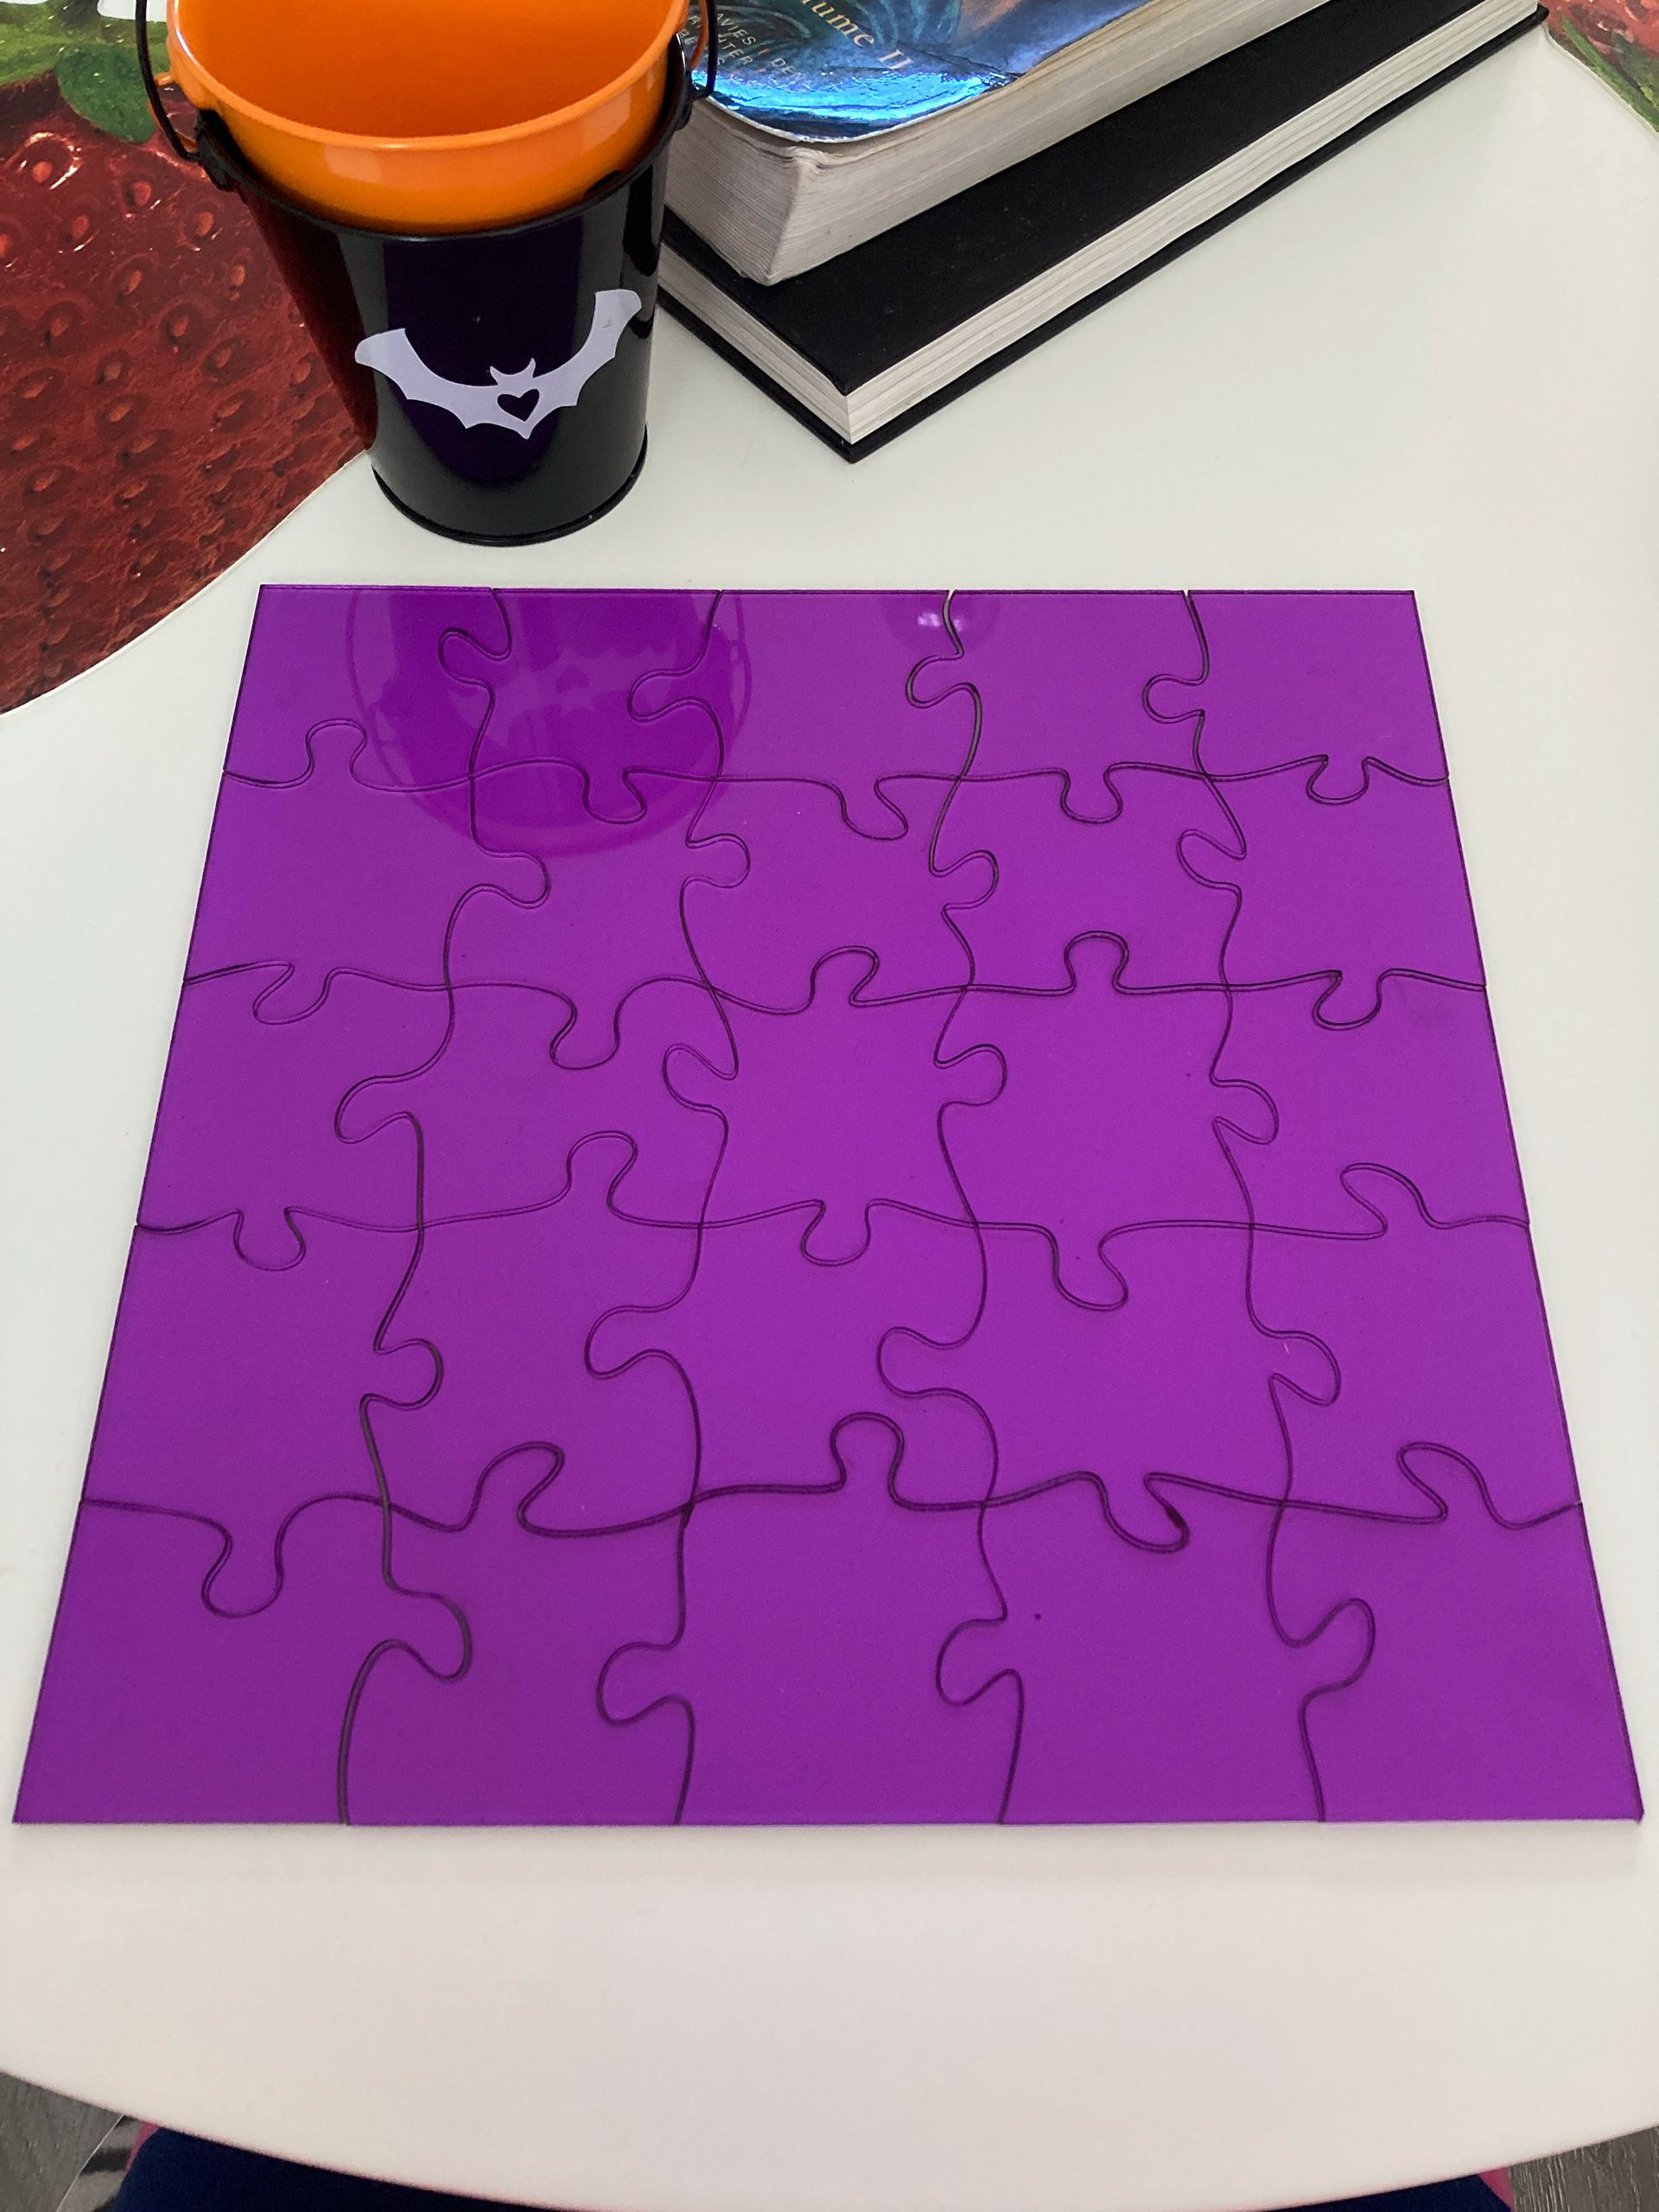
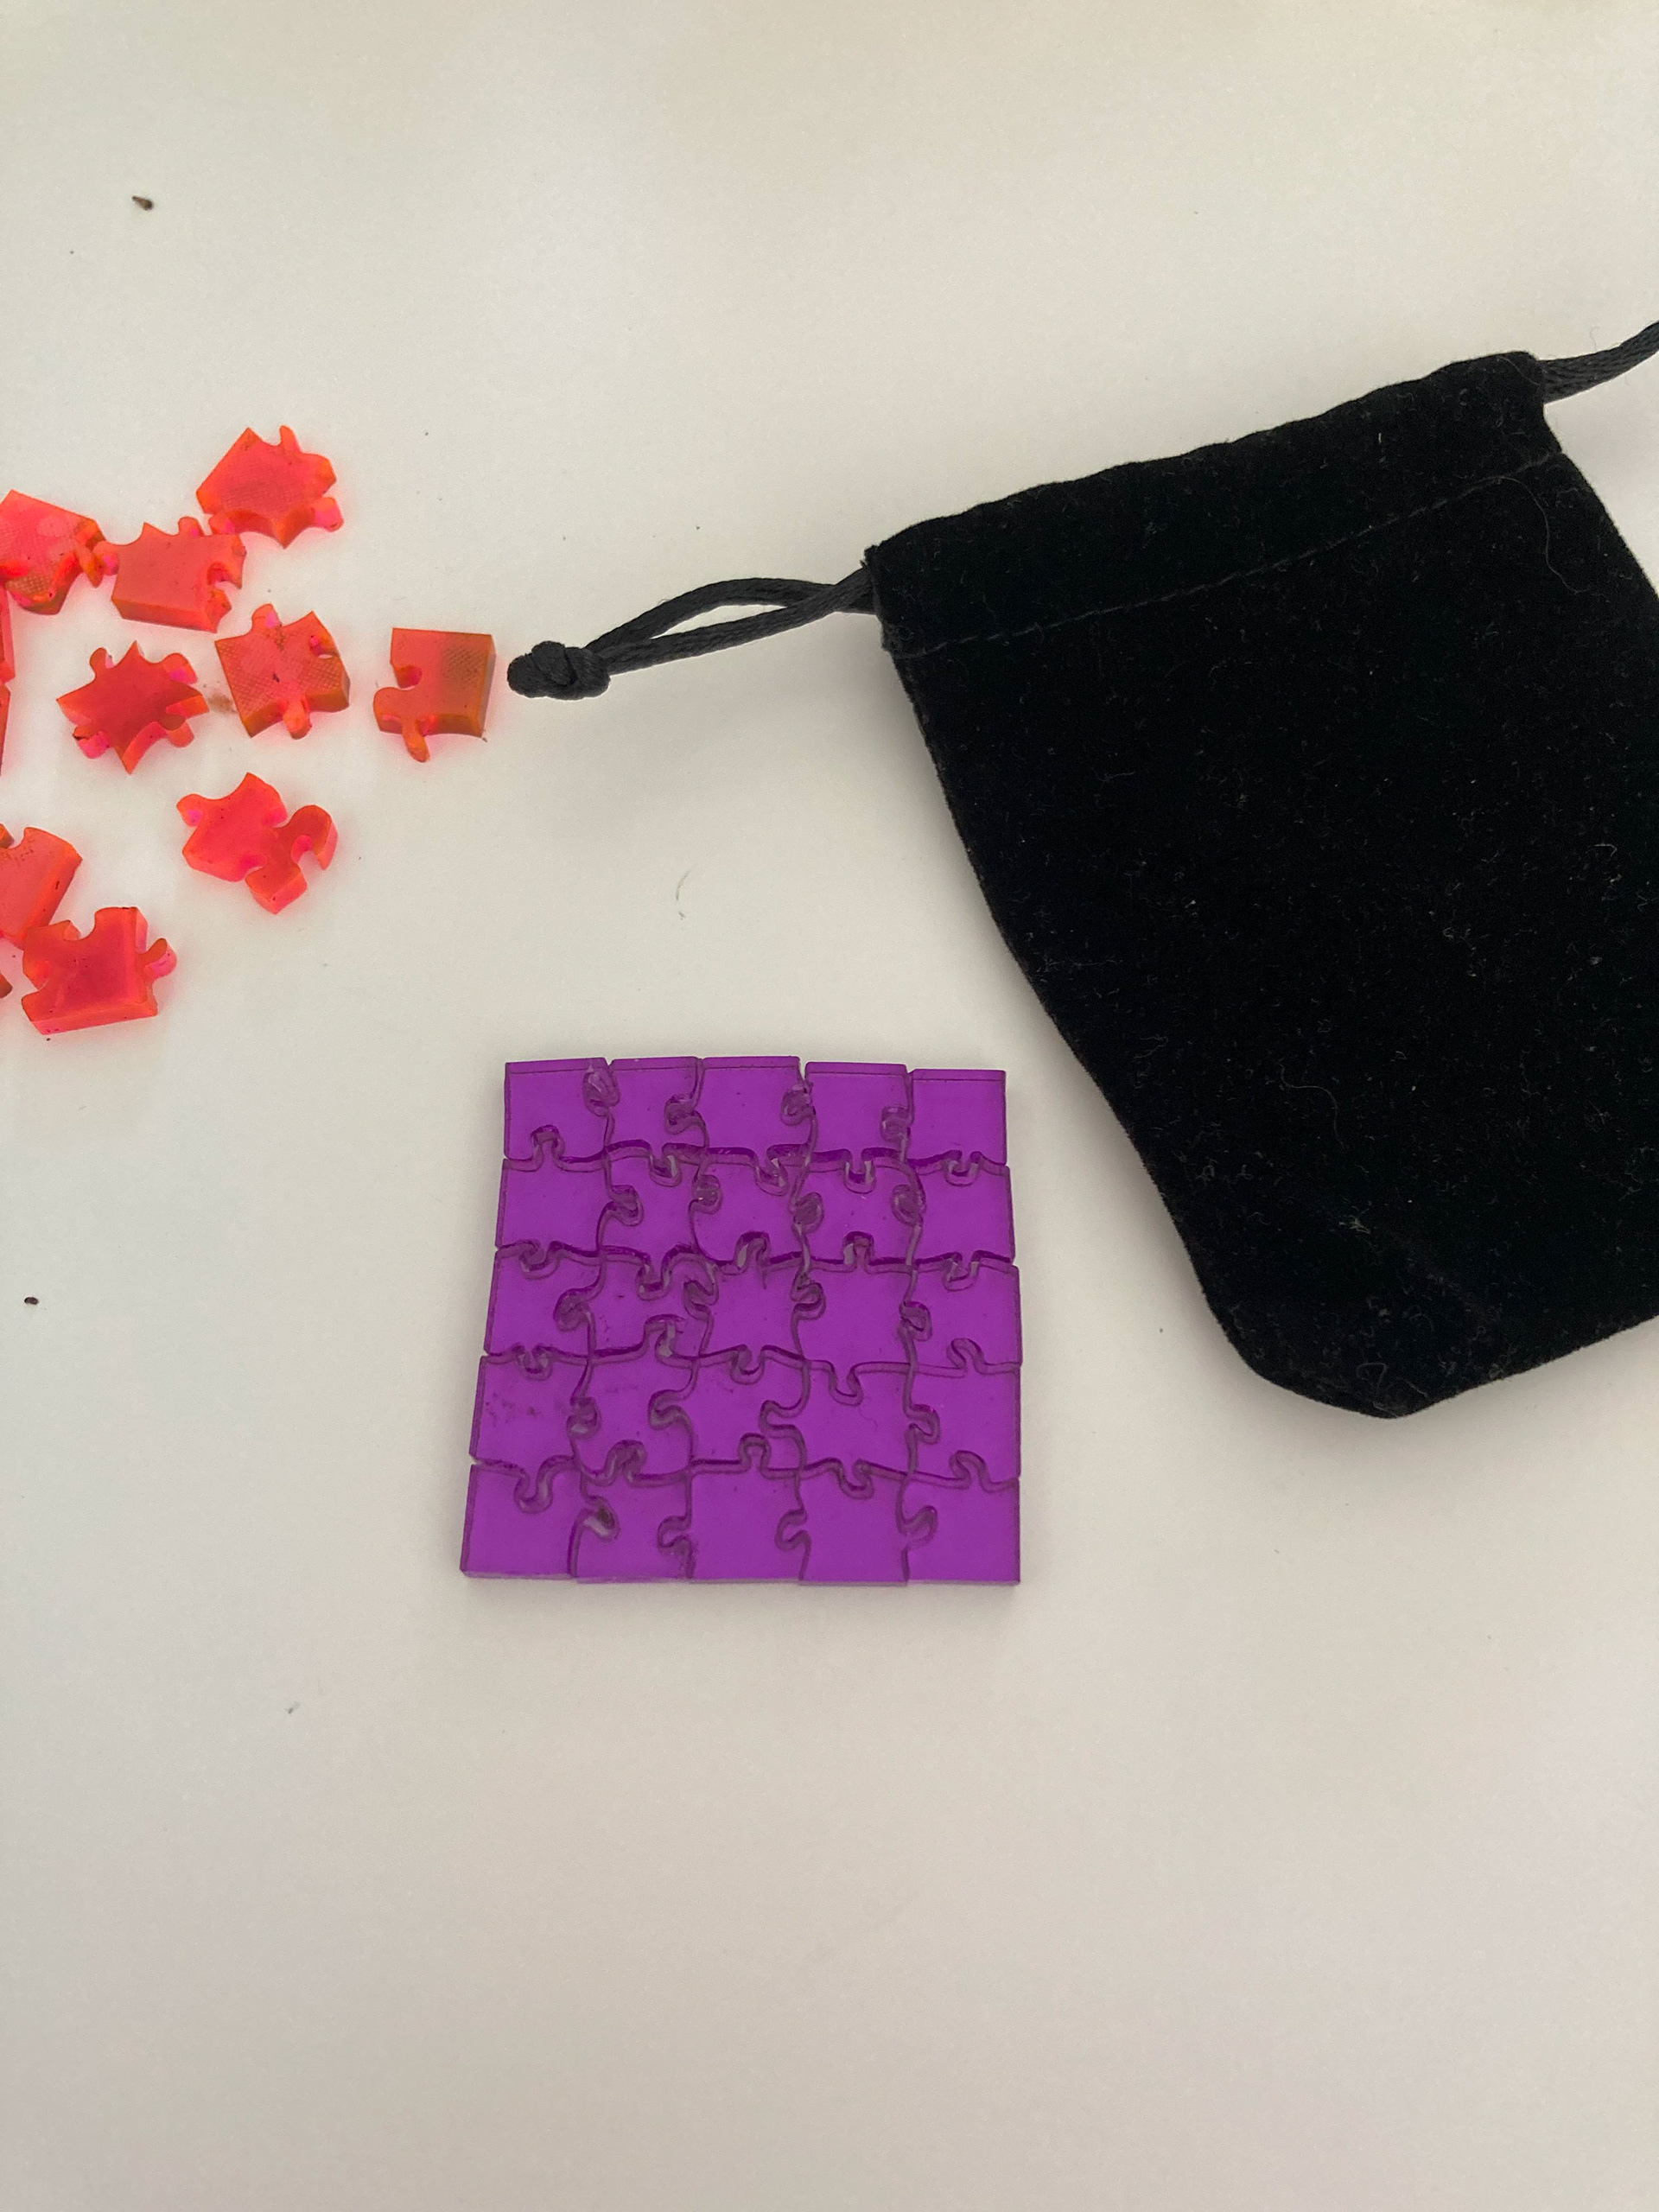
I chose a 7 x 7 pattern for the larger 12" x 12" version of the puzzle, so there would be enough pieces but the image would still be readable hopefully. I figured it would be best to use a 2" x 2" sample piece of acrylic for the miniature version. I looked into how small you can get when laser cutting, and this manufacturing site listed that the minimum size for cutting small parts is 0.18" x 0.35". I made a 5 x 5 jigsaw pattern for the miniature puzzle so that each piece would be 0.4" x 0.4".
I realized also that when the laser cuts the smaller puzzle, it might be easier for shapes to fit in the wrong place, so I made the puzzle pieces more jittery.
I did some test cuts first, especially for the miniature version as I wanted to see if the laser cutter could engrave something so small. I tested on wood and on scrap acrylic, the image didn't engrave very well on wood and I liked how the acrylic looked better, but there was a lot of soot/singe marks, which I found out was because the acrylic was not covered with any paper or film when it was cut.
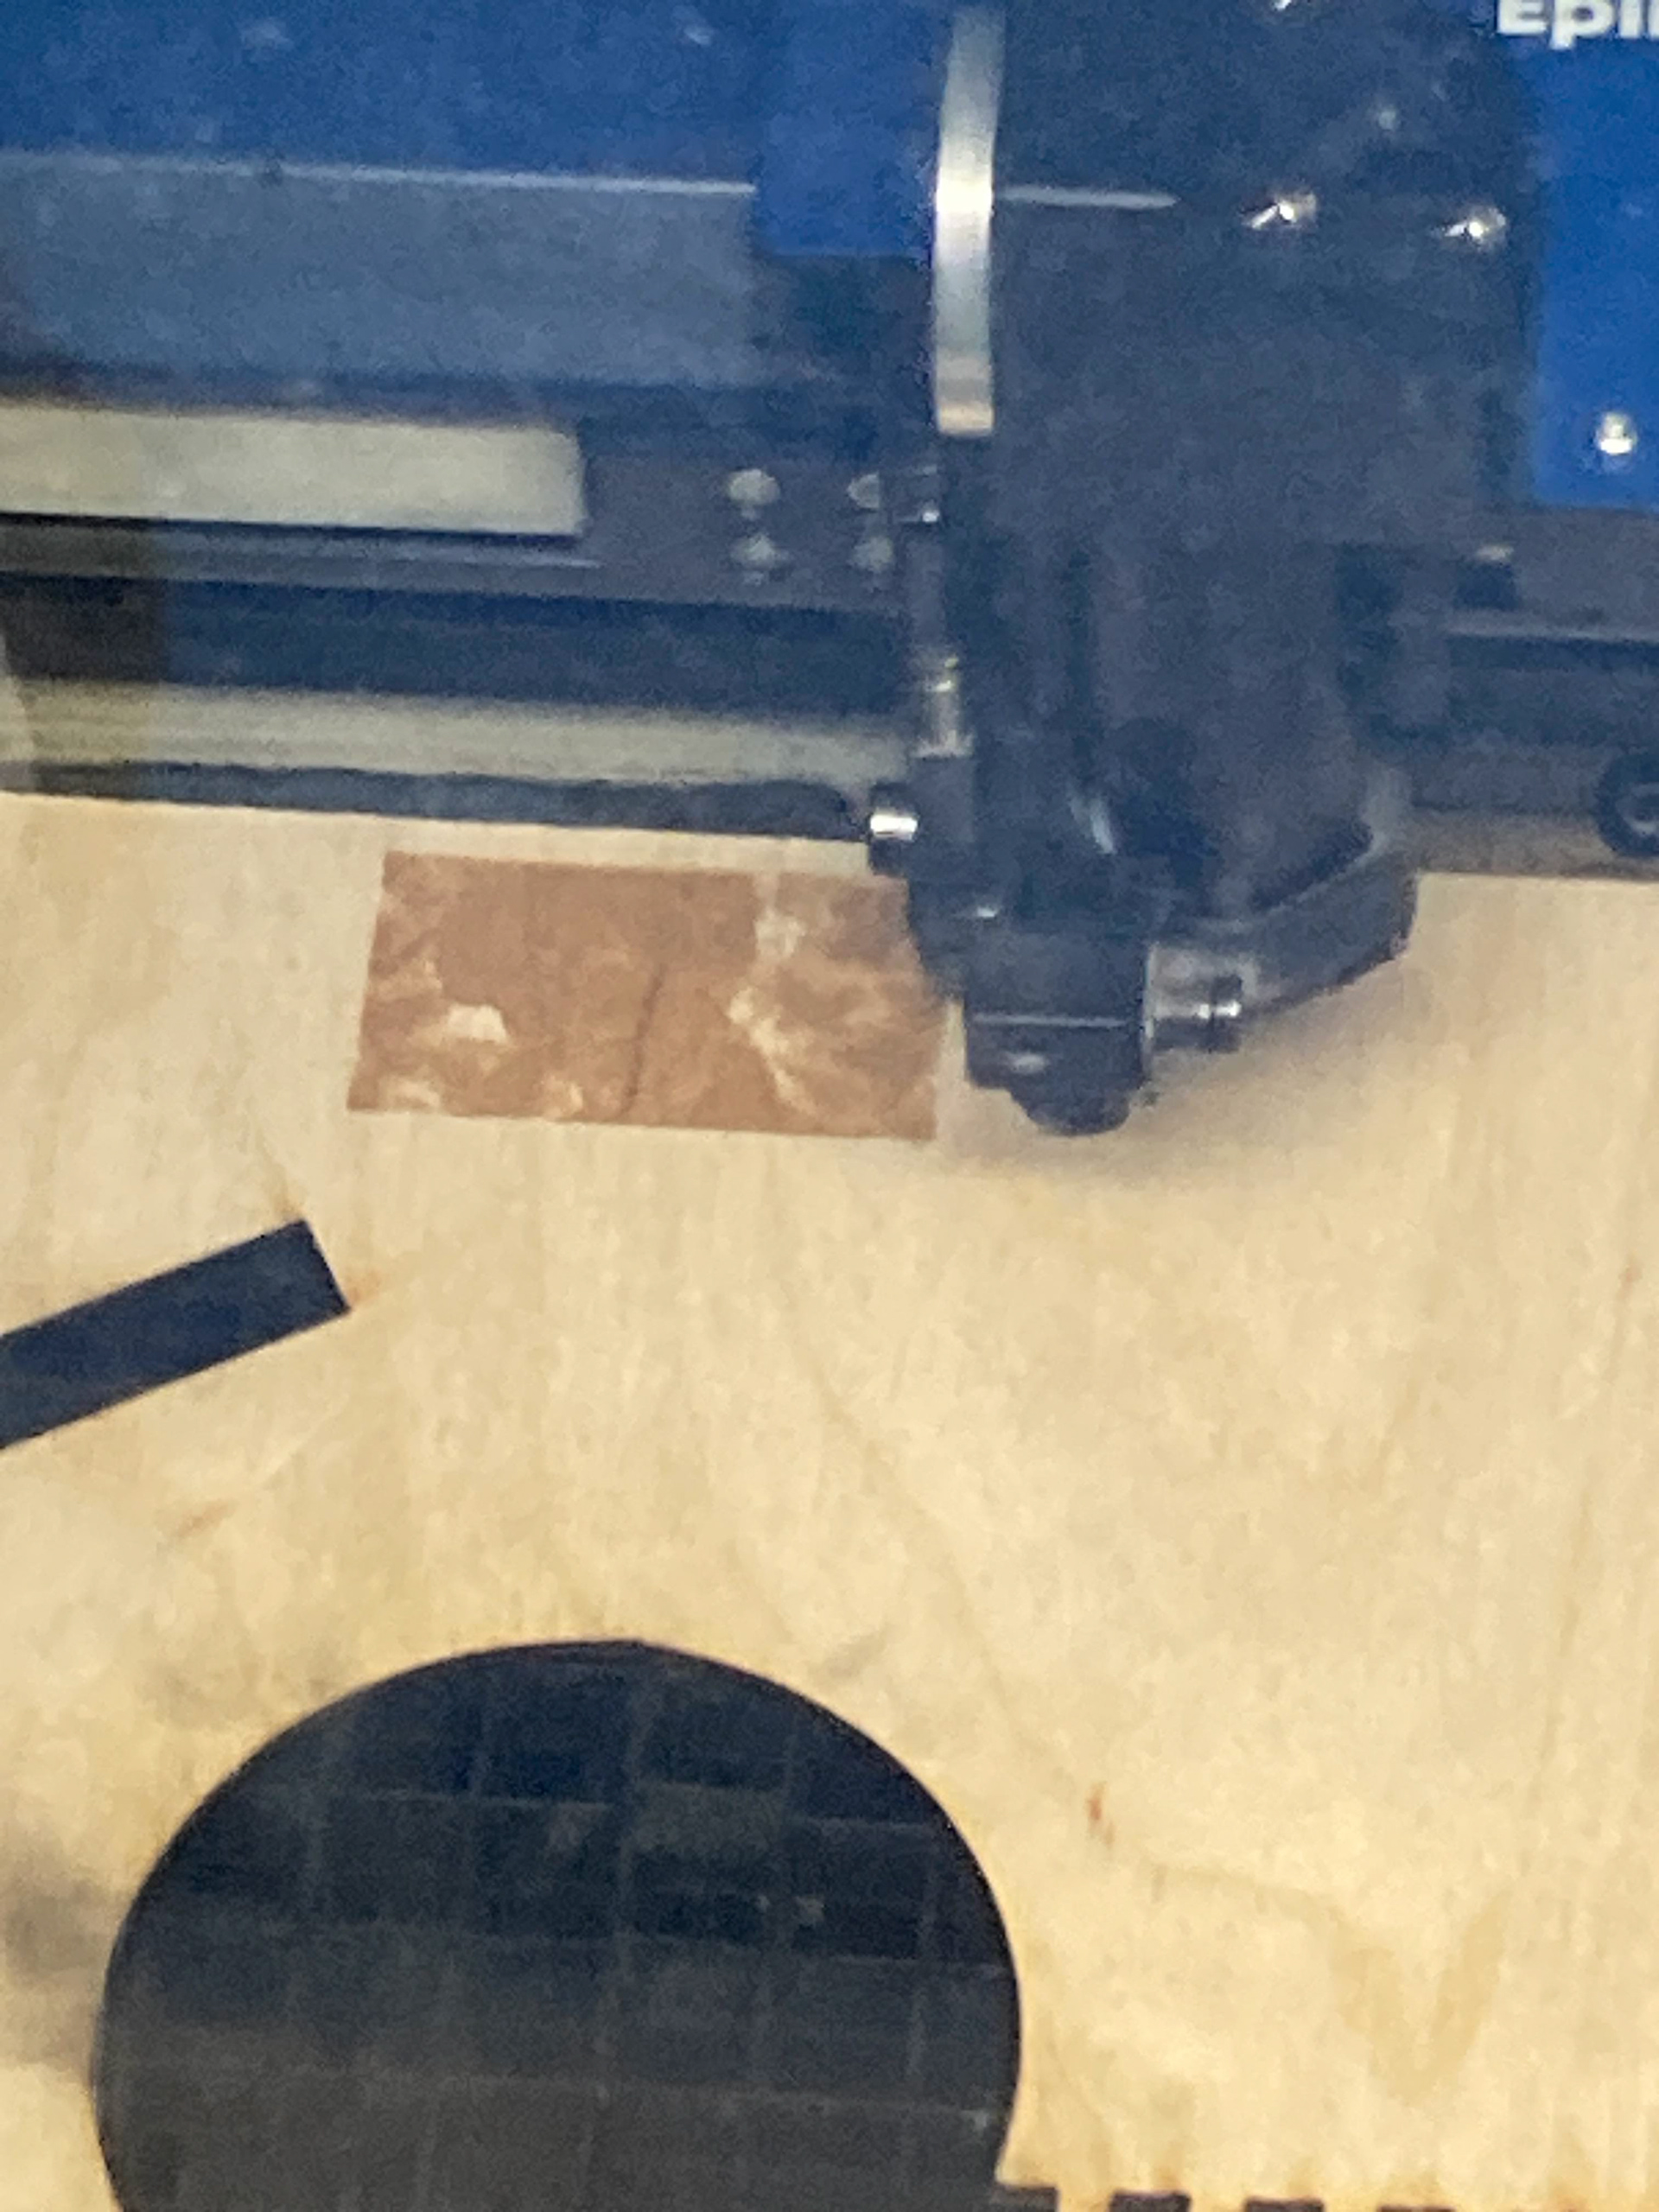
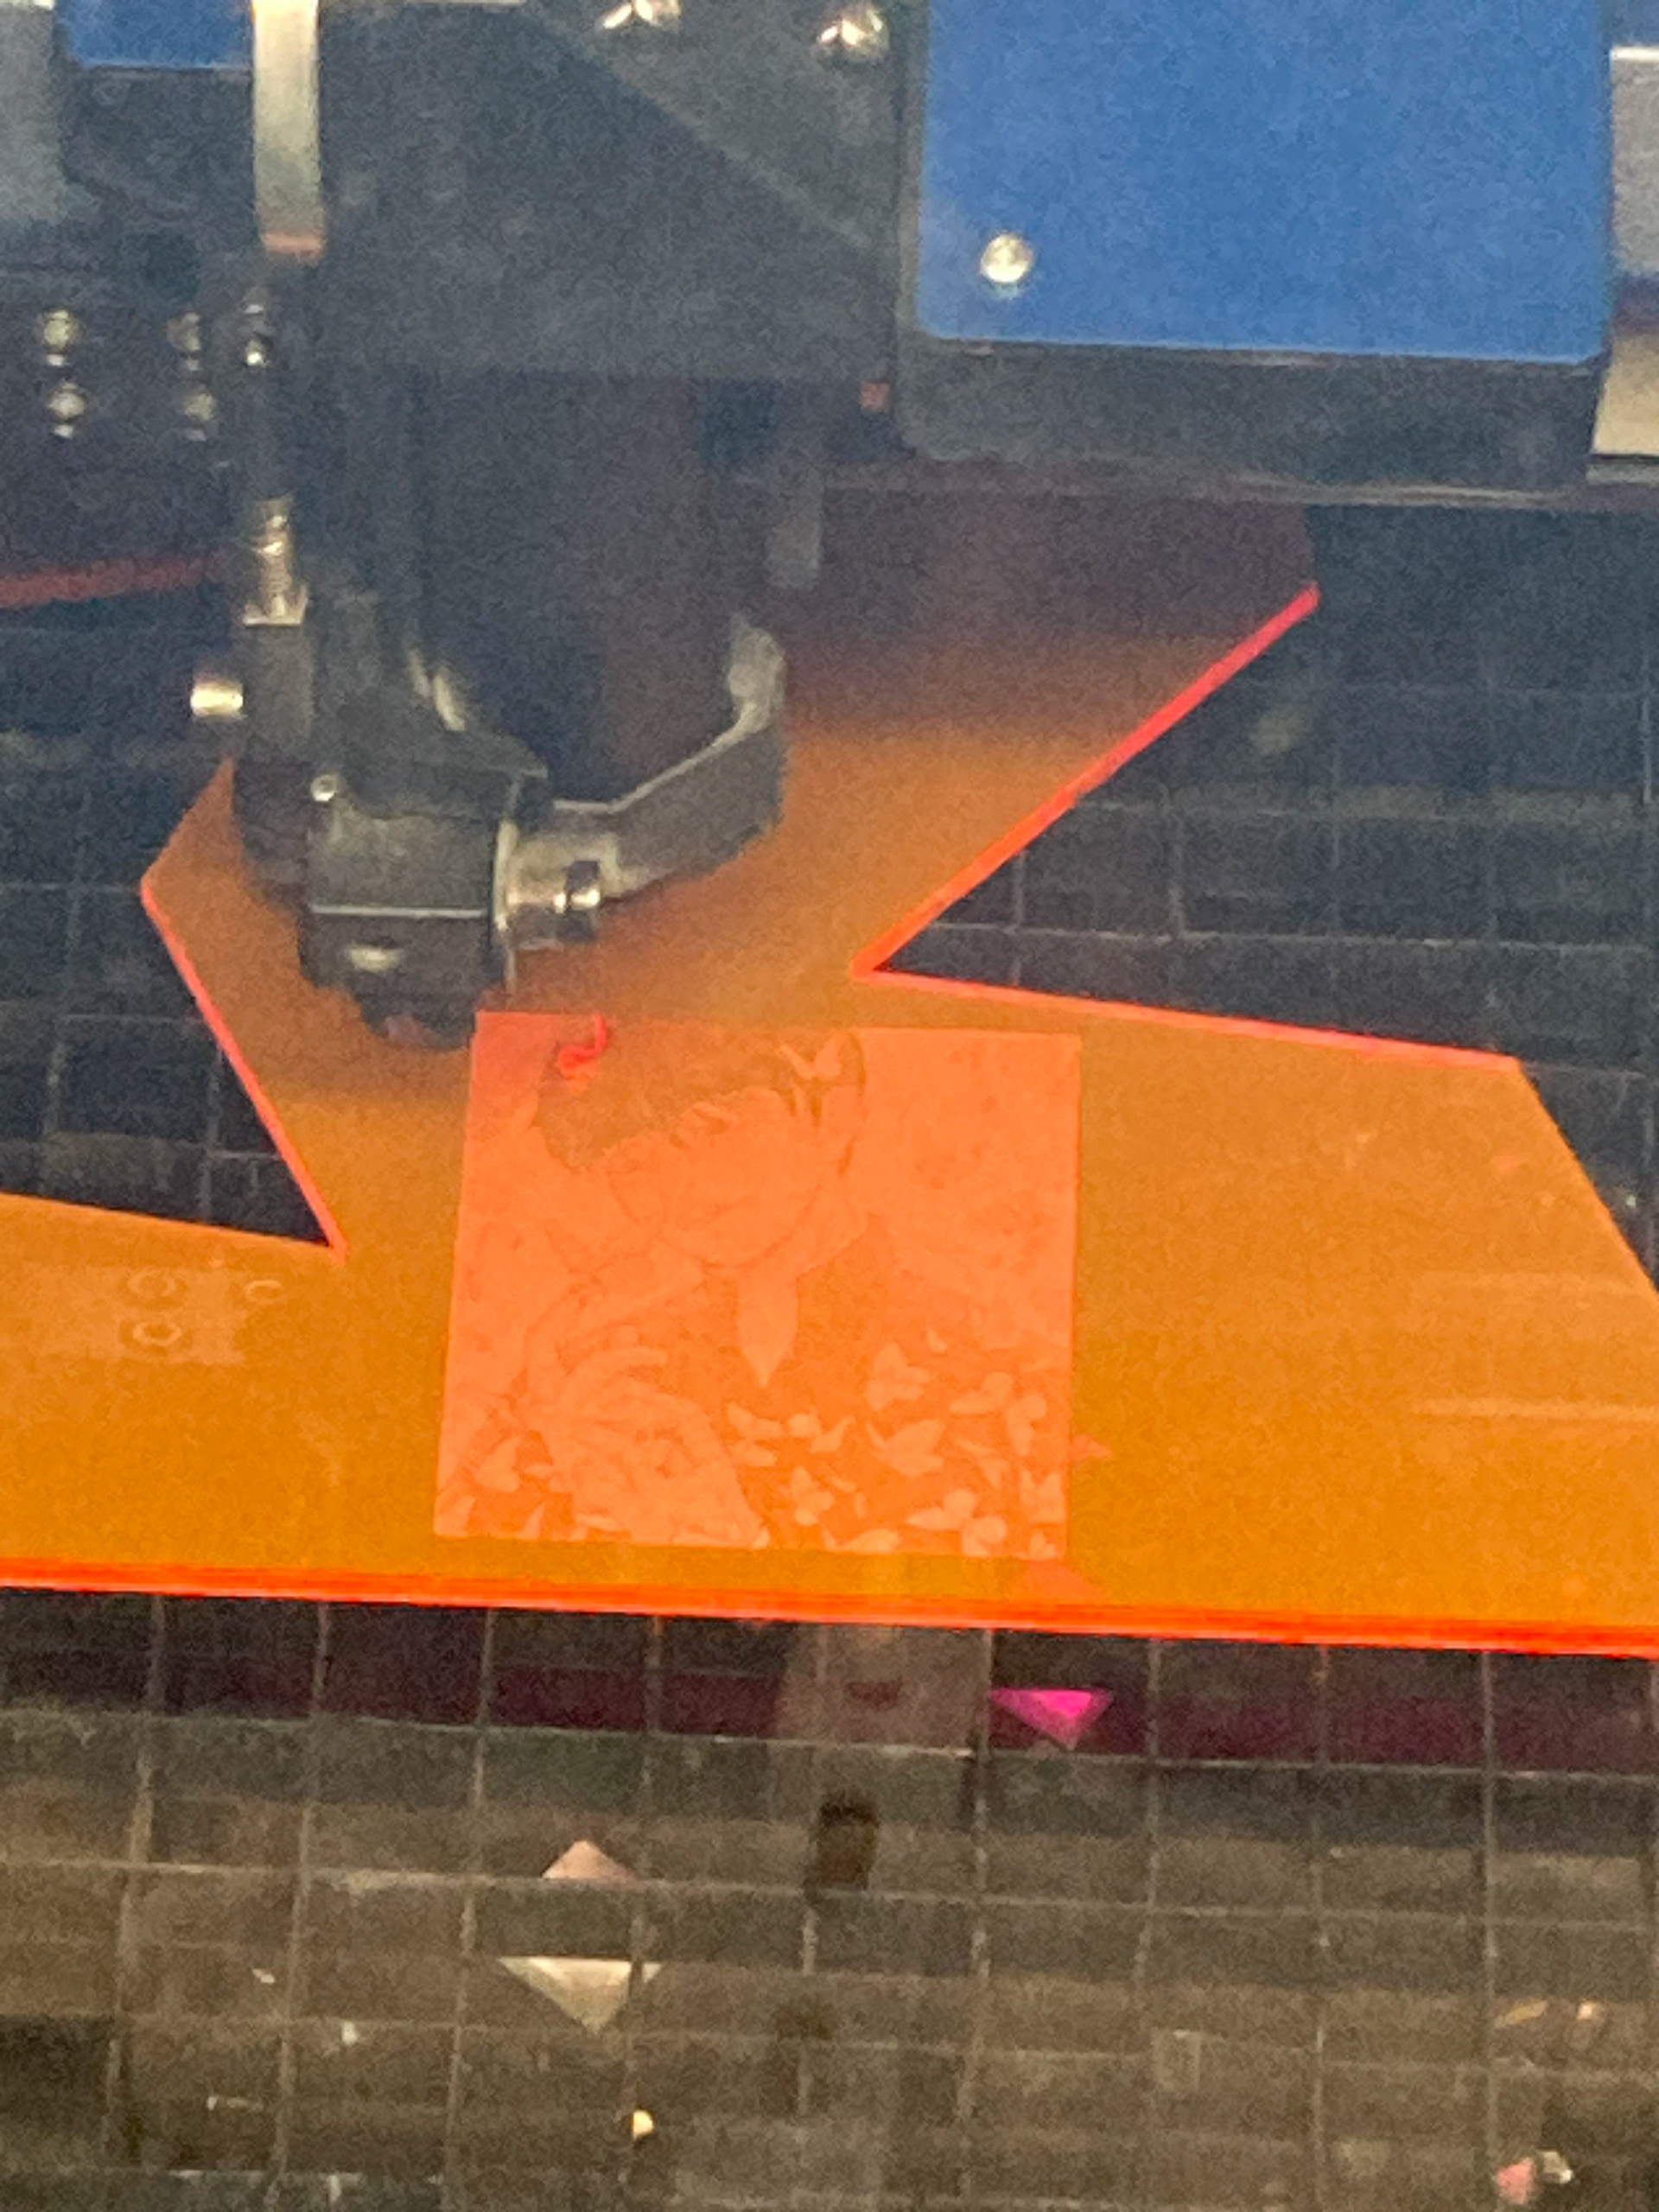
I then did my real cut on my 12x12 piece of acrylic. I left the paper on, thinking the laser cutter would be able to engrave through the paper, but I realized later that the laser actually was not going through, so when I took the paper off...
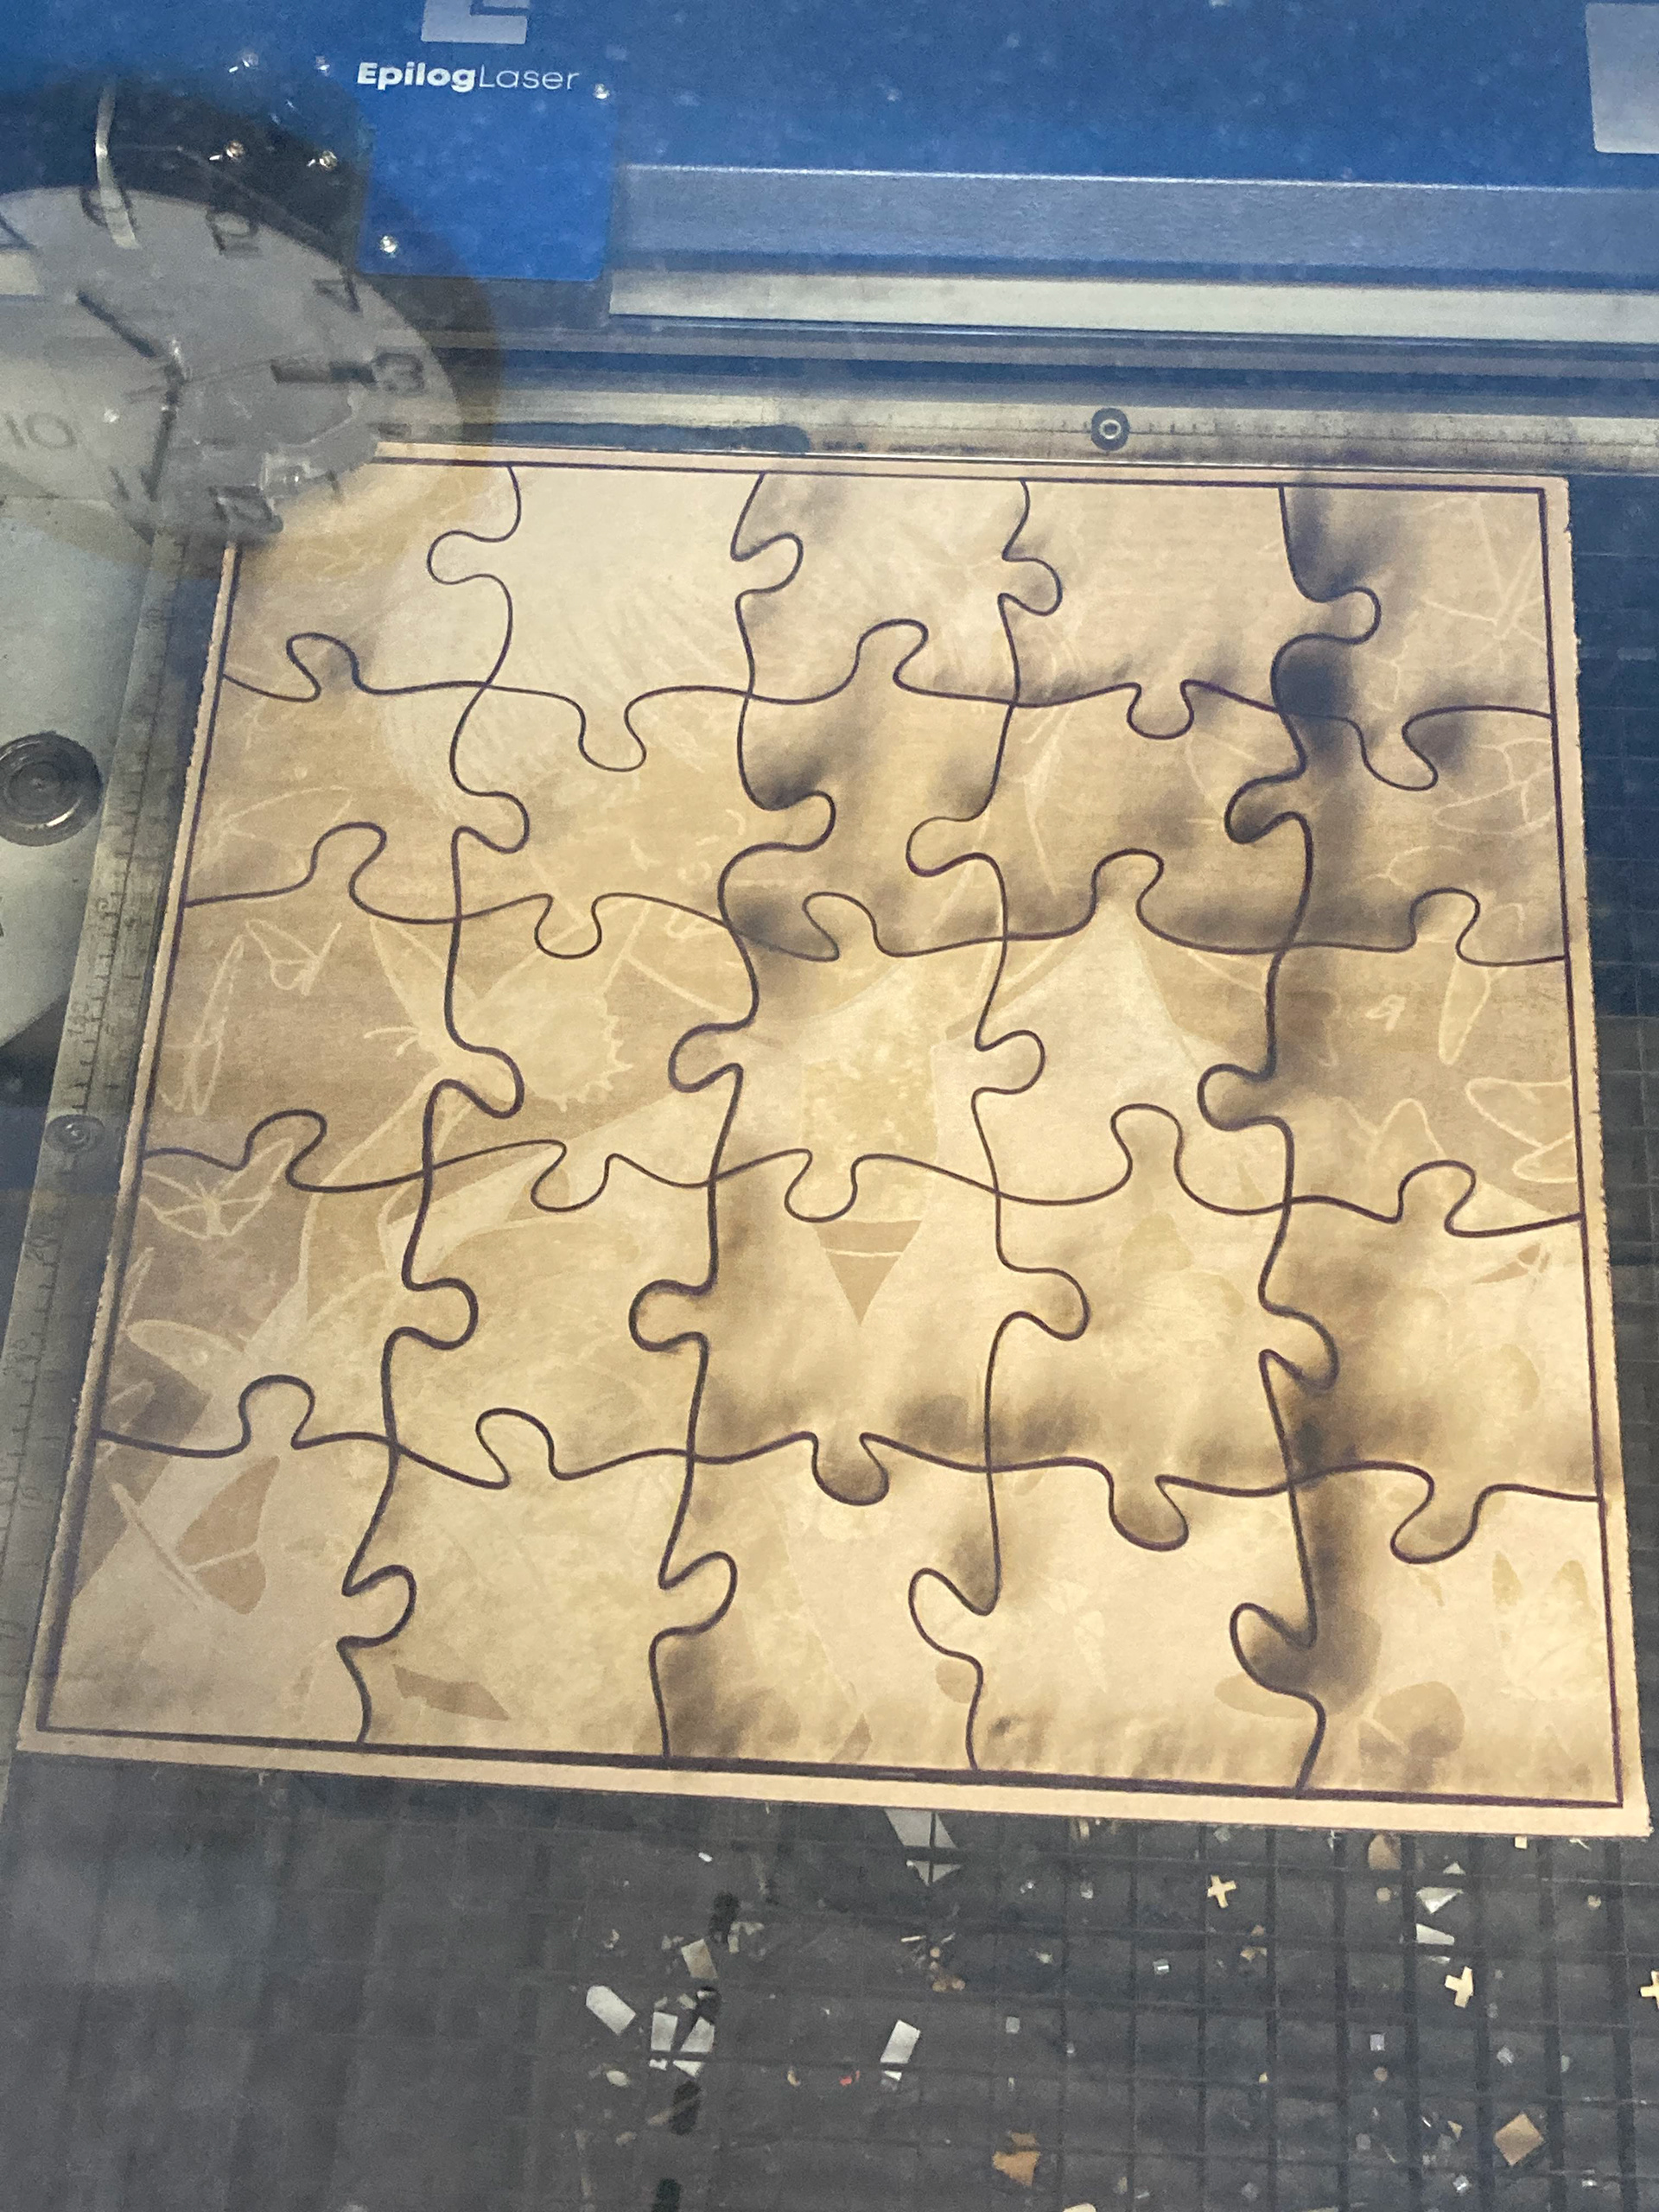
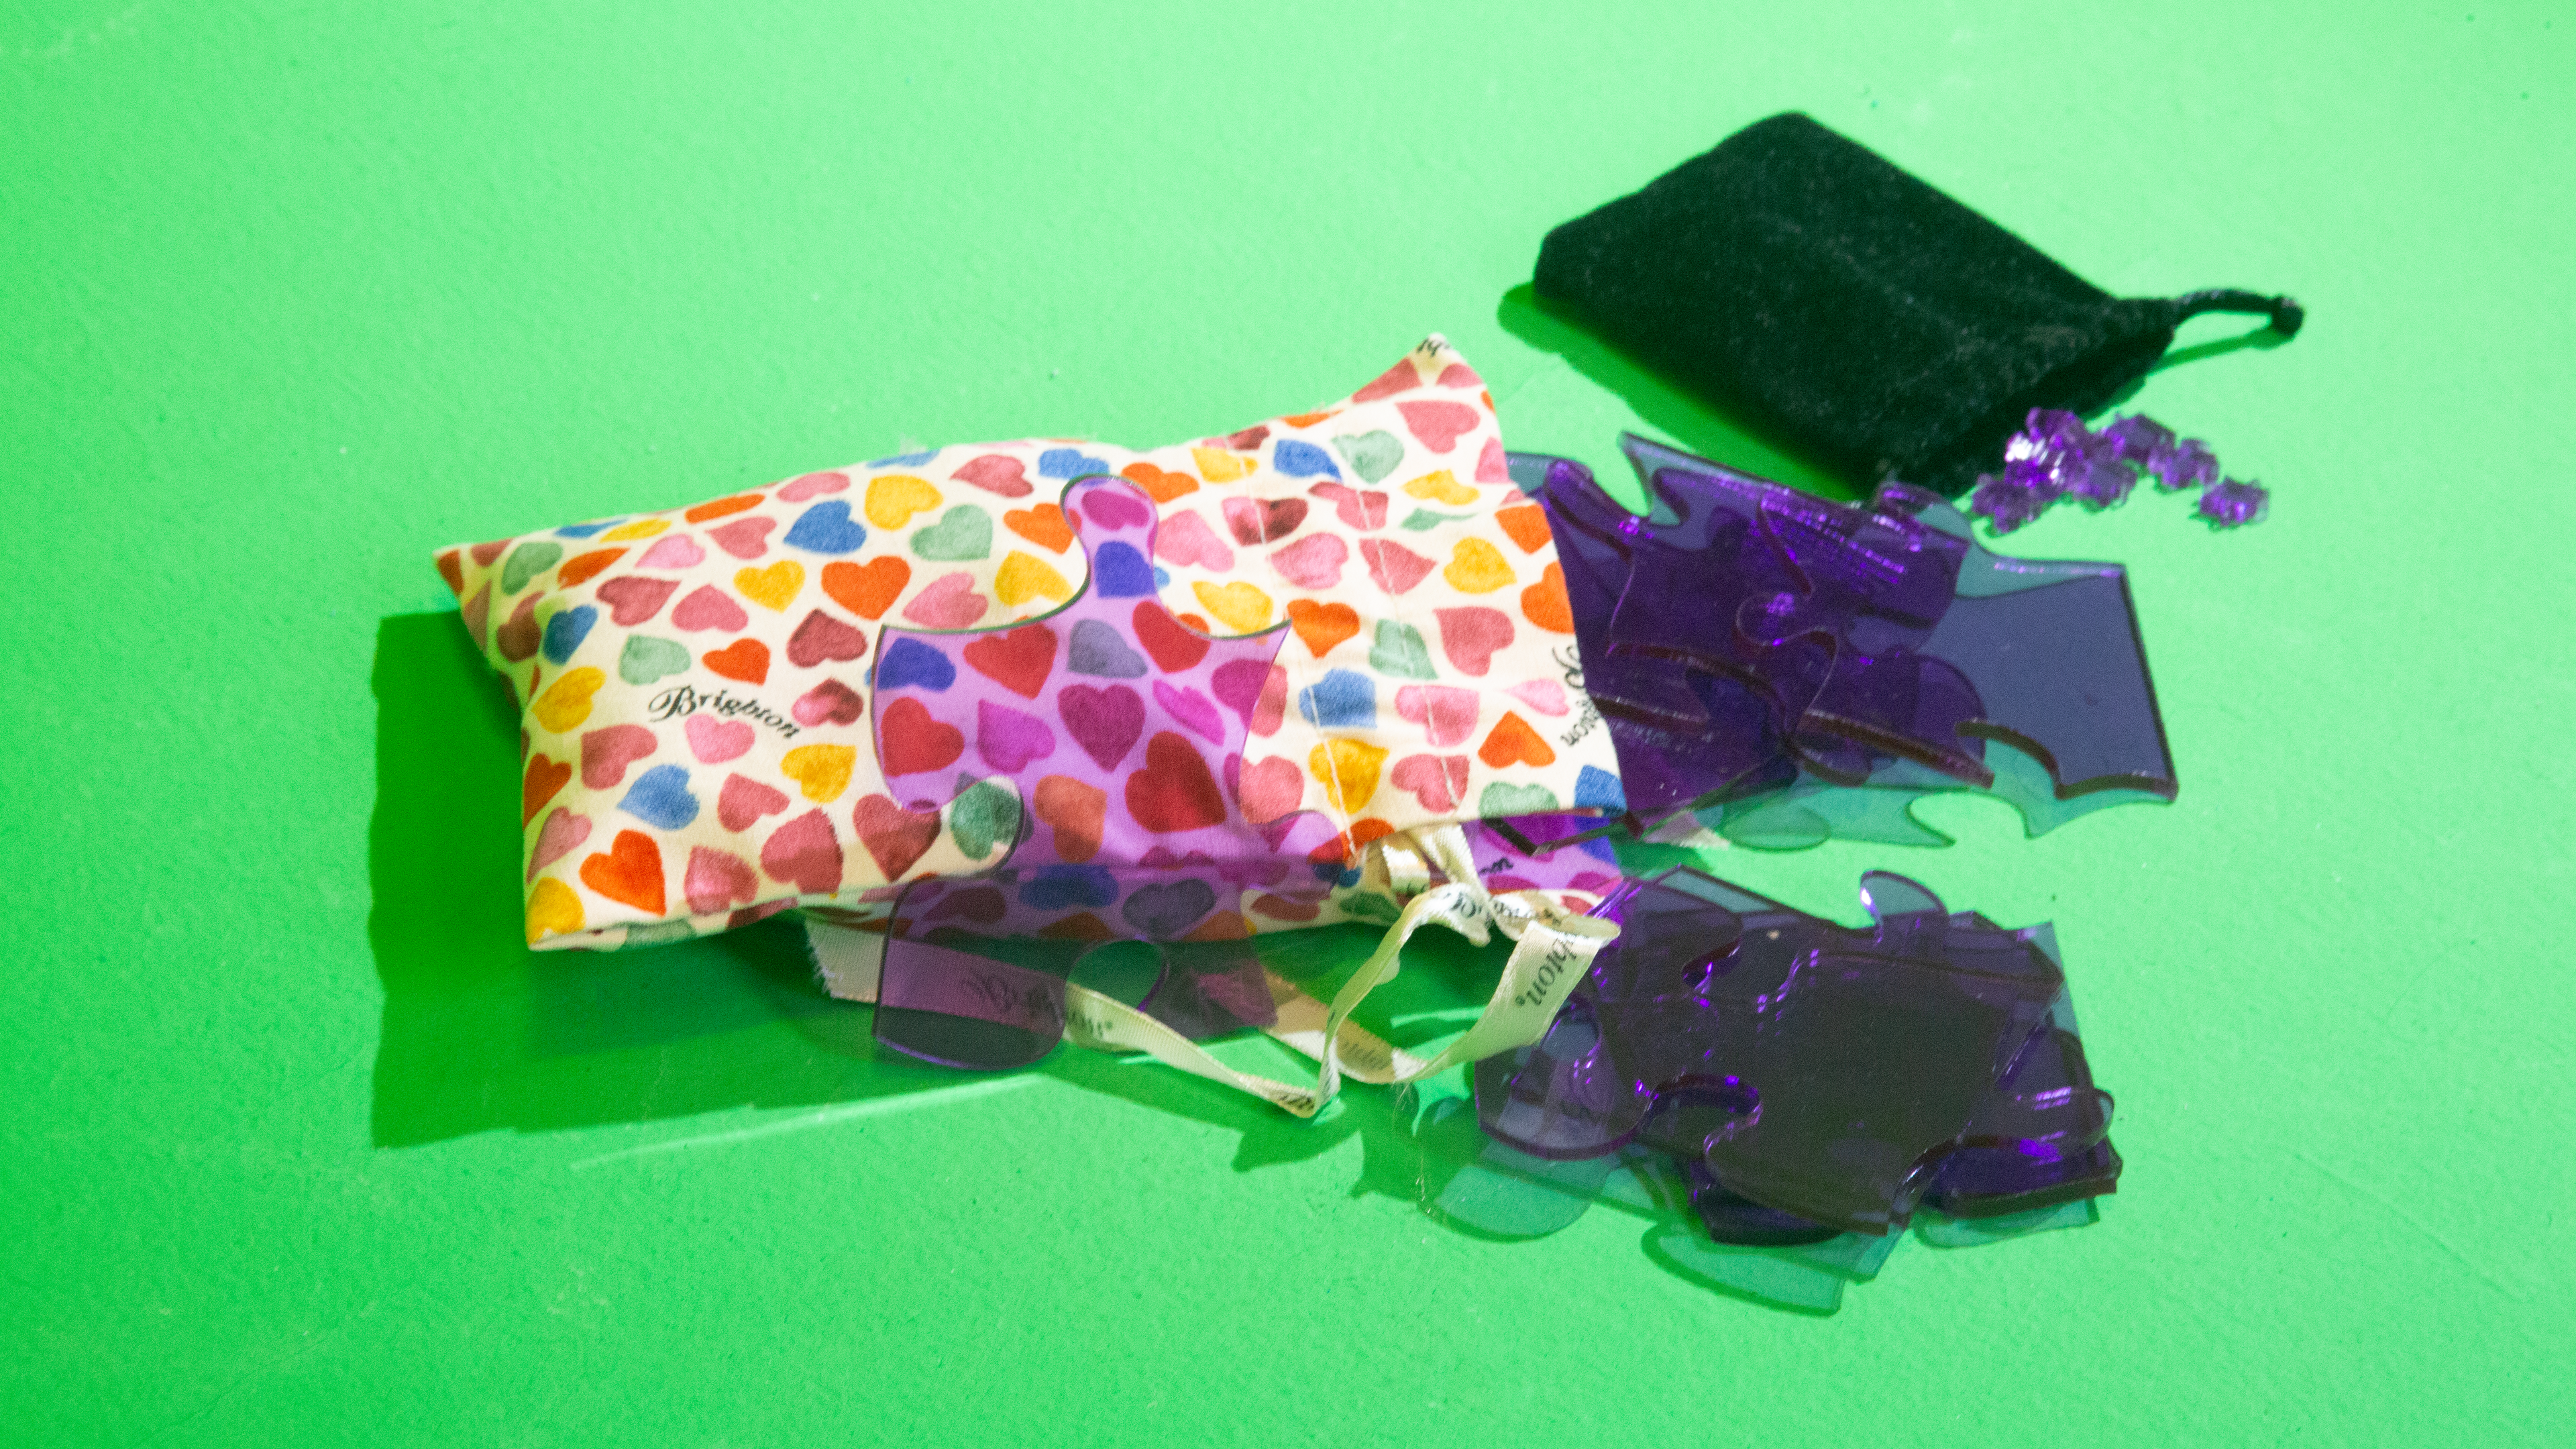
...I ended up with a plain puzzle! Which was a bit unfortunate, and I learned it's quite difficult to get the paper off the acrylic. But I think I will try to engrave the bigger puzzle when I have time!
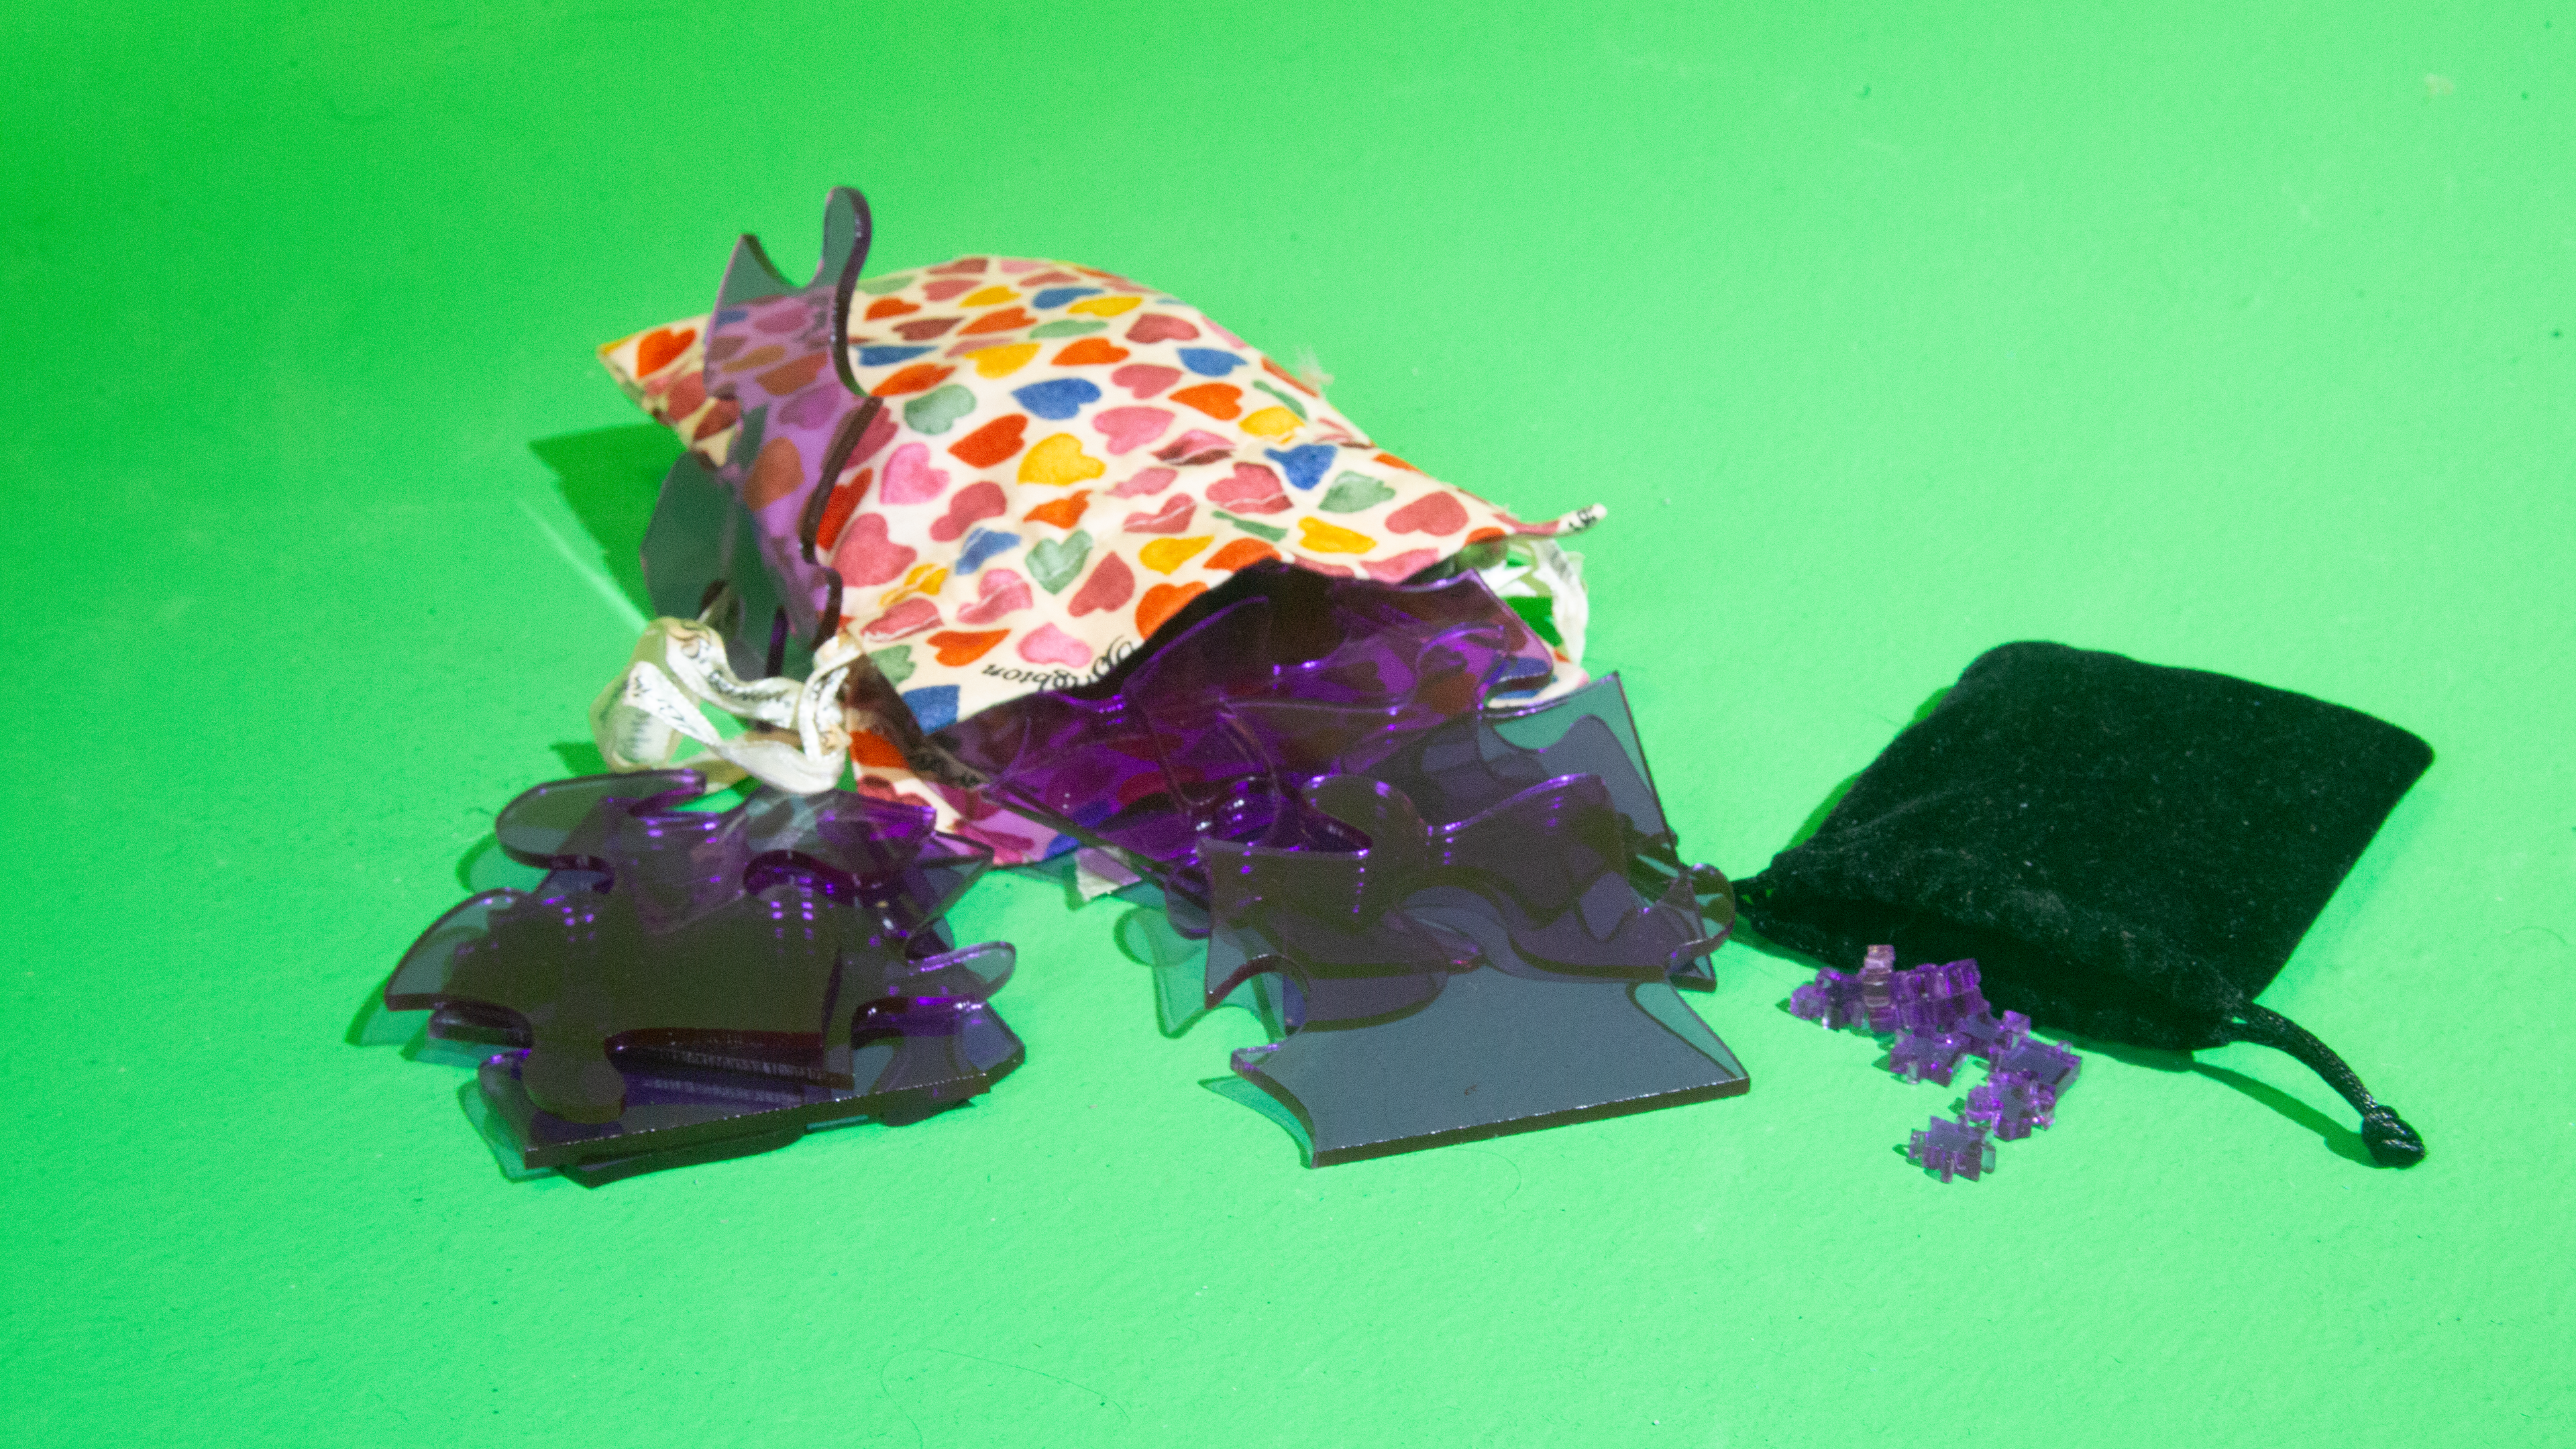
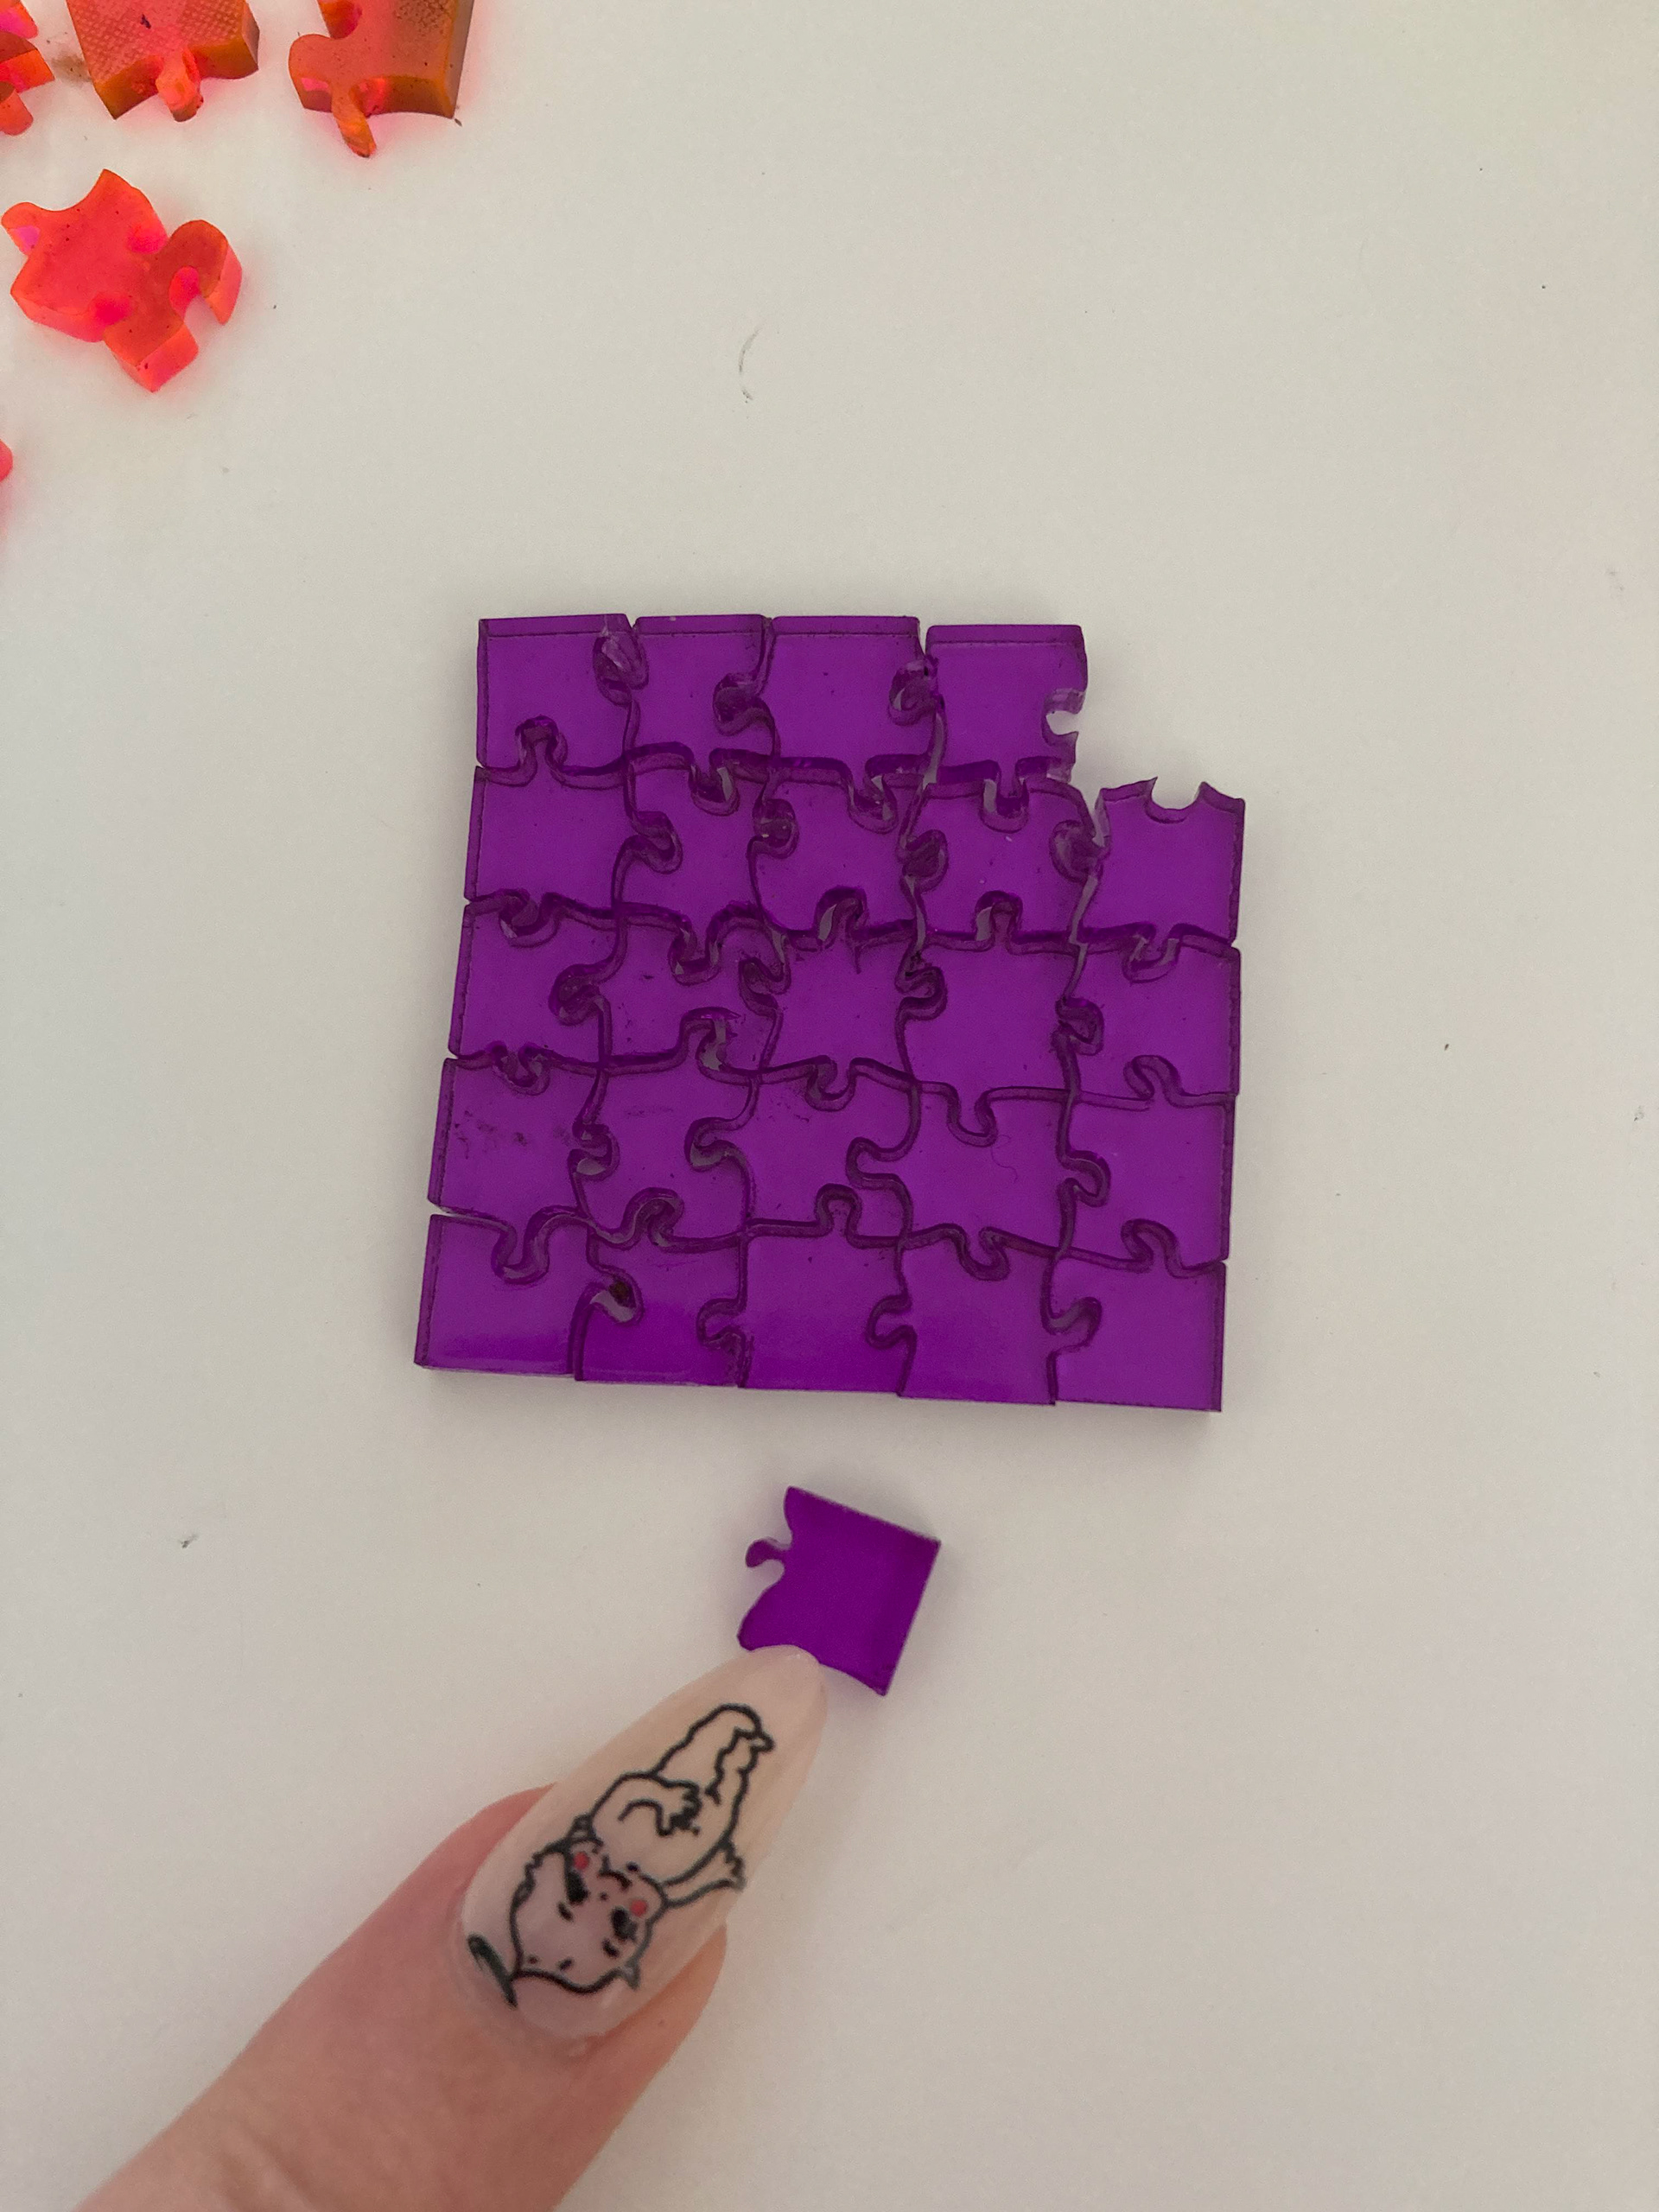
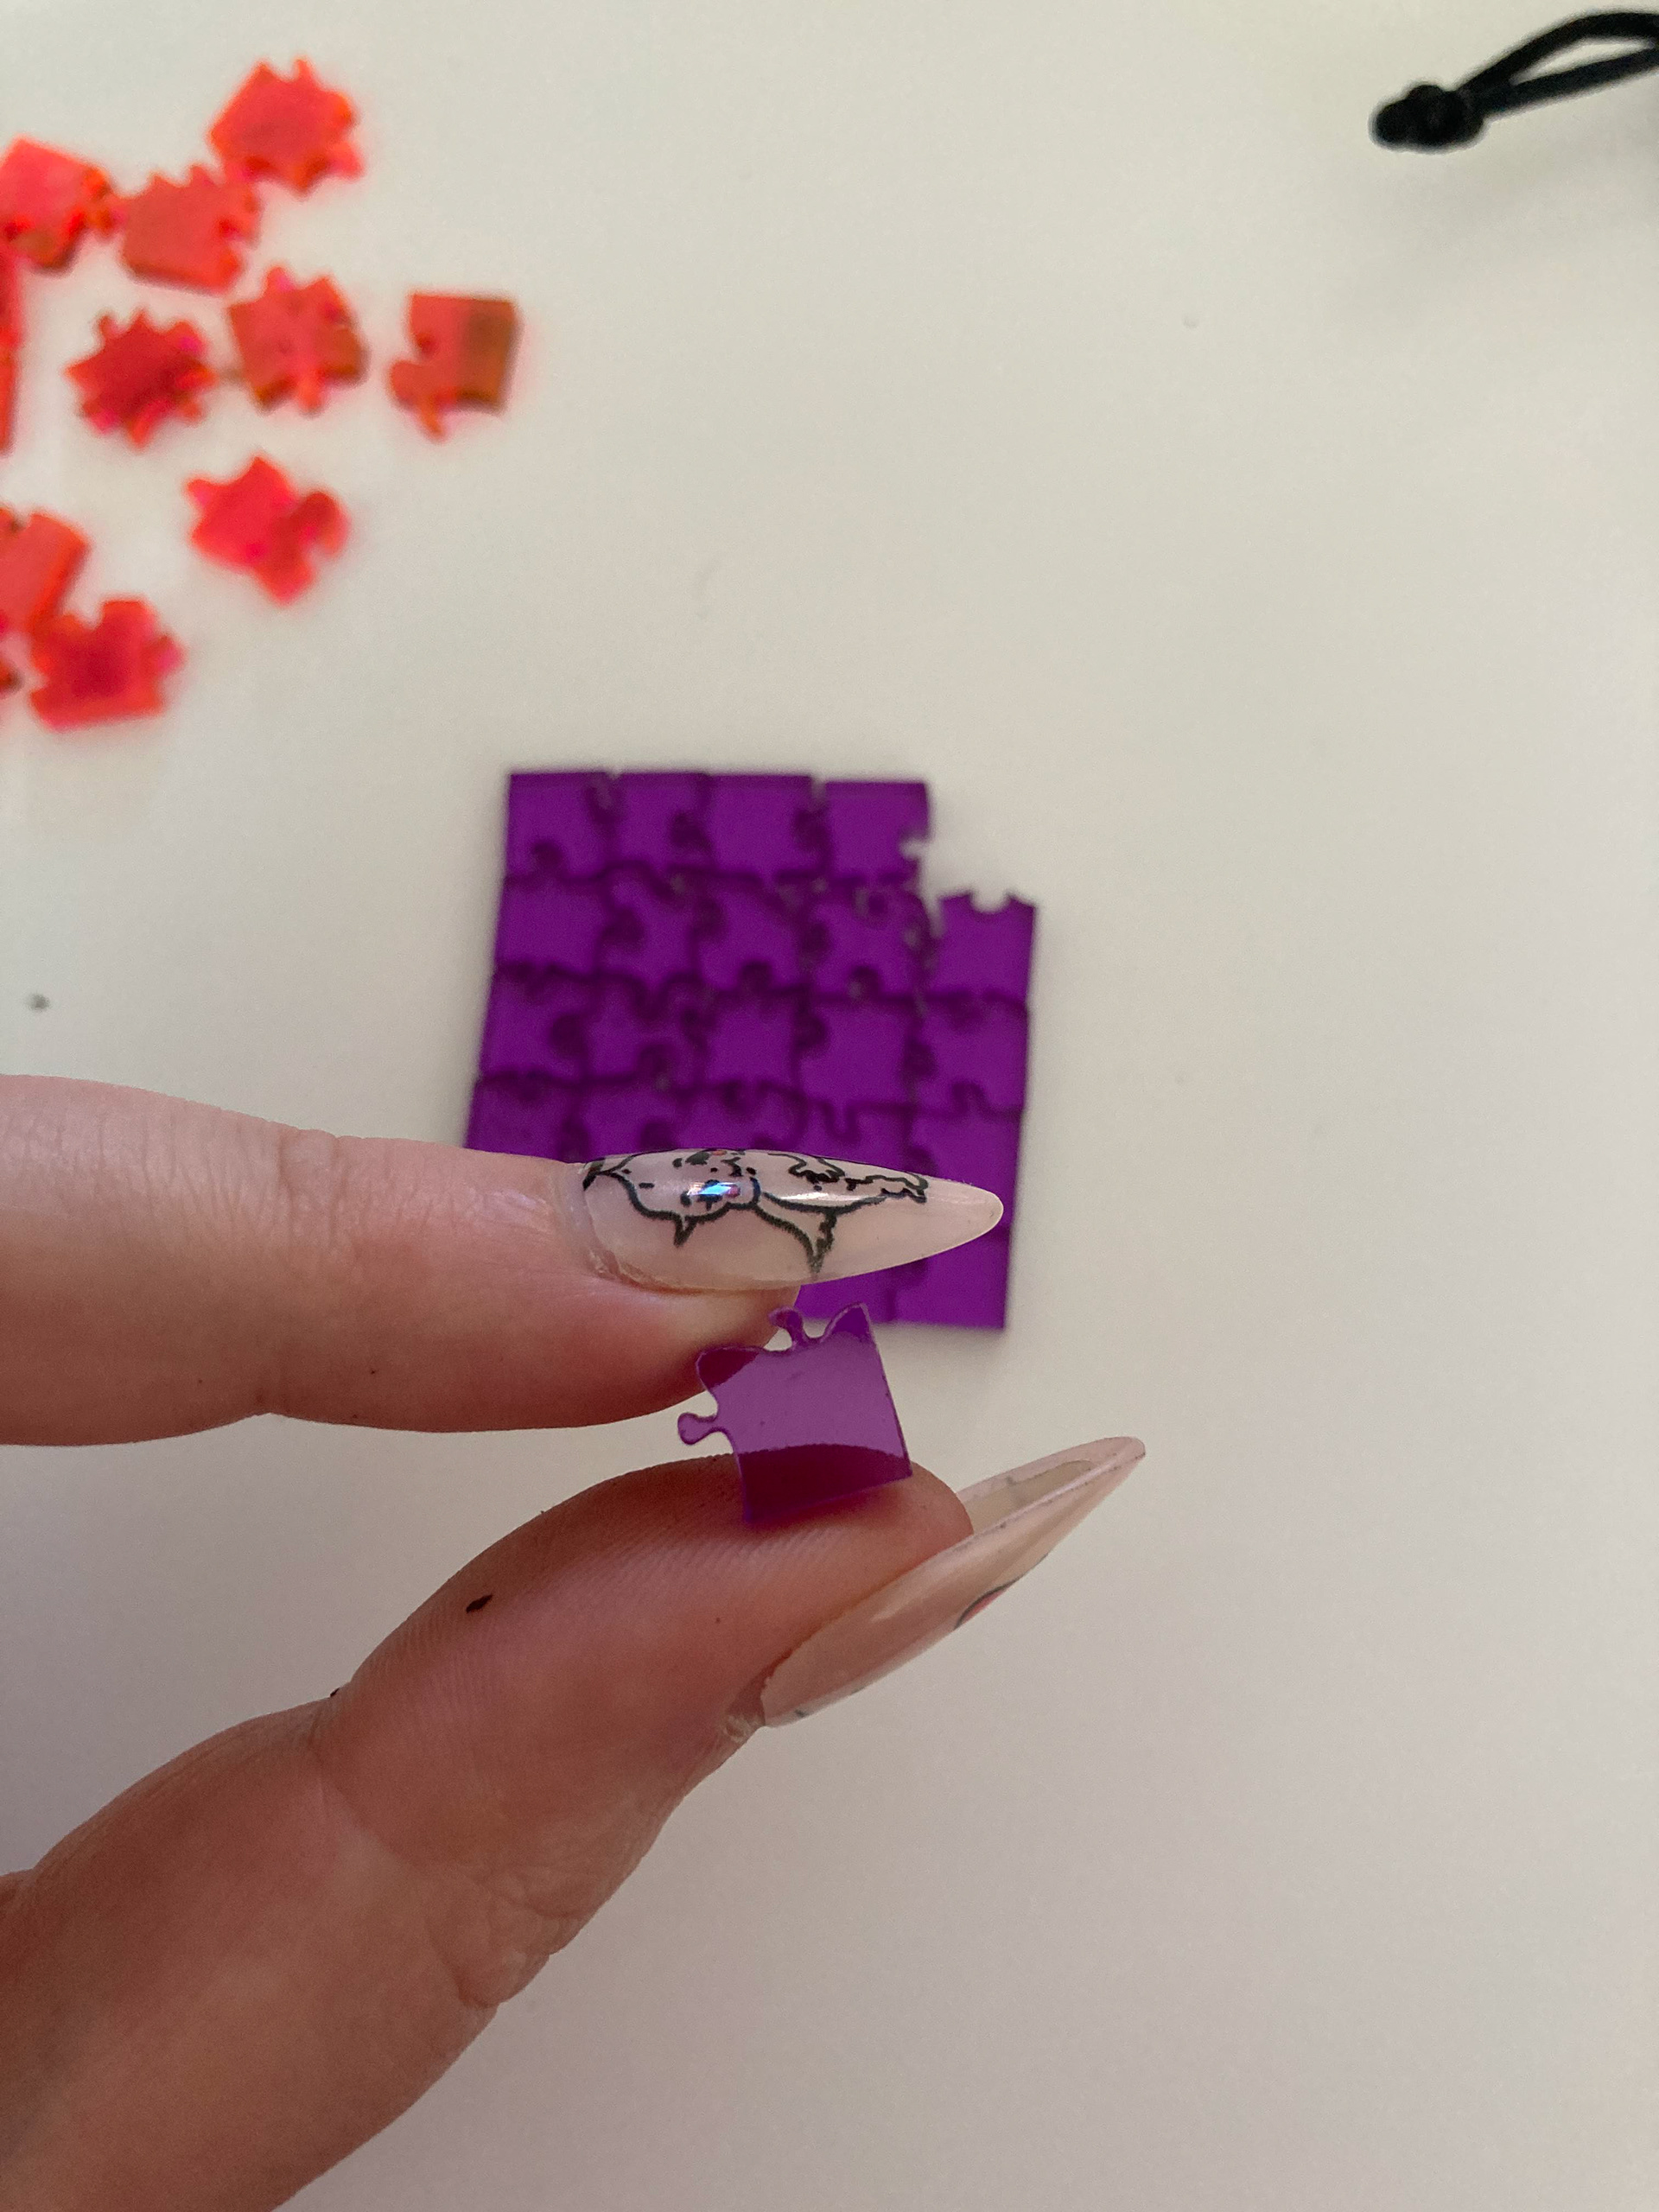
The miniature one I also realized my mistake too soon, so there is no image engraved unfortunately. The pieces are so small that they fall through the laser cutter grate, so I won't be able to engrave the smaller one. I put the tiny puzzle together though to prove it can be done, though it was like doing a puzzle with tweezers! I'm already bad at puzzles so I had to use the bigger one as a guide.
I think going forward I should probably take the top paper off to do the engraving, and leave the paper on the bottom for the cutting.
Week 2 - Repeatability
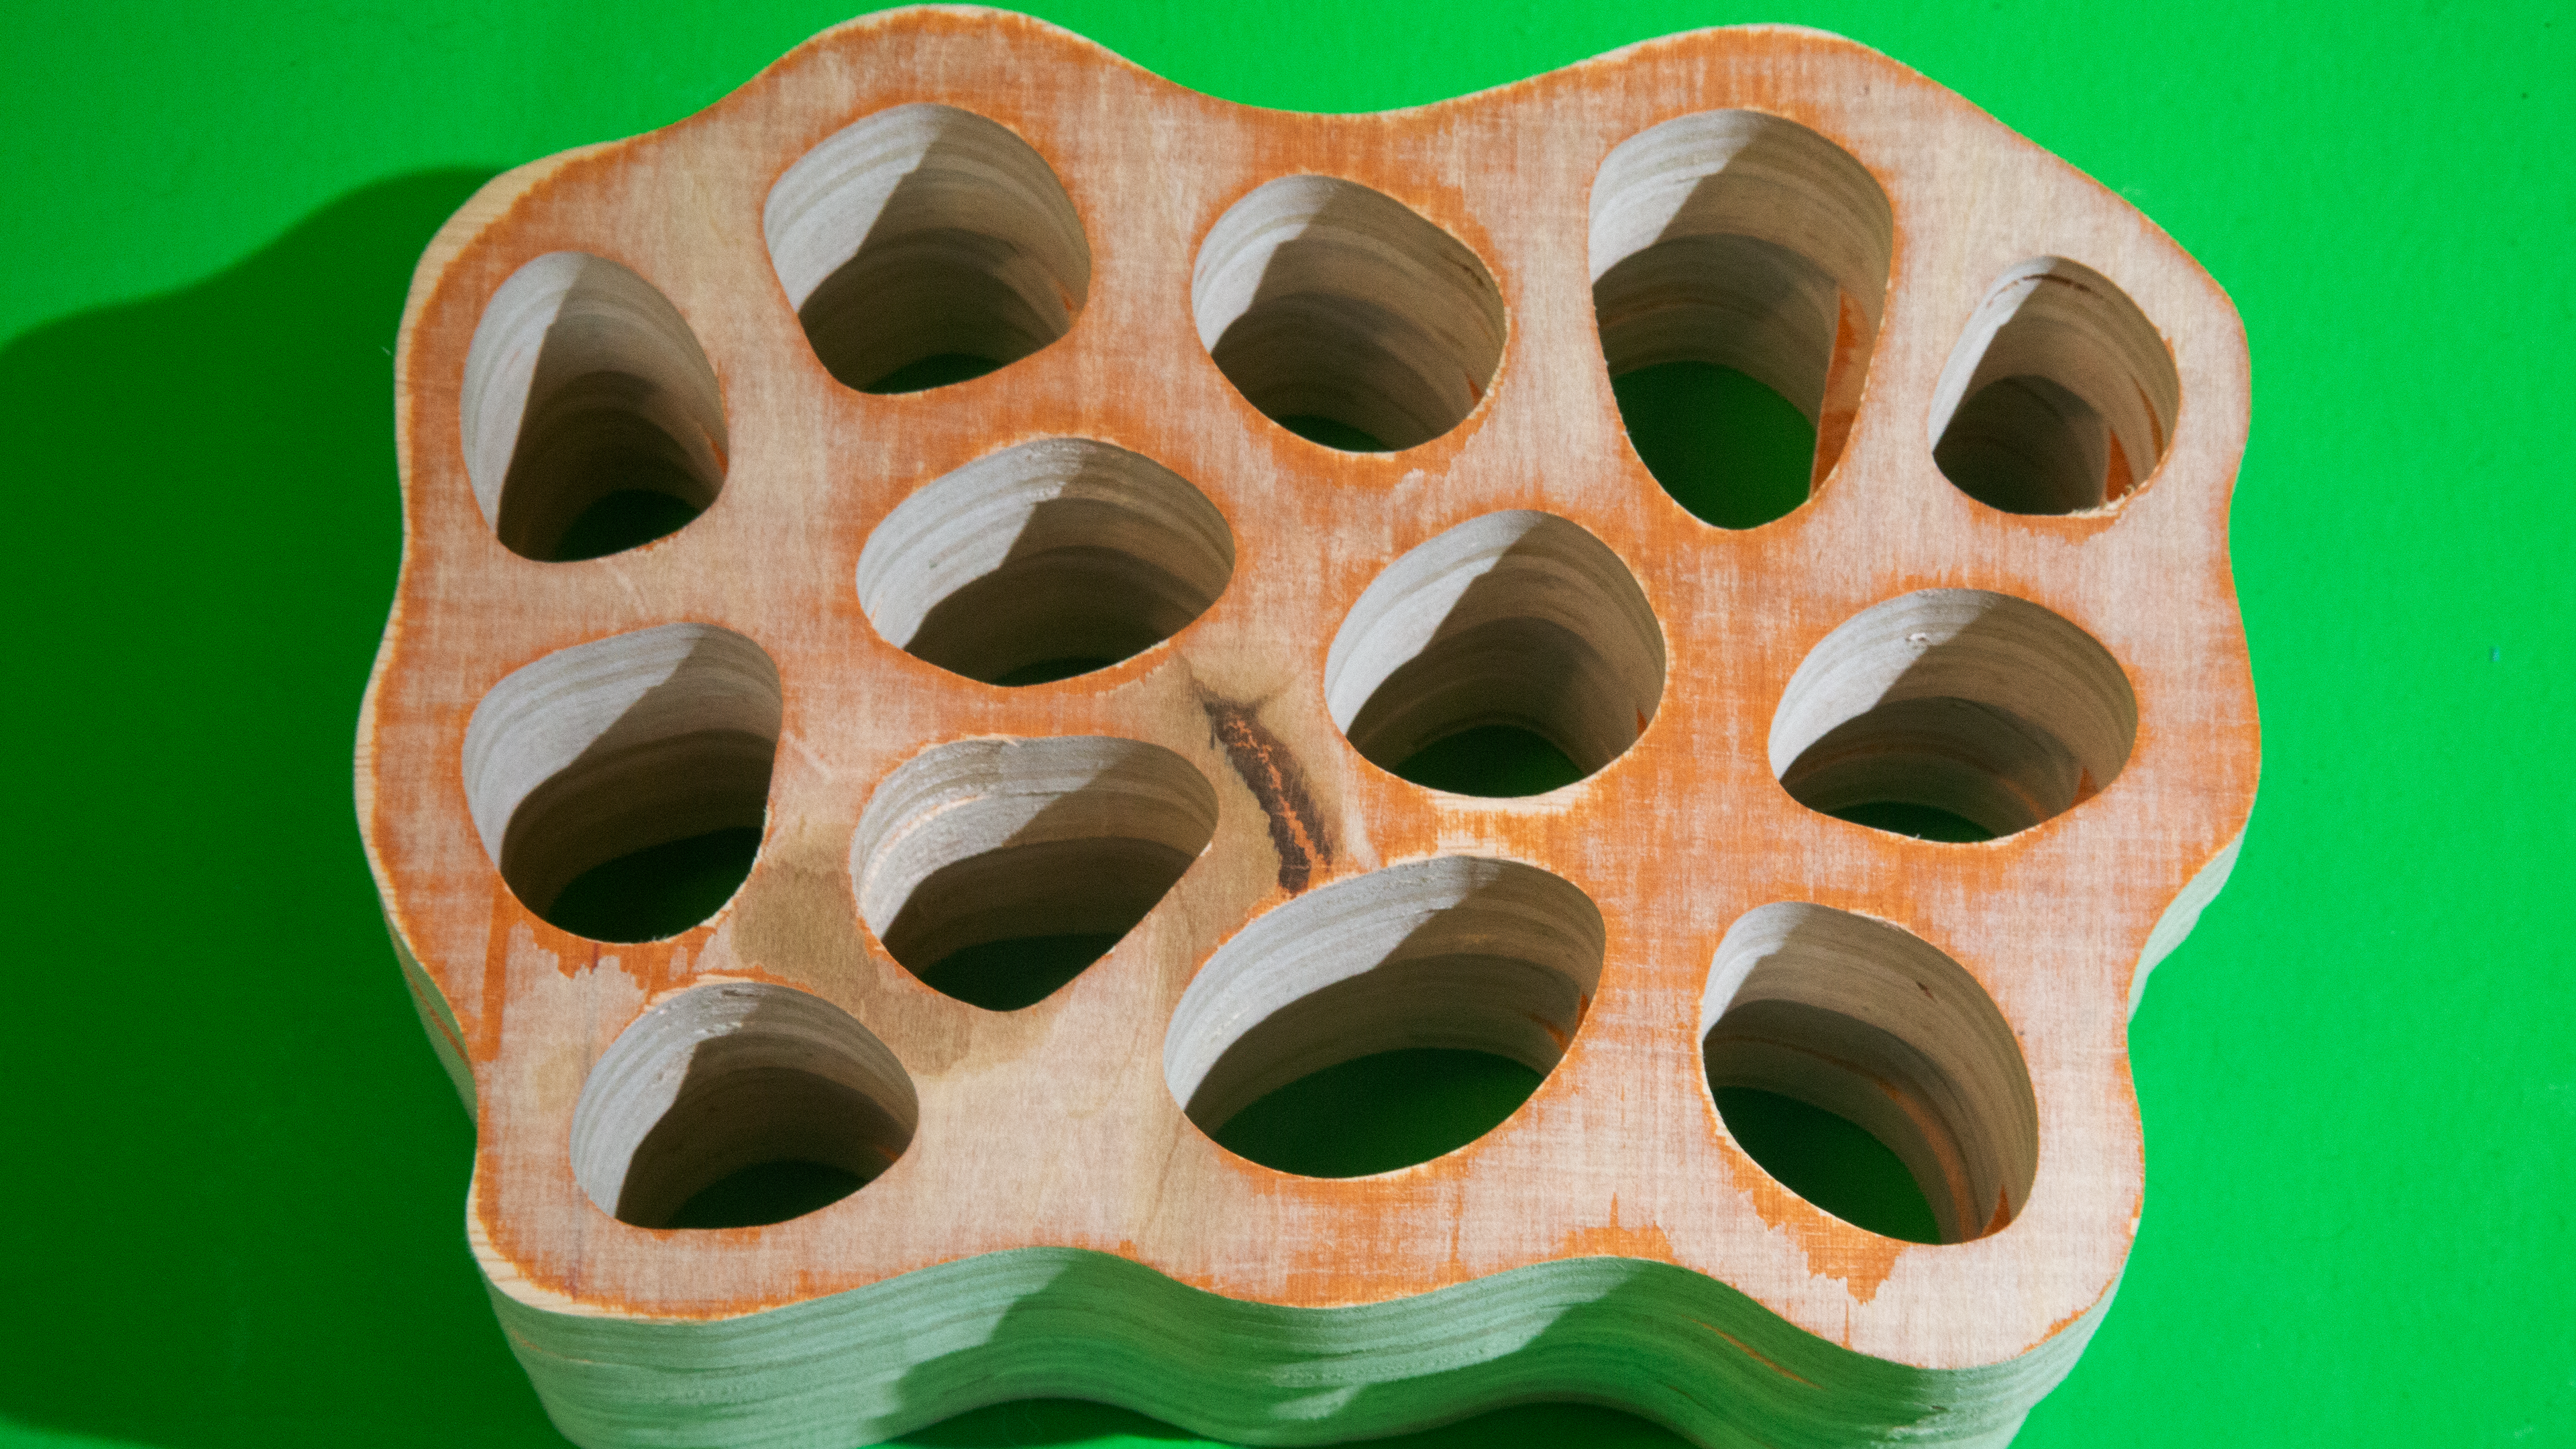
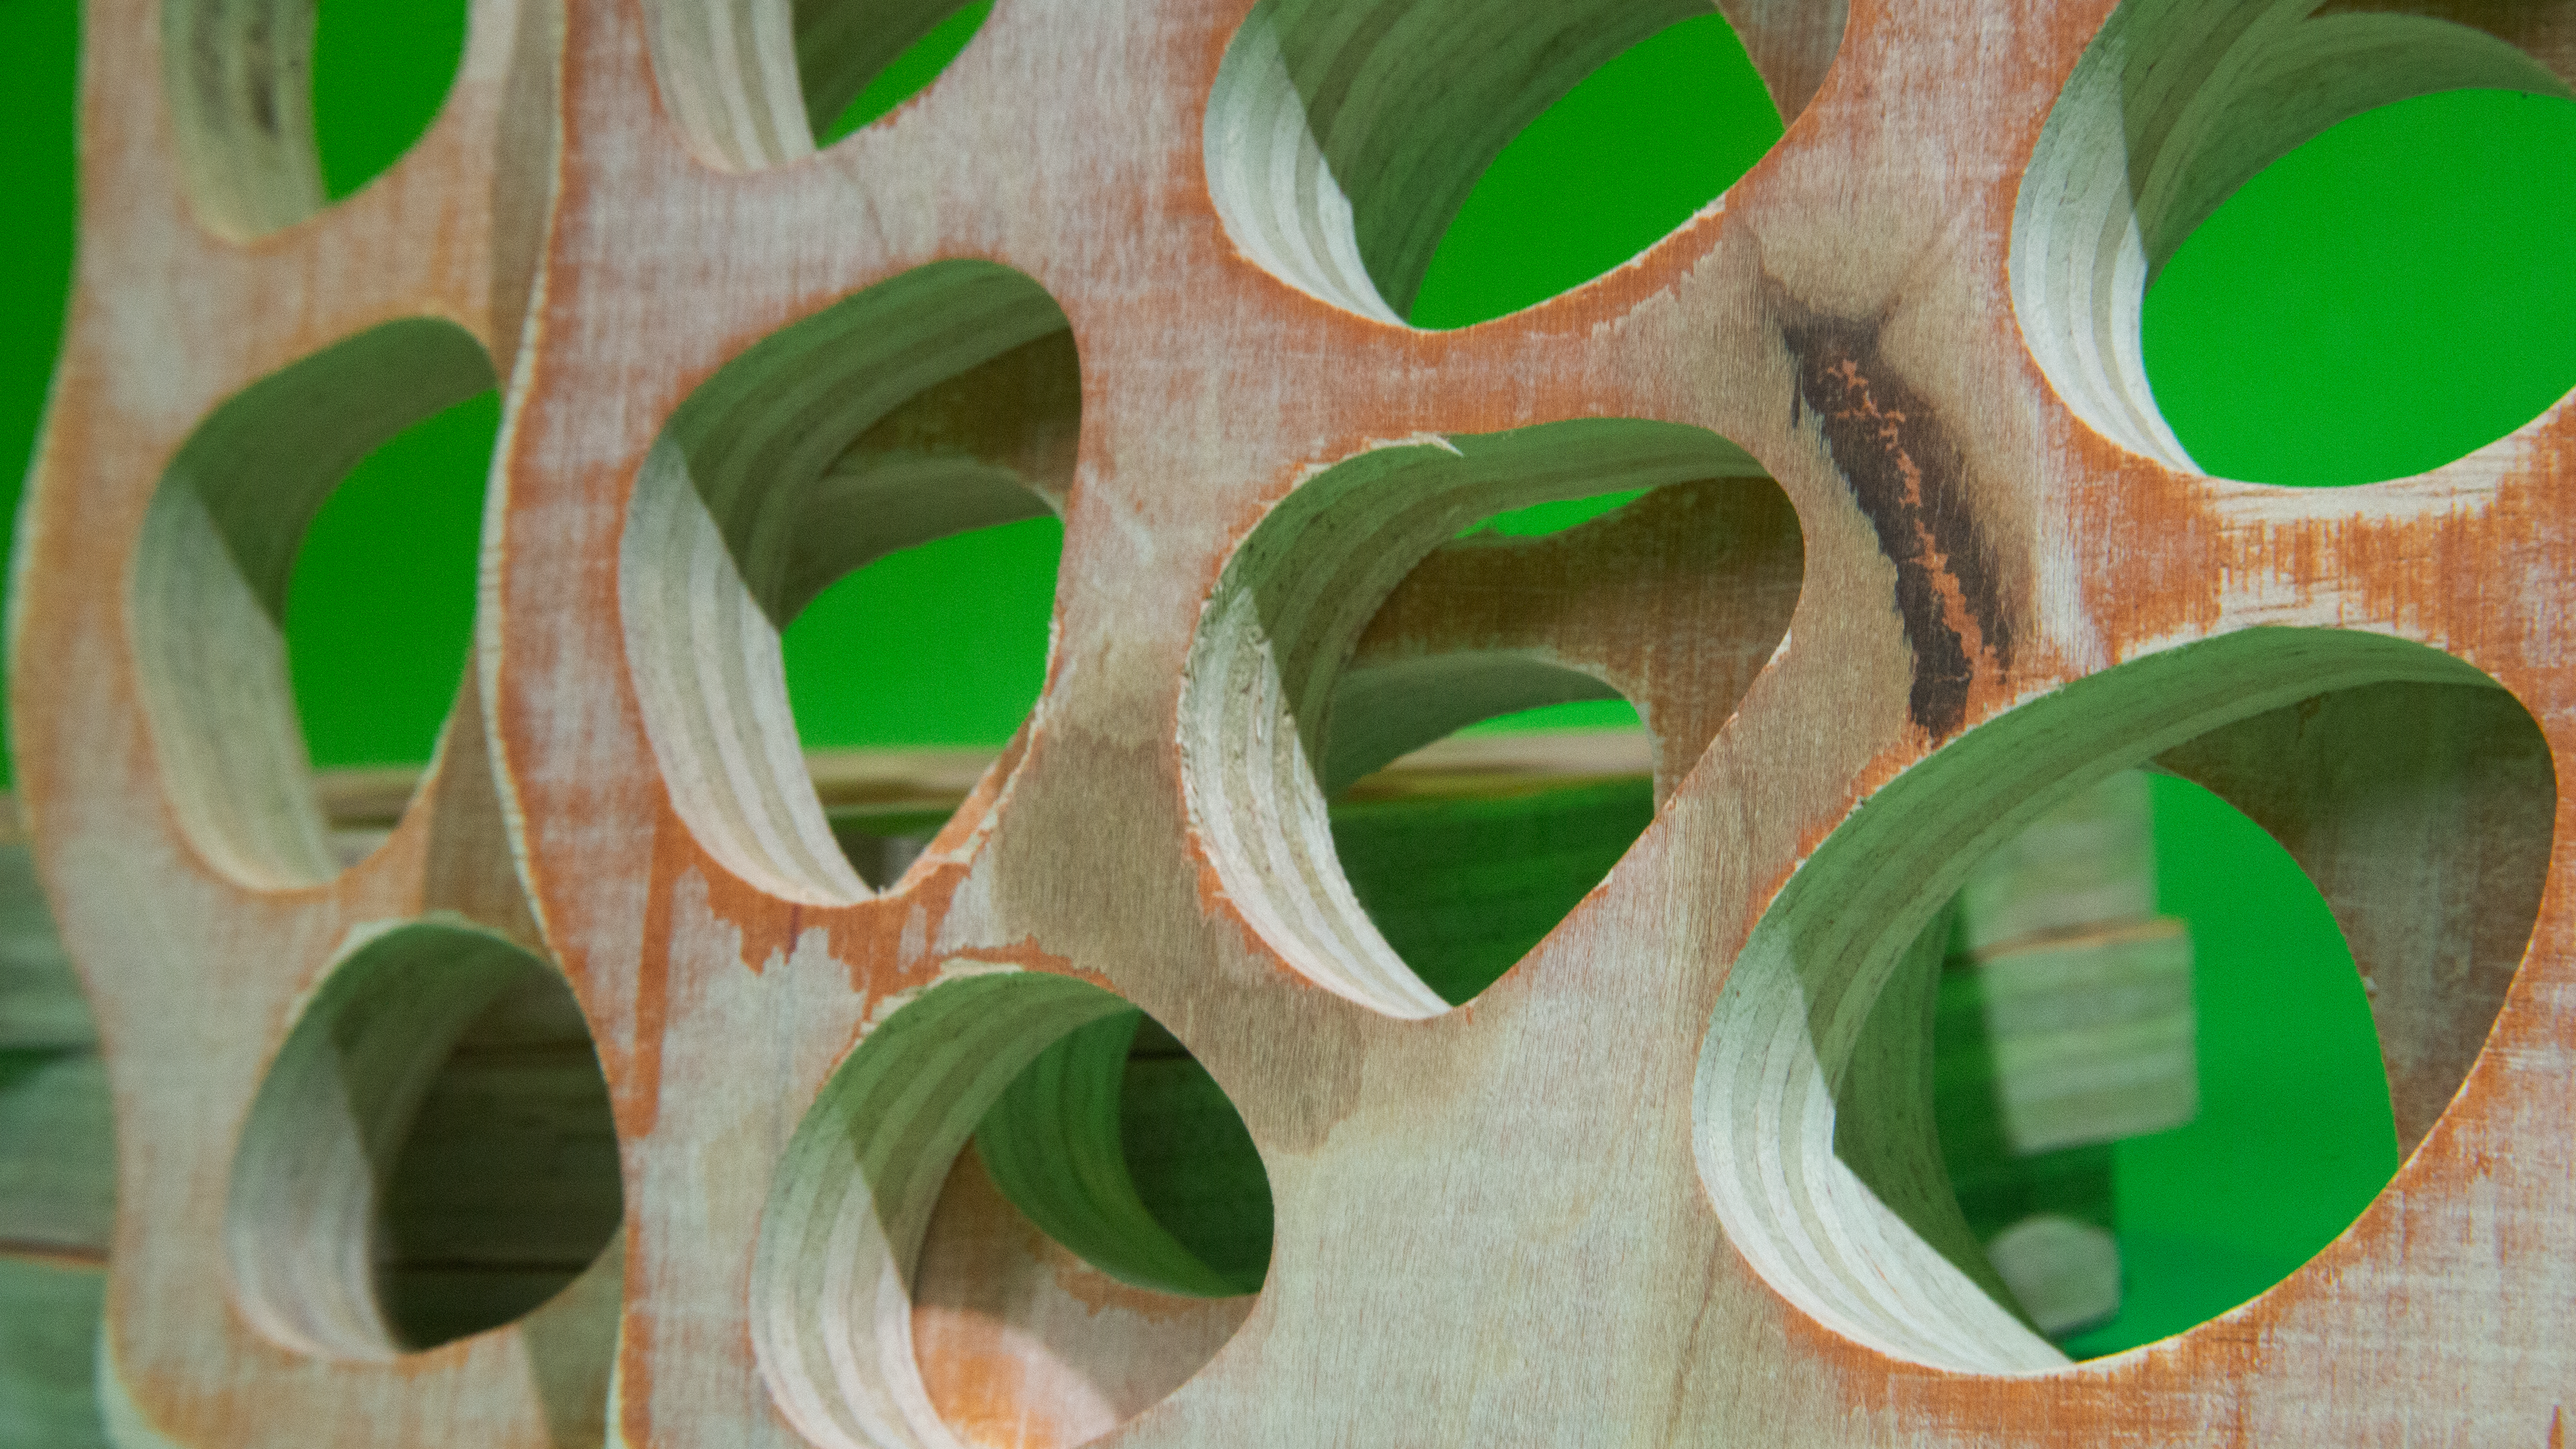
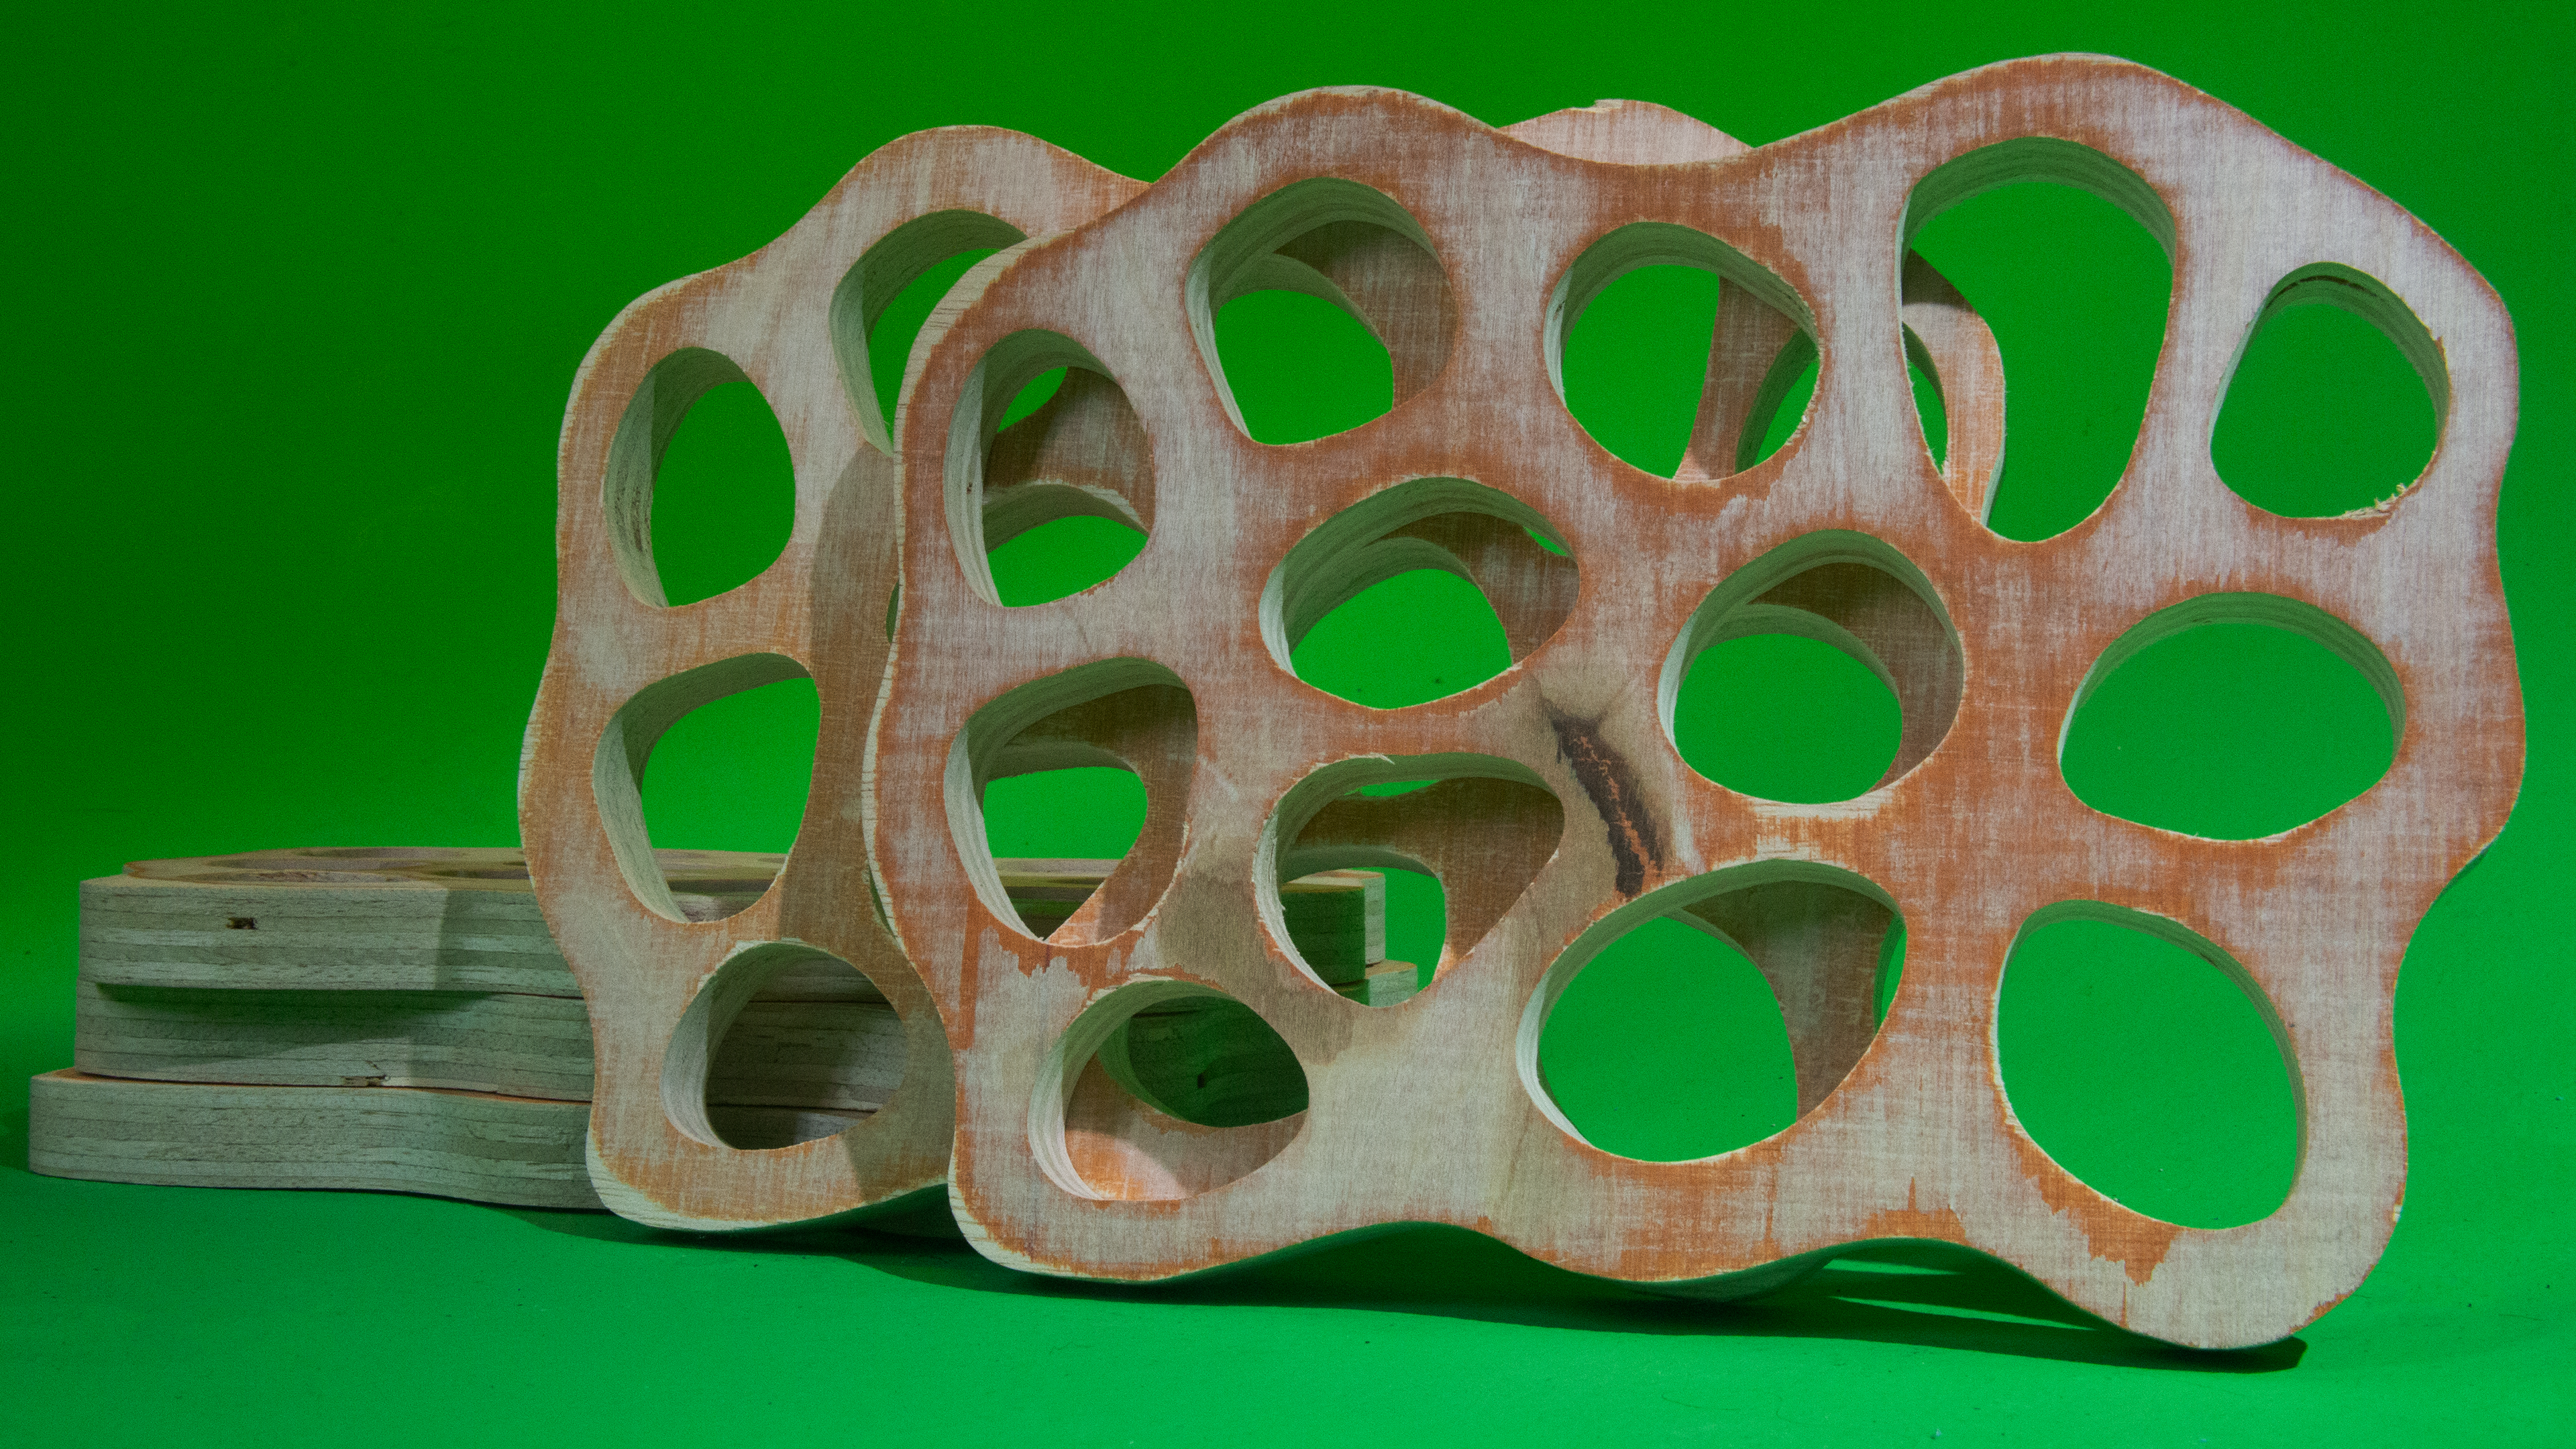
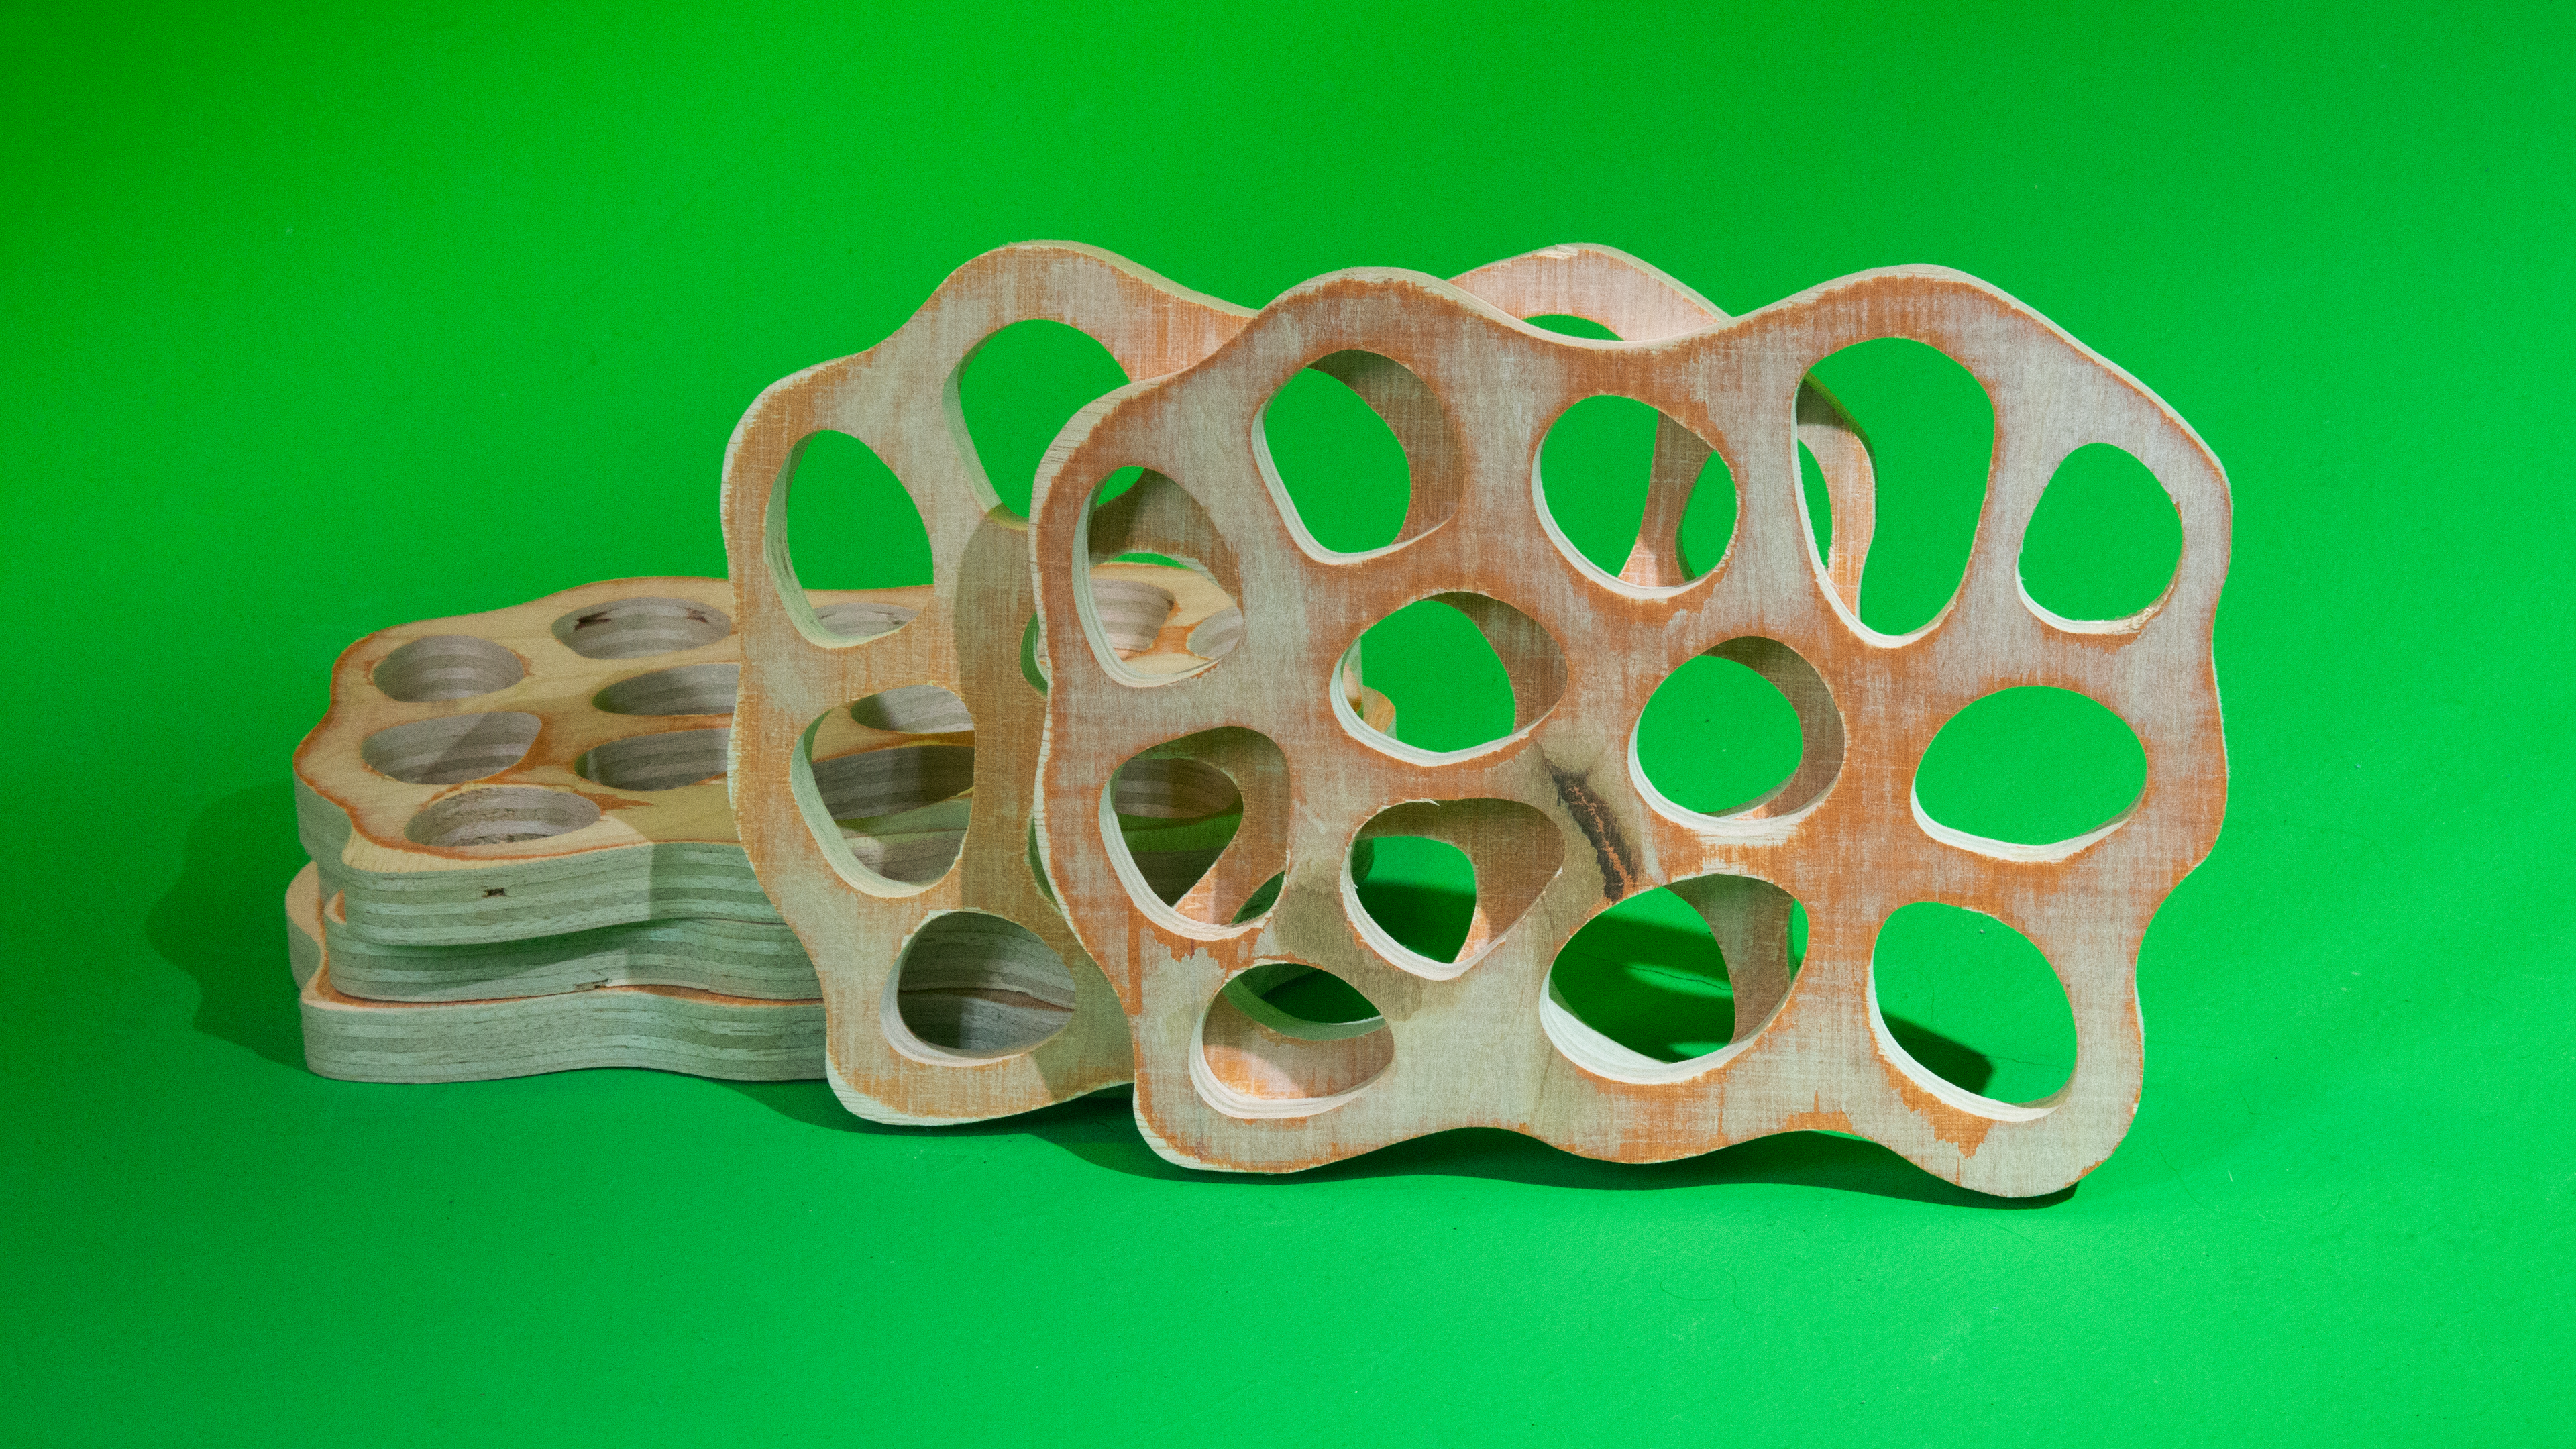
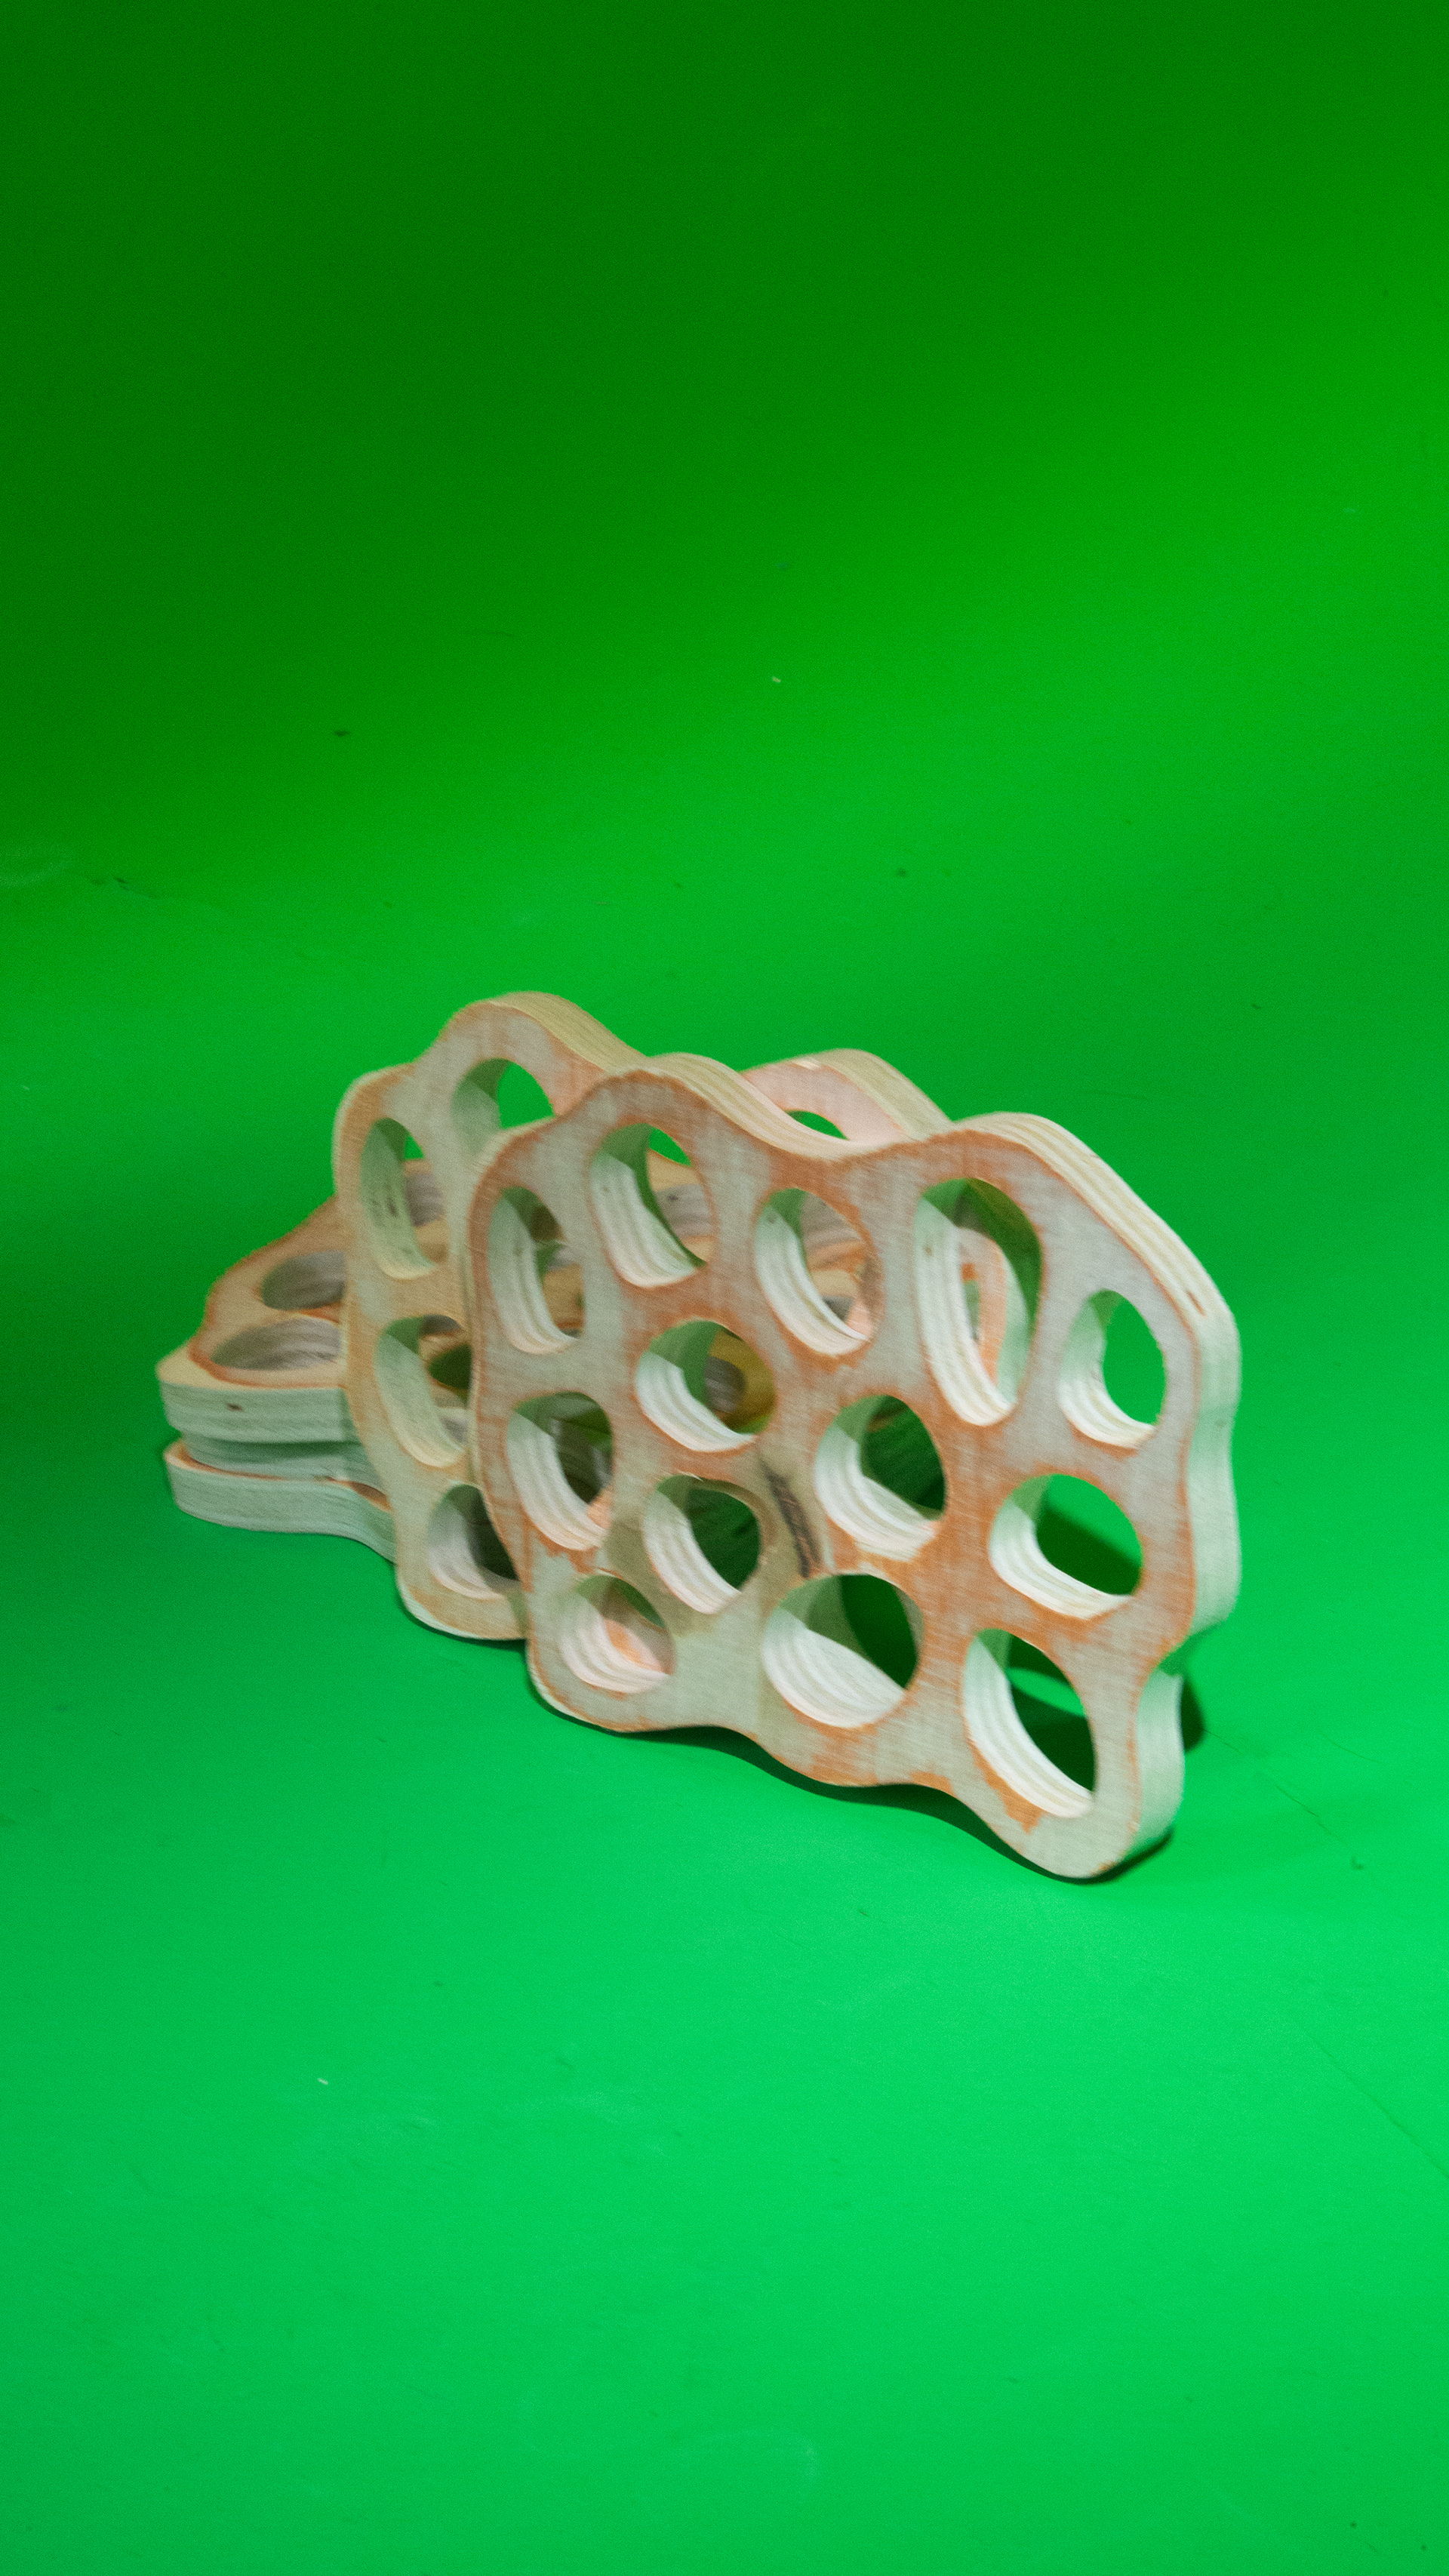
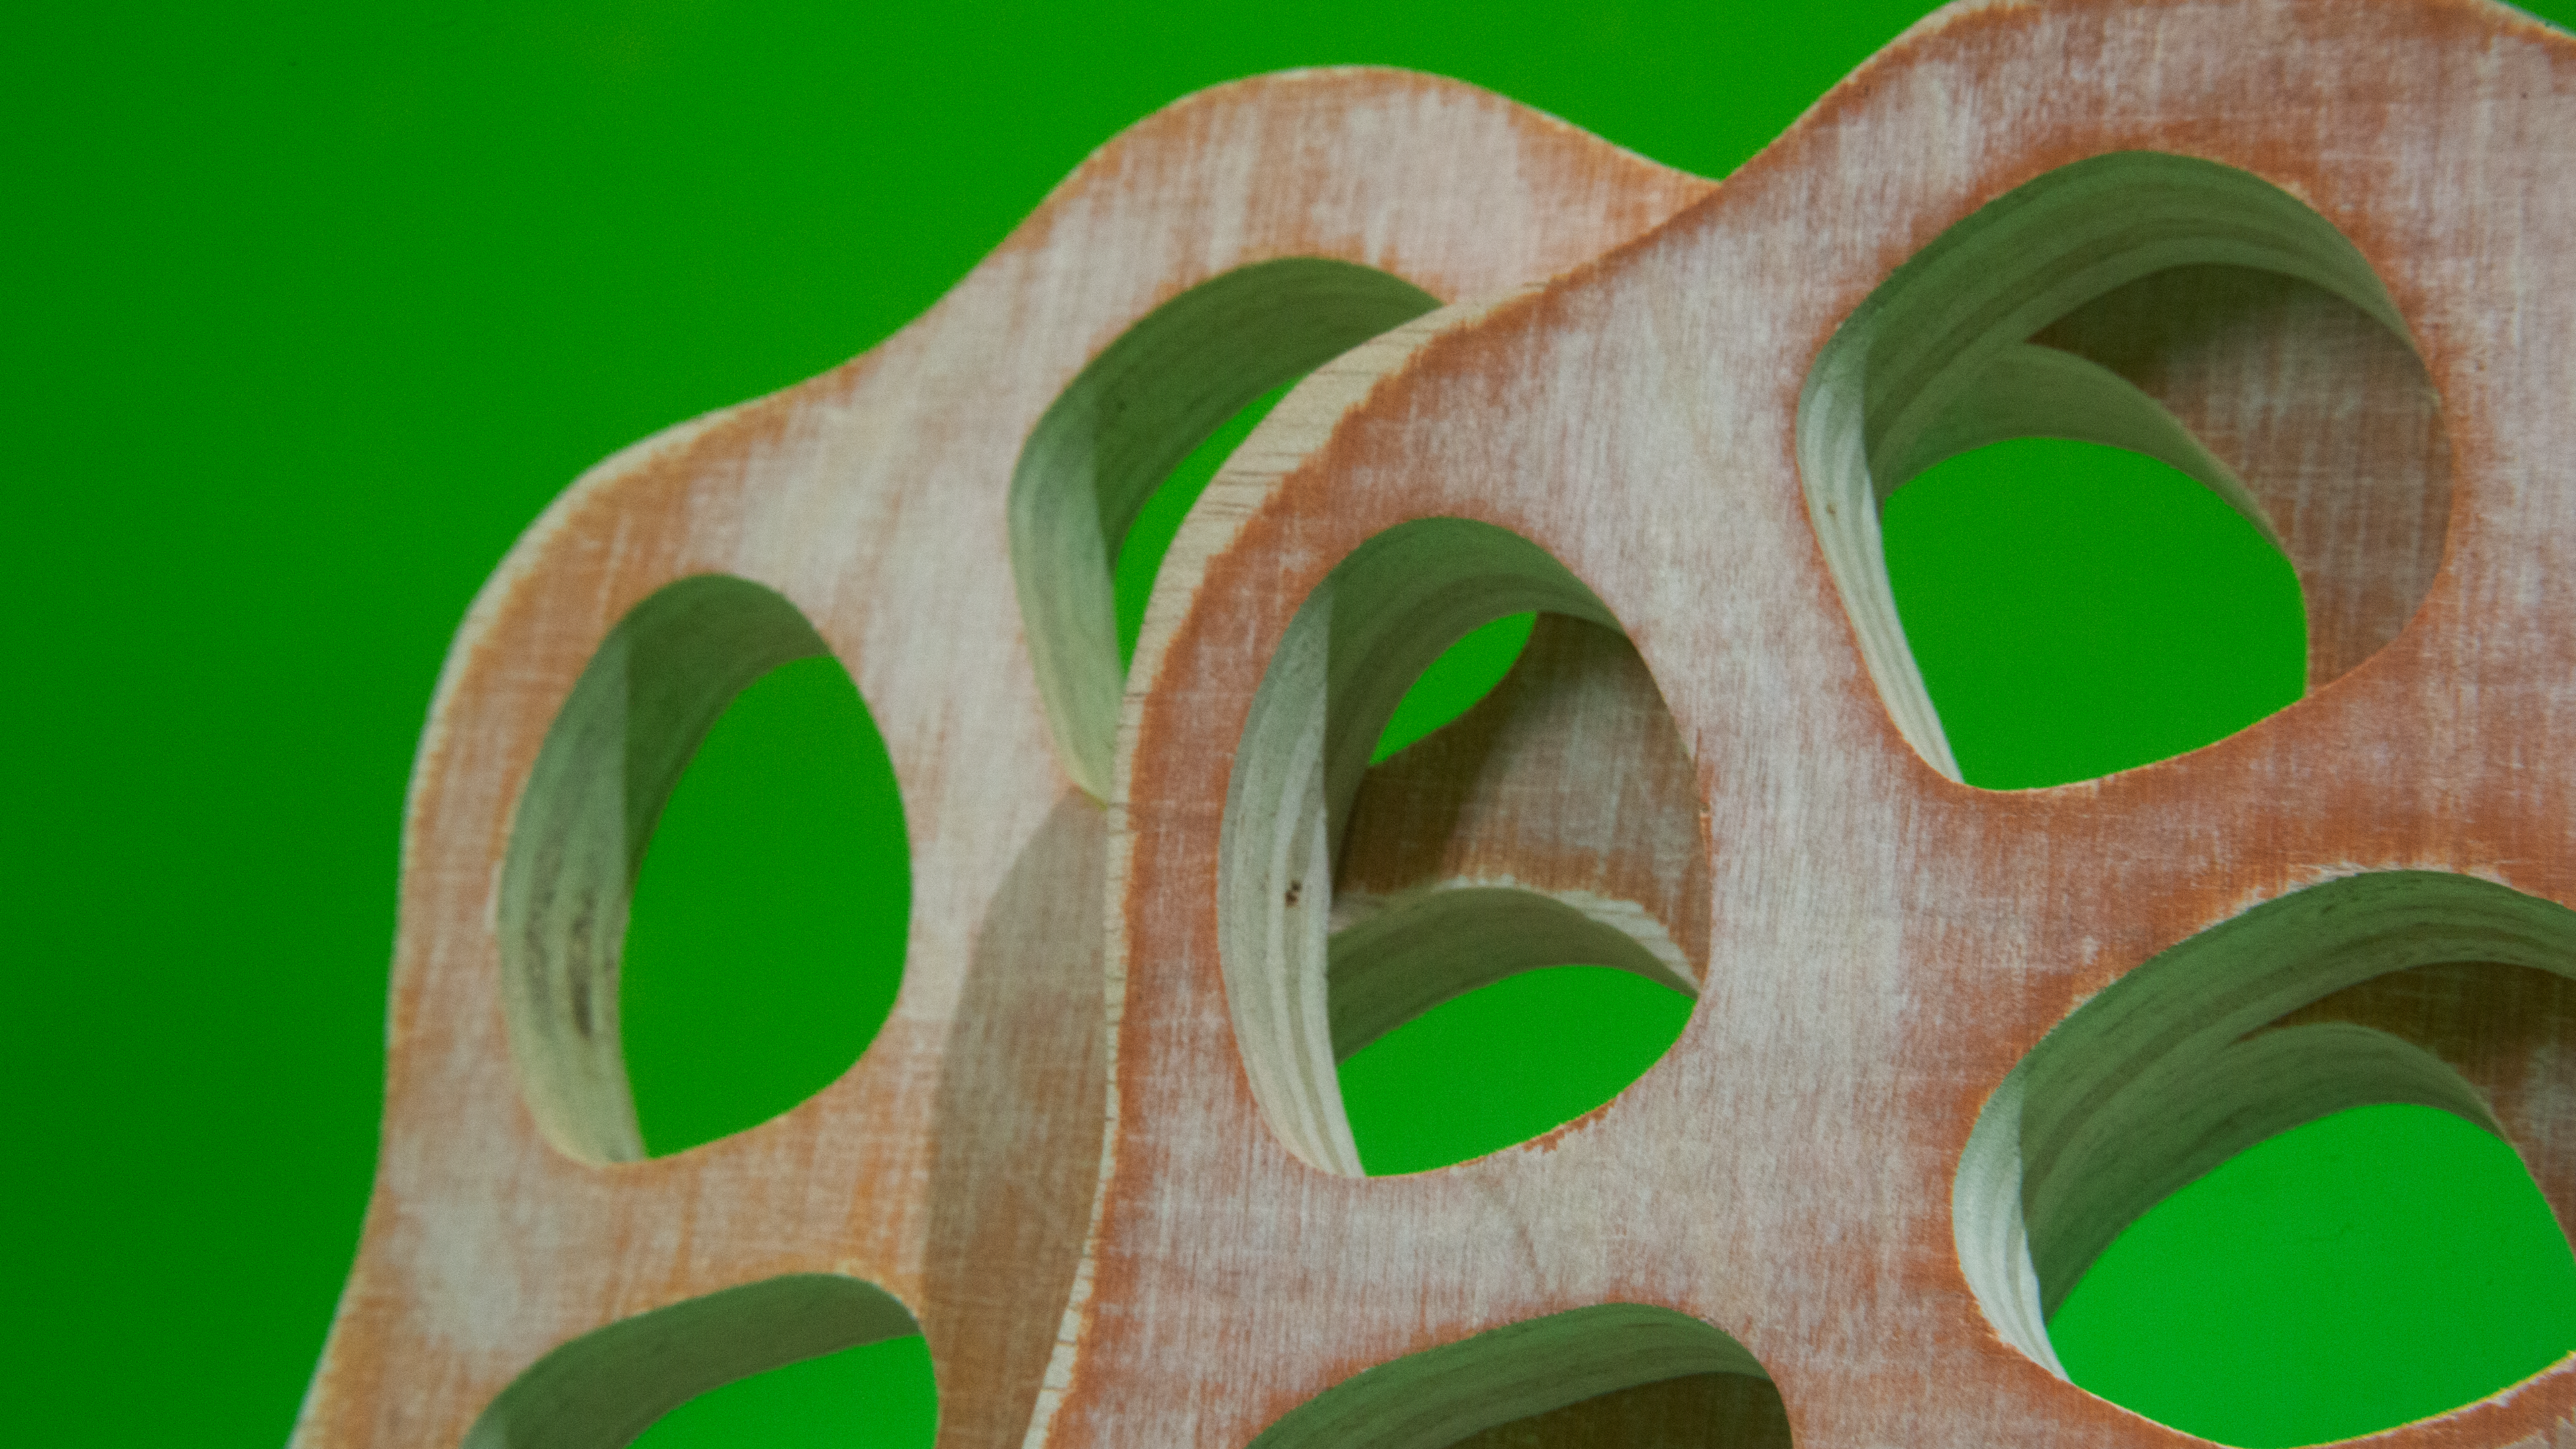
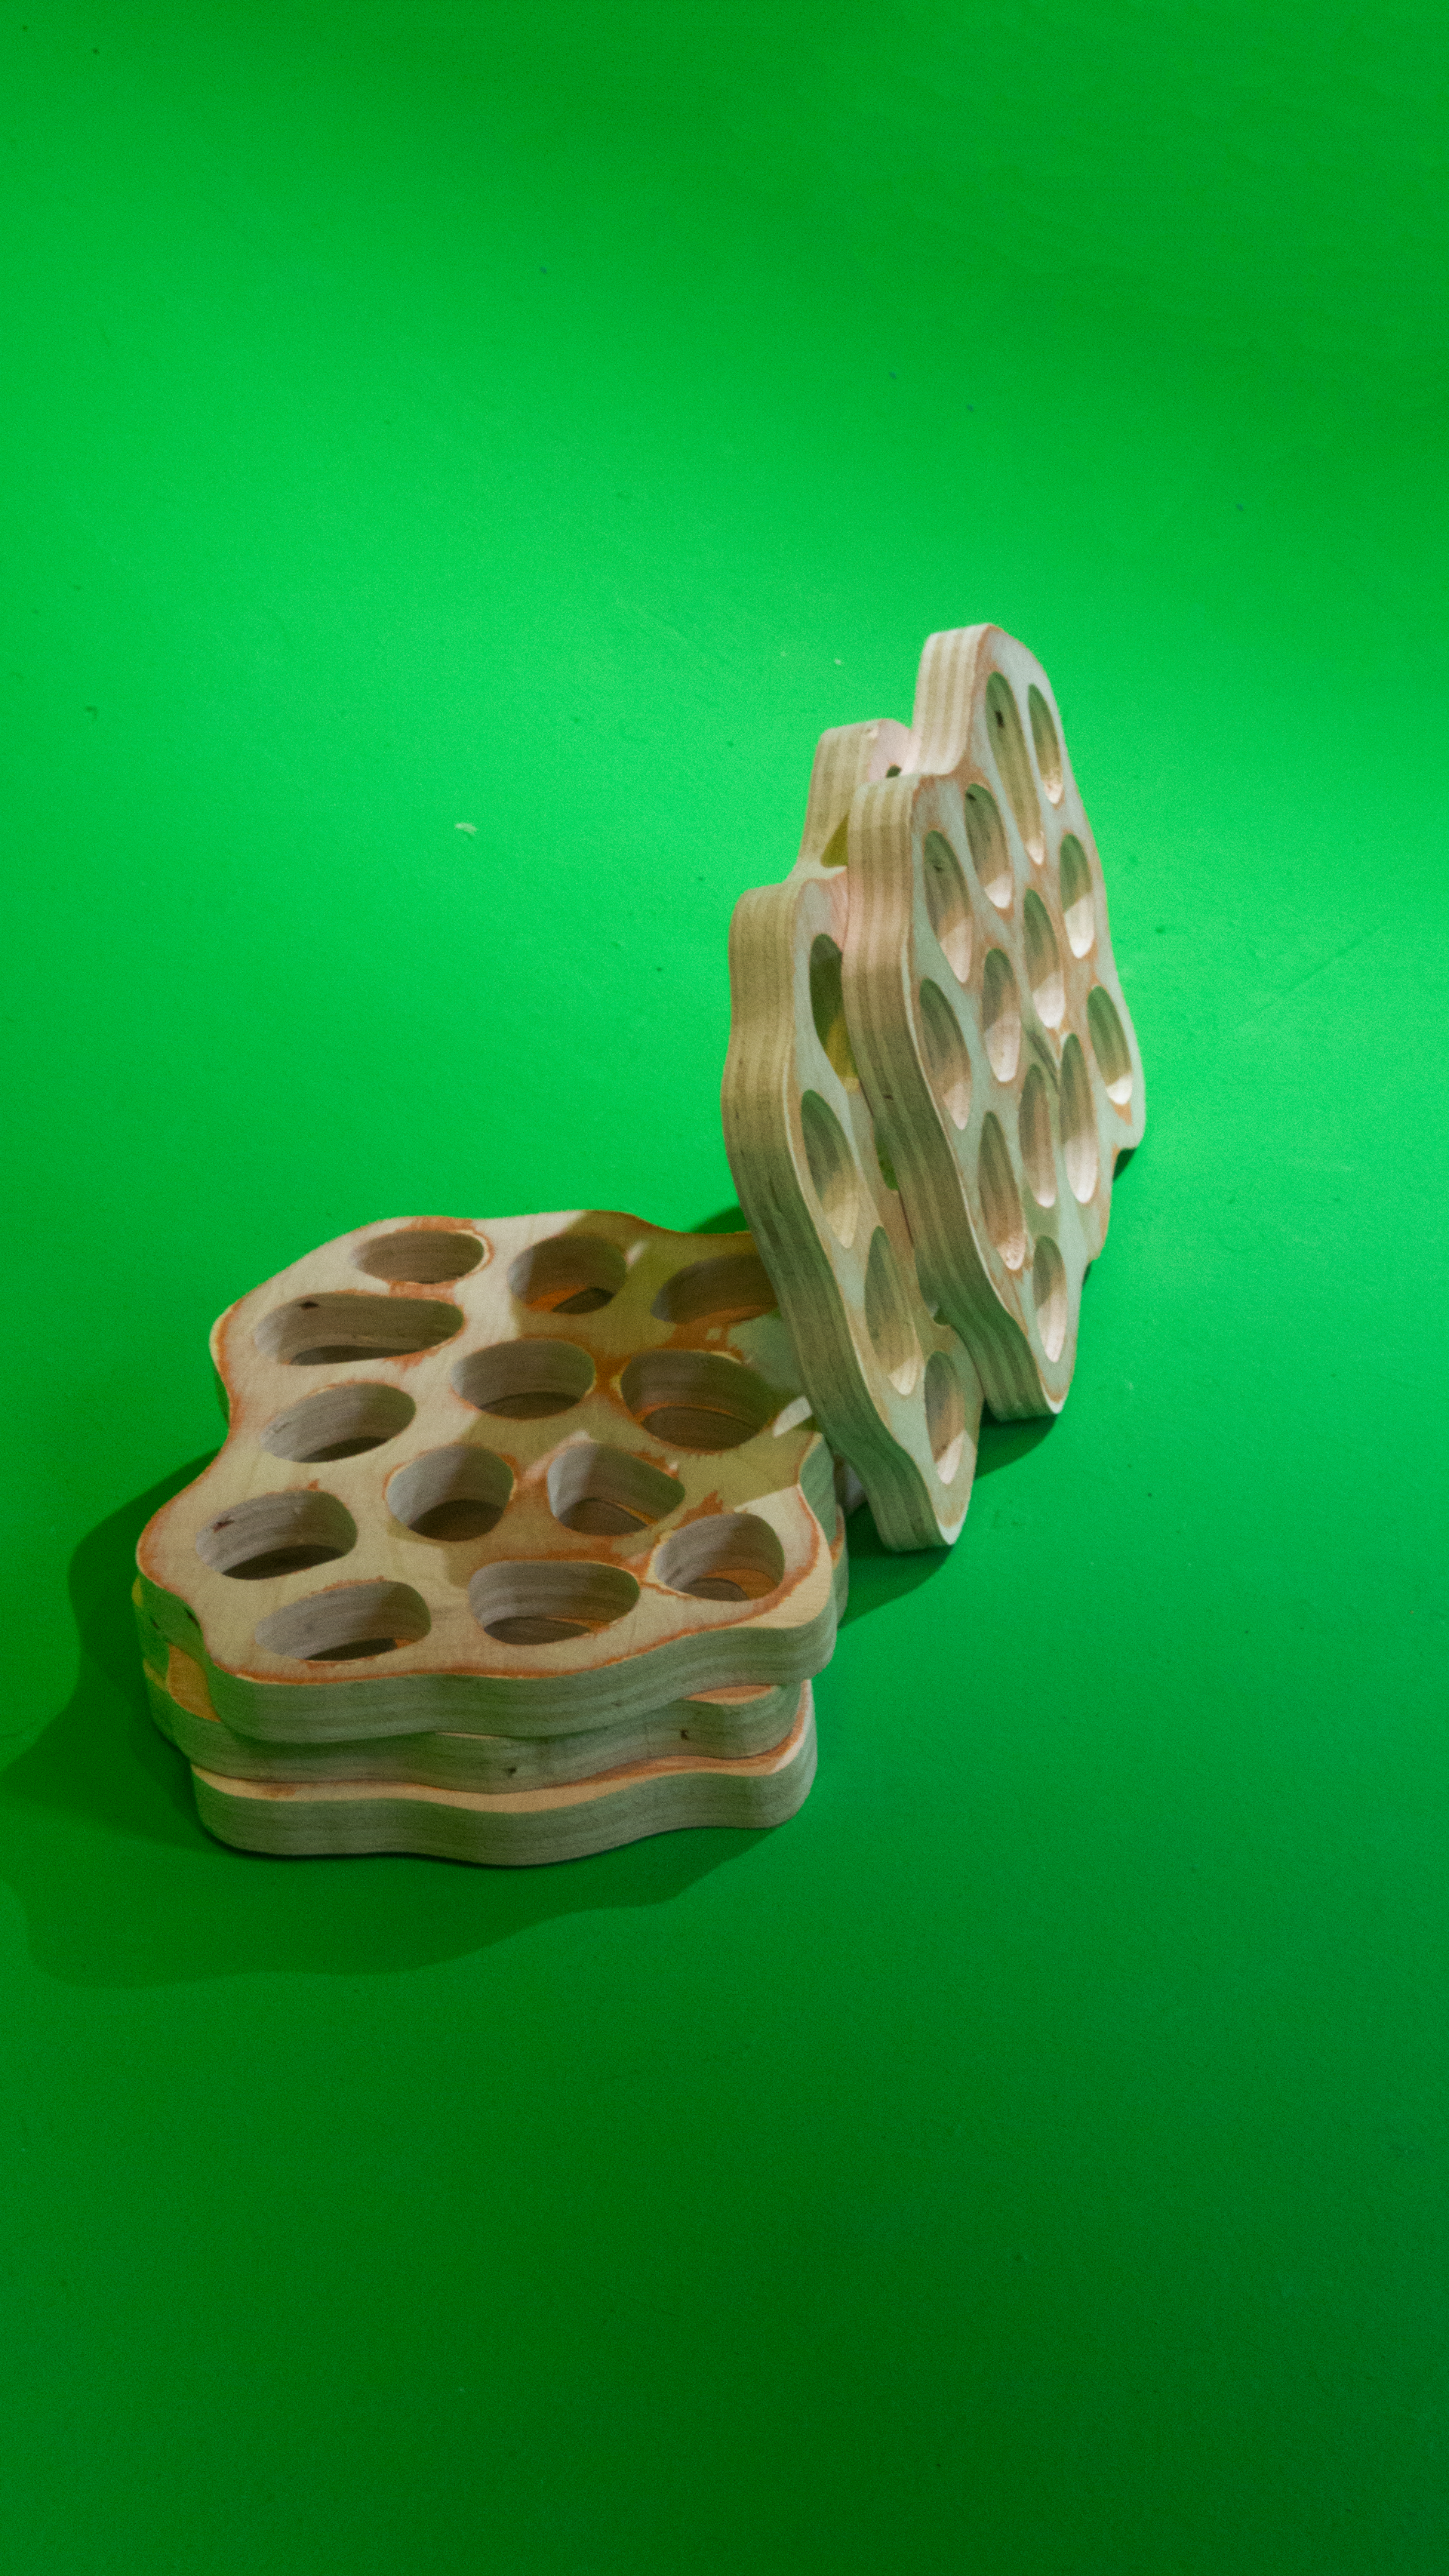
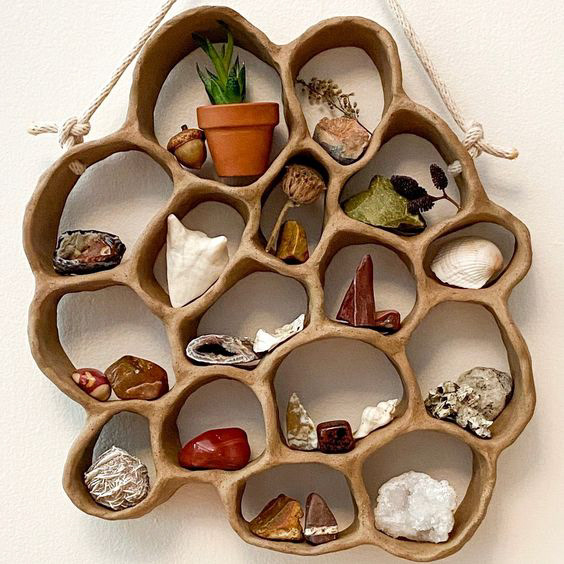
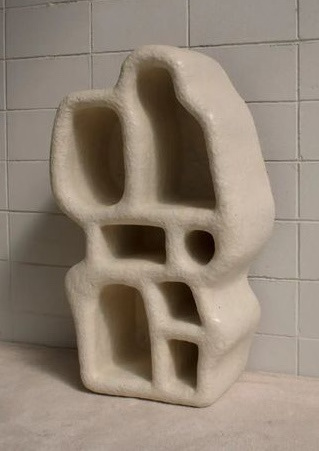
I think I might change my theme to "toy" instead of googie, but I'm not sure. I was inspired by organic shelves and thought it would be fun to make some shelves for miniature toys, as I have bunch of little ones that are hard to display.
My week is very busy because I work full-time at the Manhattan campus while also taking 3 classes, so I kept having to go to hardware stores during my lunch break to find wood. I was having a lot of difficulty because the Home Depots in Manhattan do not cut wood, and I couldn't find wood that was wide, at least an inch thick, and not expensive. I went to a bunch of places and ended up settling for these sheets of wood that are 3/4 inch thick. I wanted a thicker piece so that the shelves have more depth, but I had to make do.
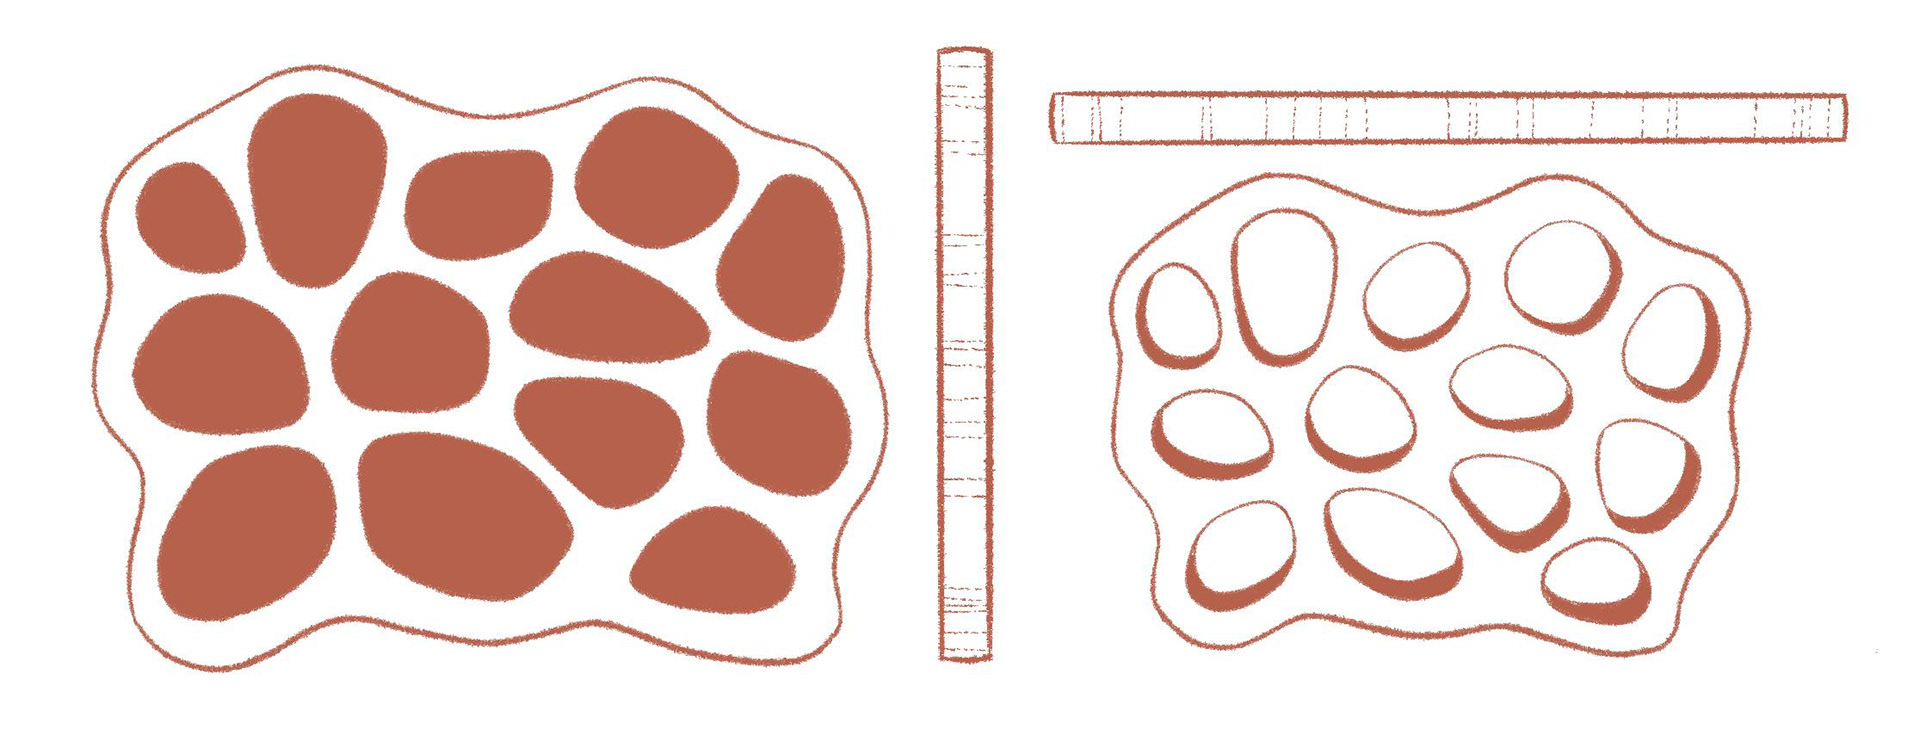
I drew the pattern on a sheet of paper, transferred it to one sheet of wood, then cut out the general shape with the bandsaw. I then sanded it smooth with the spindle sander, and traced its outline onto the other wood sheets and cut them out loosely with the bandsaw.


I then clamped all the pieces together and sanded them to the same shape. Still clamped together, I used the drill press to make all the holes uniform. I was hoping to use the vice, but the wood was too wide to fit, so I had to re-clamp the wood for every single hole which was a pretty awkward task because the clamp is fairly shallow. I also realized that the drill press was not deep enough to drill through all five pieces, so I had to repeat this whole process twice while trying to keep the holes uniform.
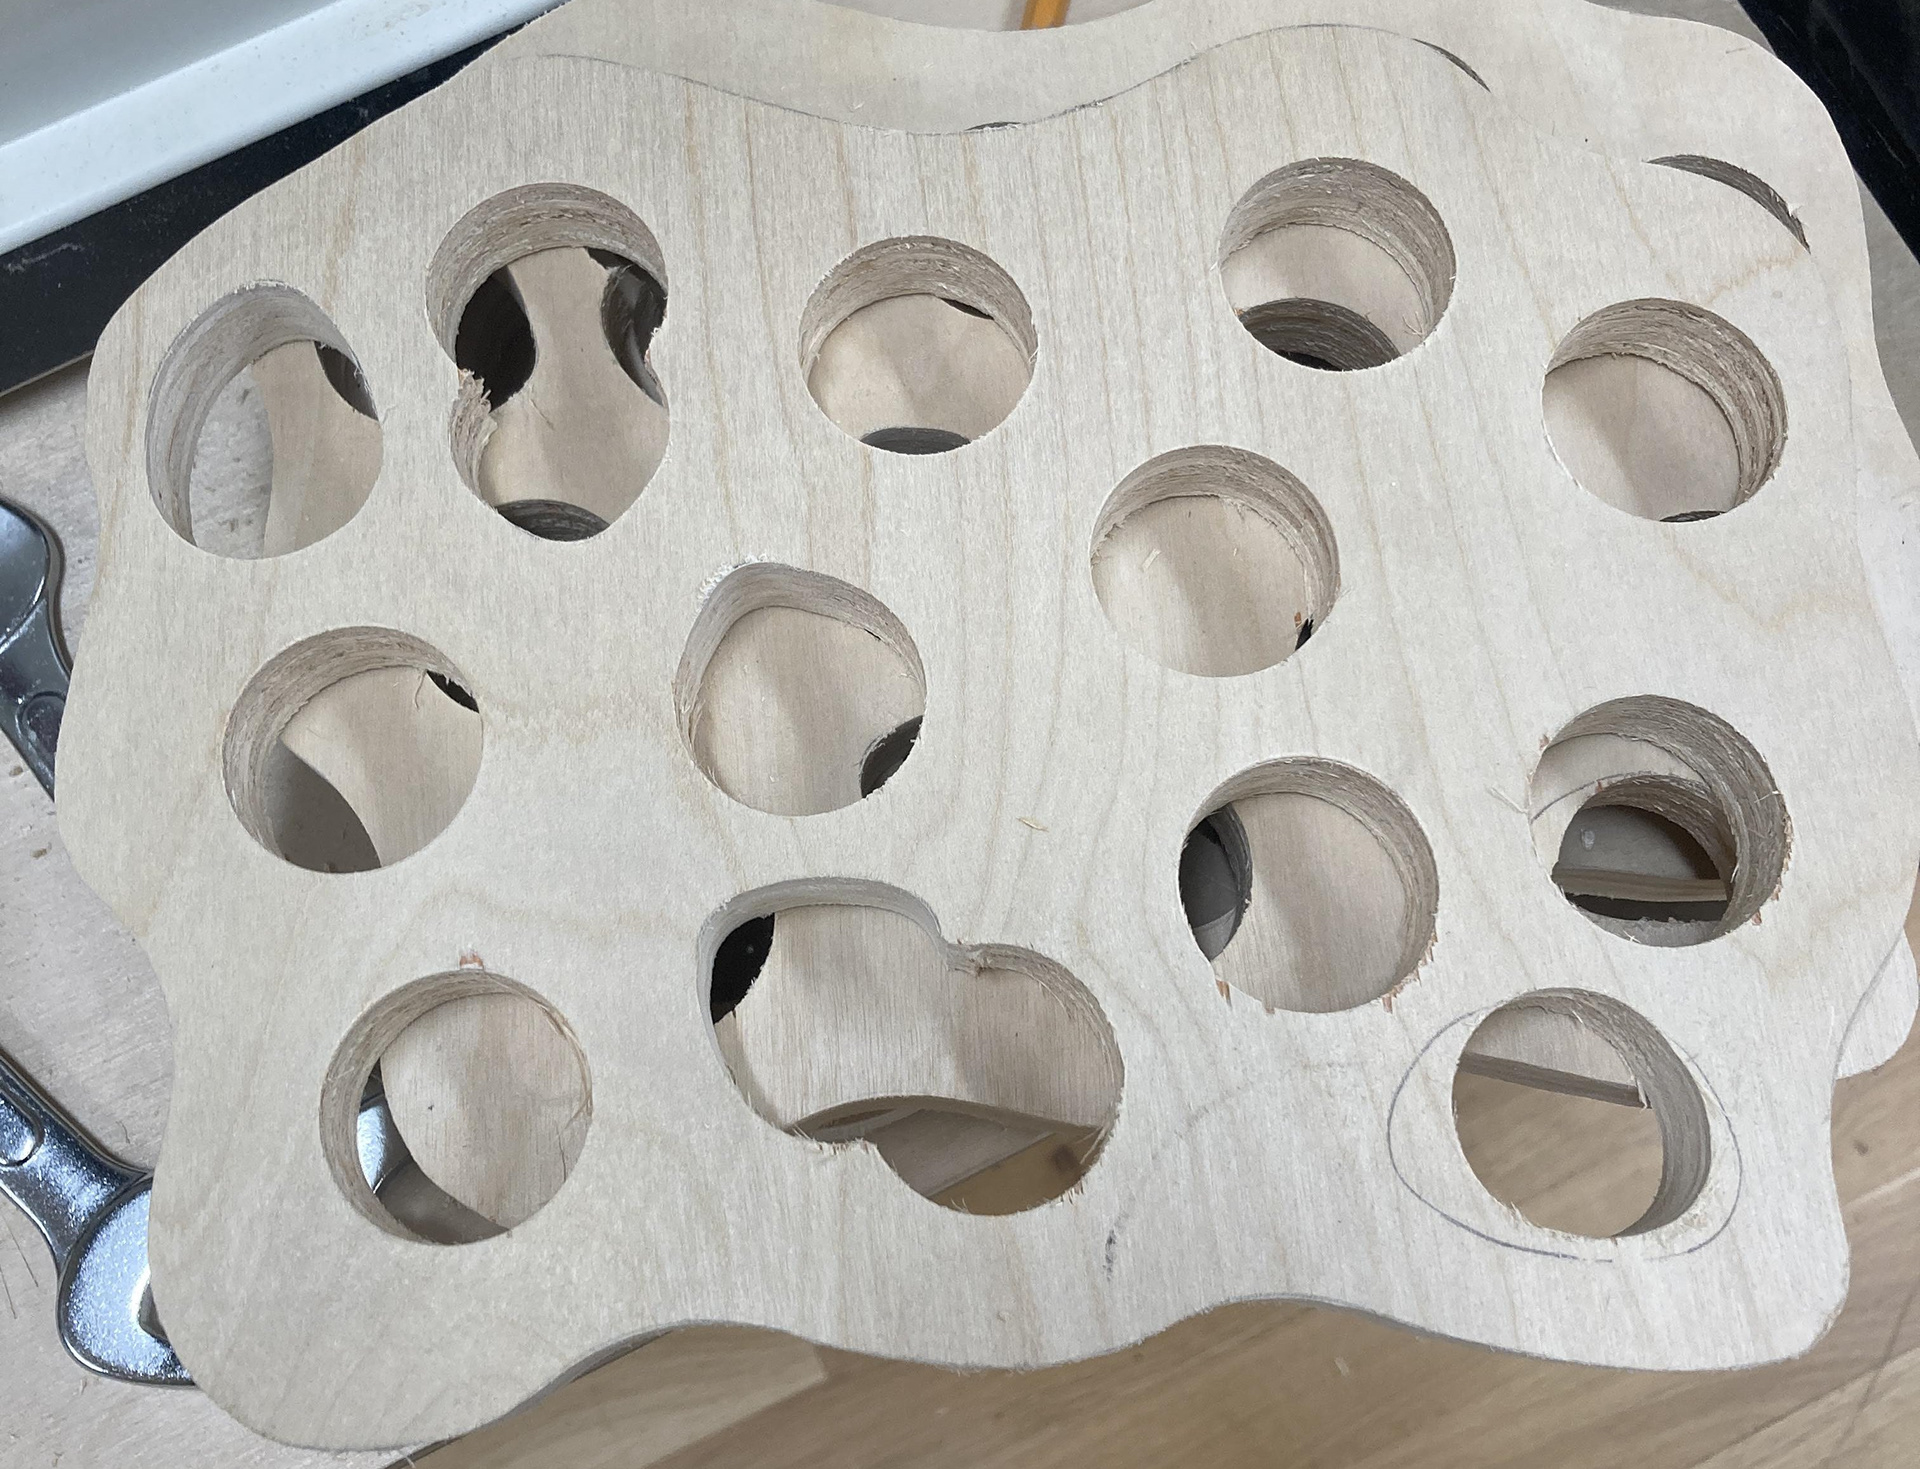
Once all the holes were drilled, I used the spindle sander to file the holes into the organic shapes. This took a very long time because I could not clamp the pieces together at this stage, and it was extremely difficult to stabilize all the pieces together and maintain uniformity. I ended up doing the original piece first, traced its shapes onto each piece, held the other four pieces together and tried to get the biggest filing done, and then did the small details on each one individually. I sanded the front and back of each piece because I realized while drilling that there was red wood underneath the pale wood.
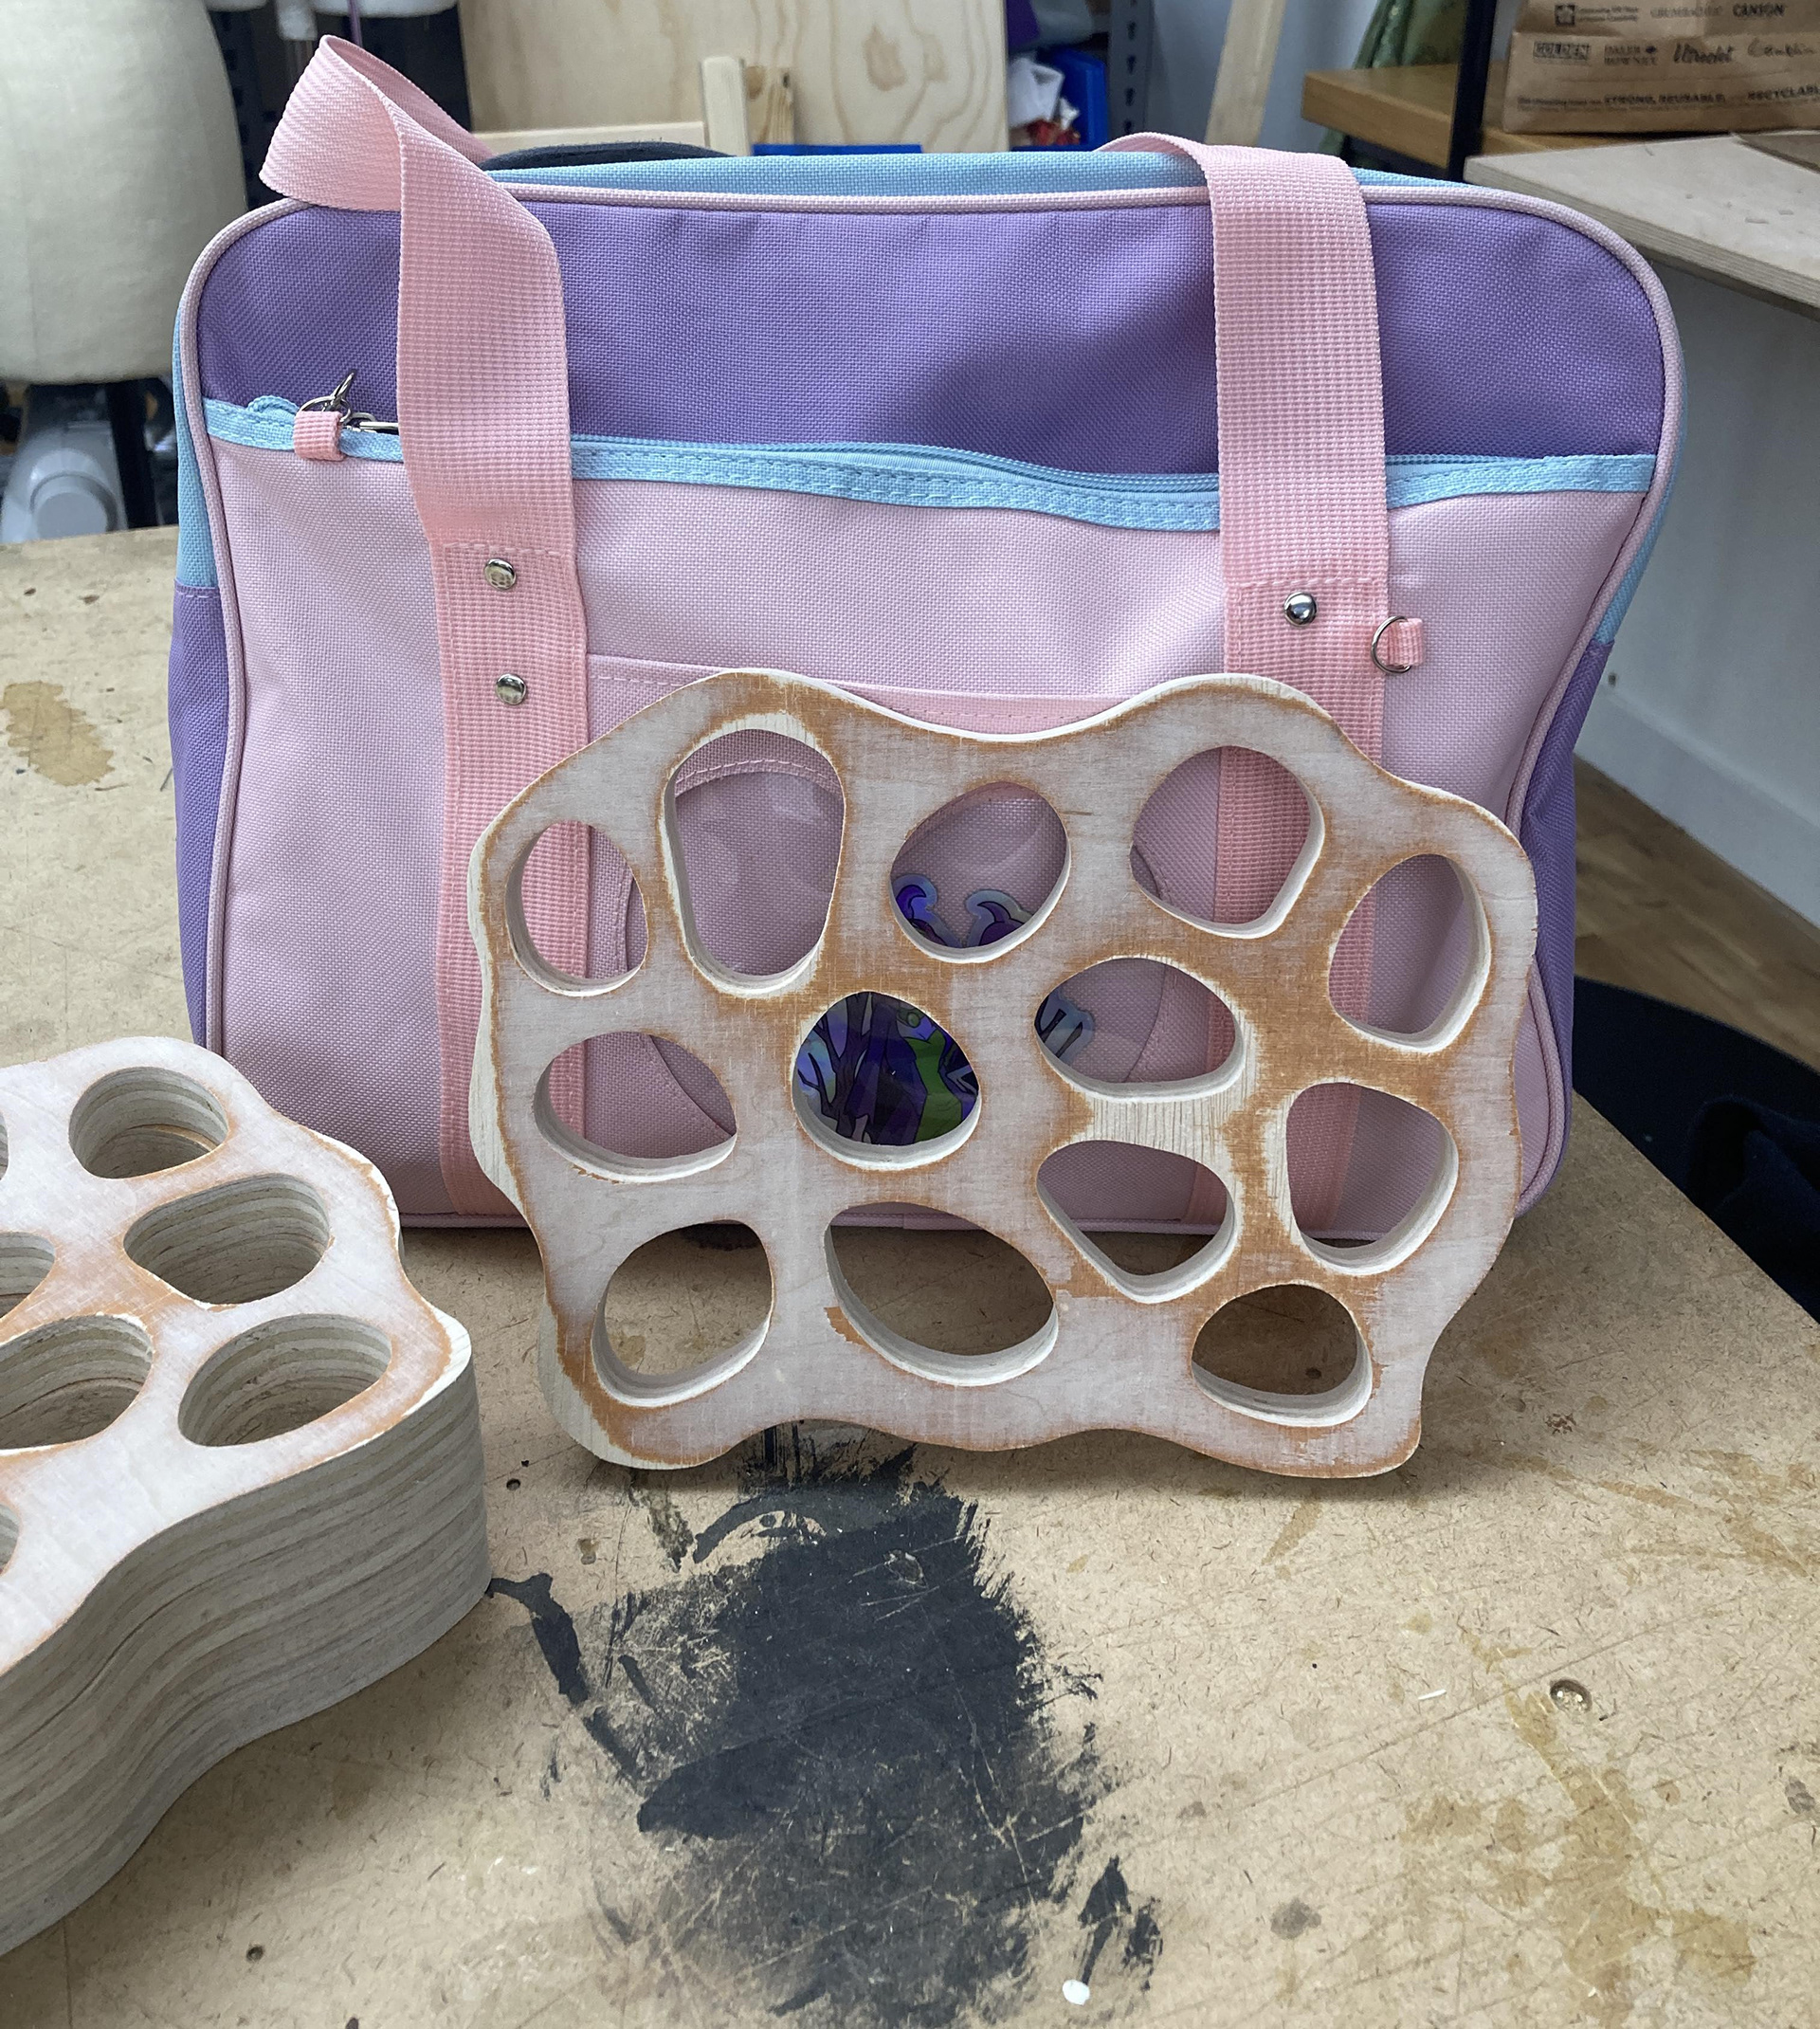

I originally intended to round the ends of each piece, including each hole, but decided that would be an ill use of time at this point because the time I'd spent on these shelves had amounted to 10 hours this week. If I had more time I would finesse the uniformity a bit more, but I'm really happy with how these turned out and think they would look good with a wood stain. I haven't decided yet what the best way of mounting them would be, so I'm leaving them as is for now.
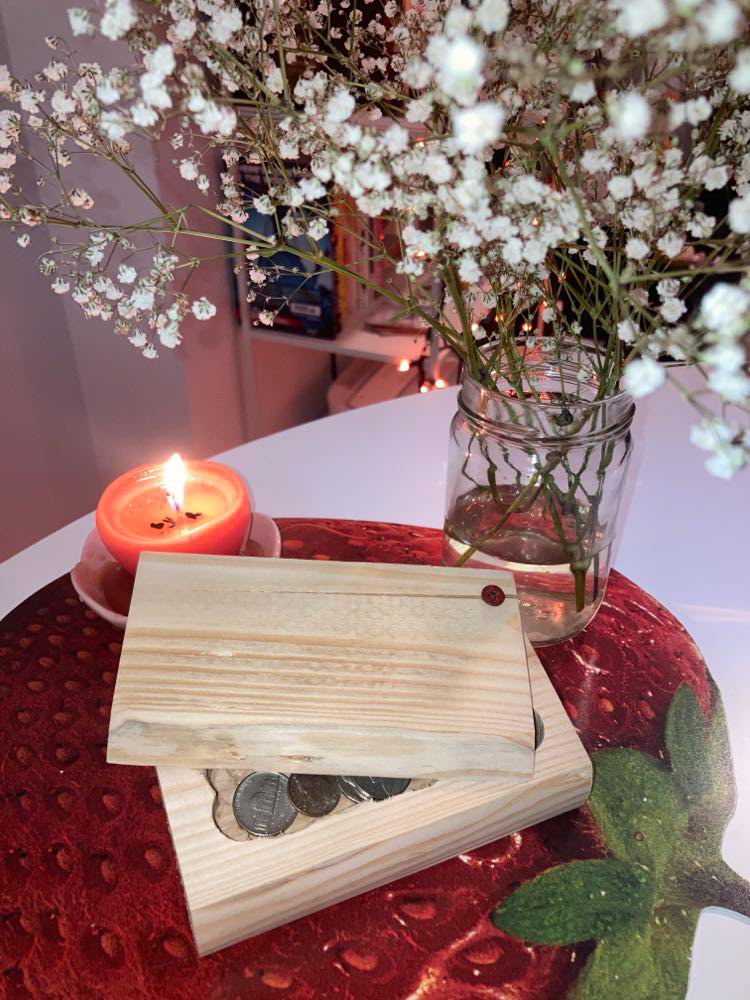
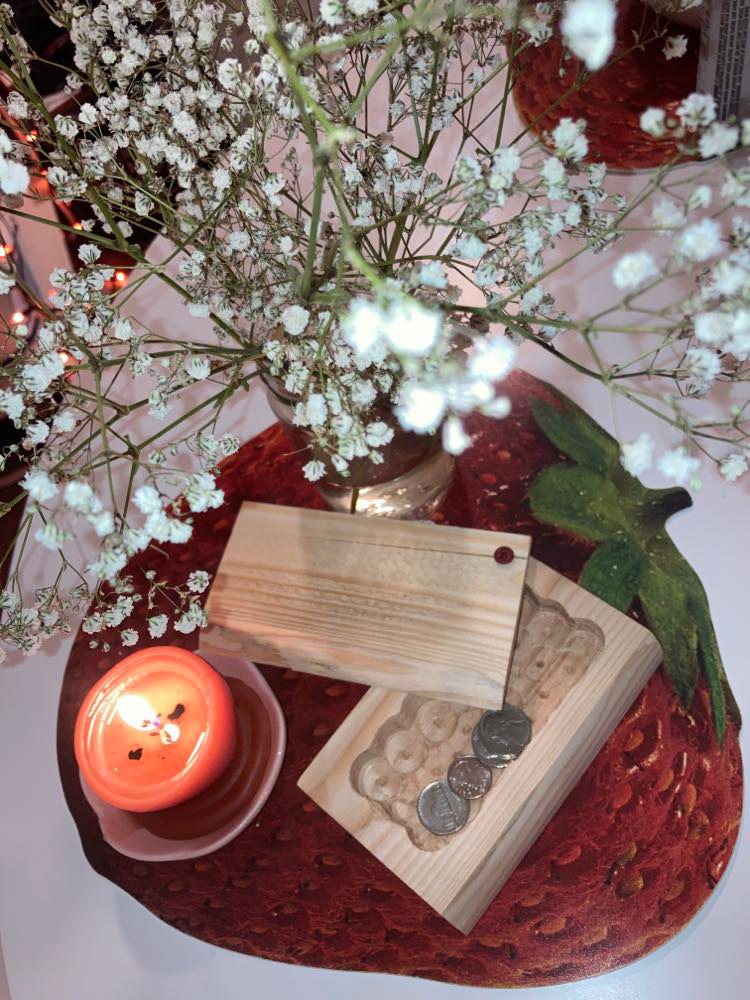
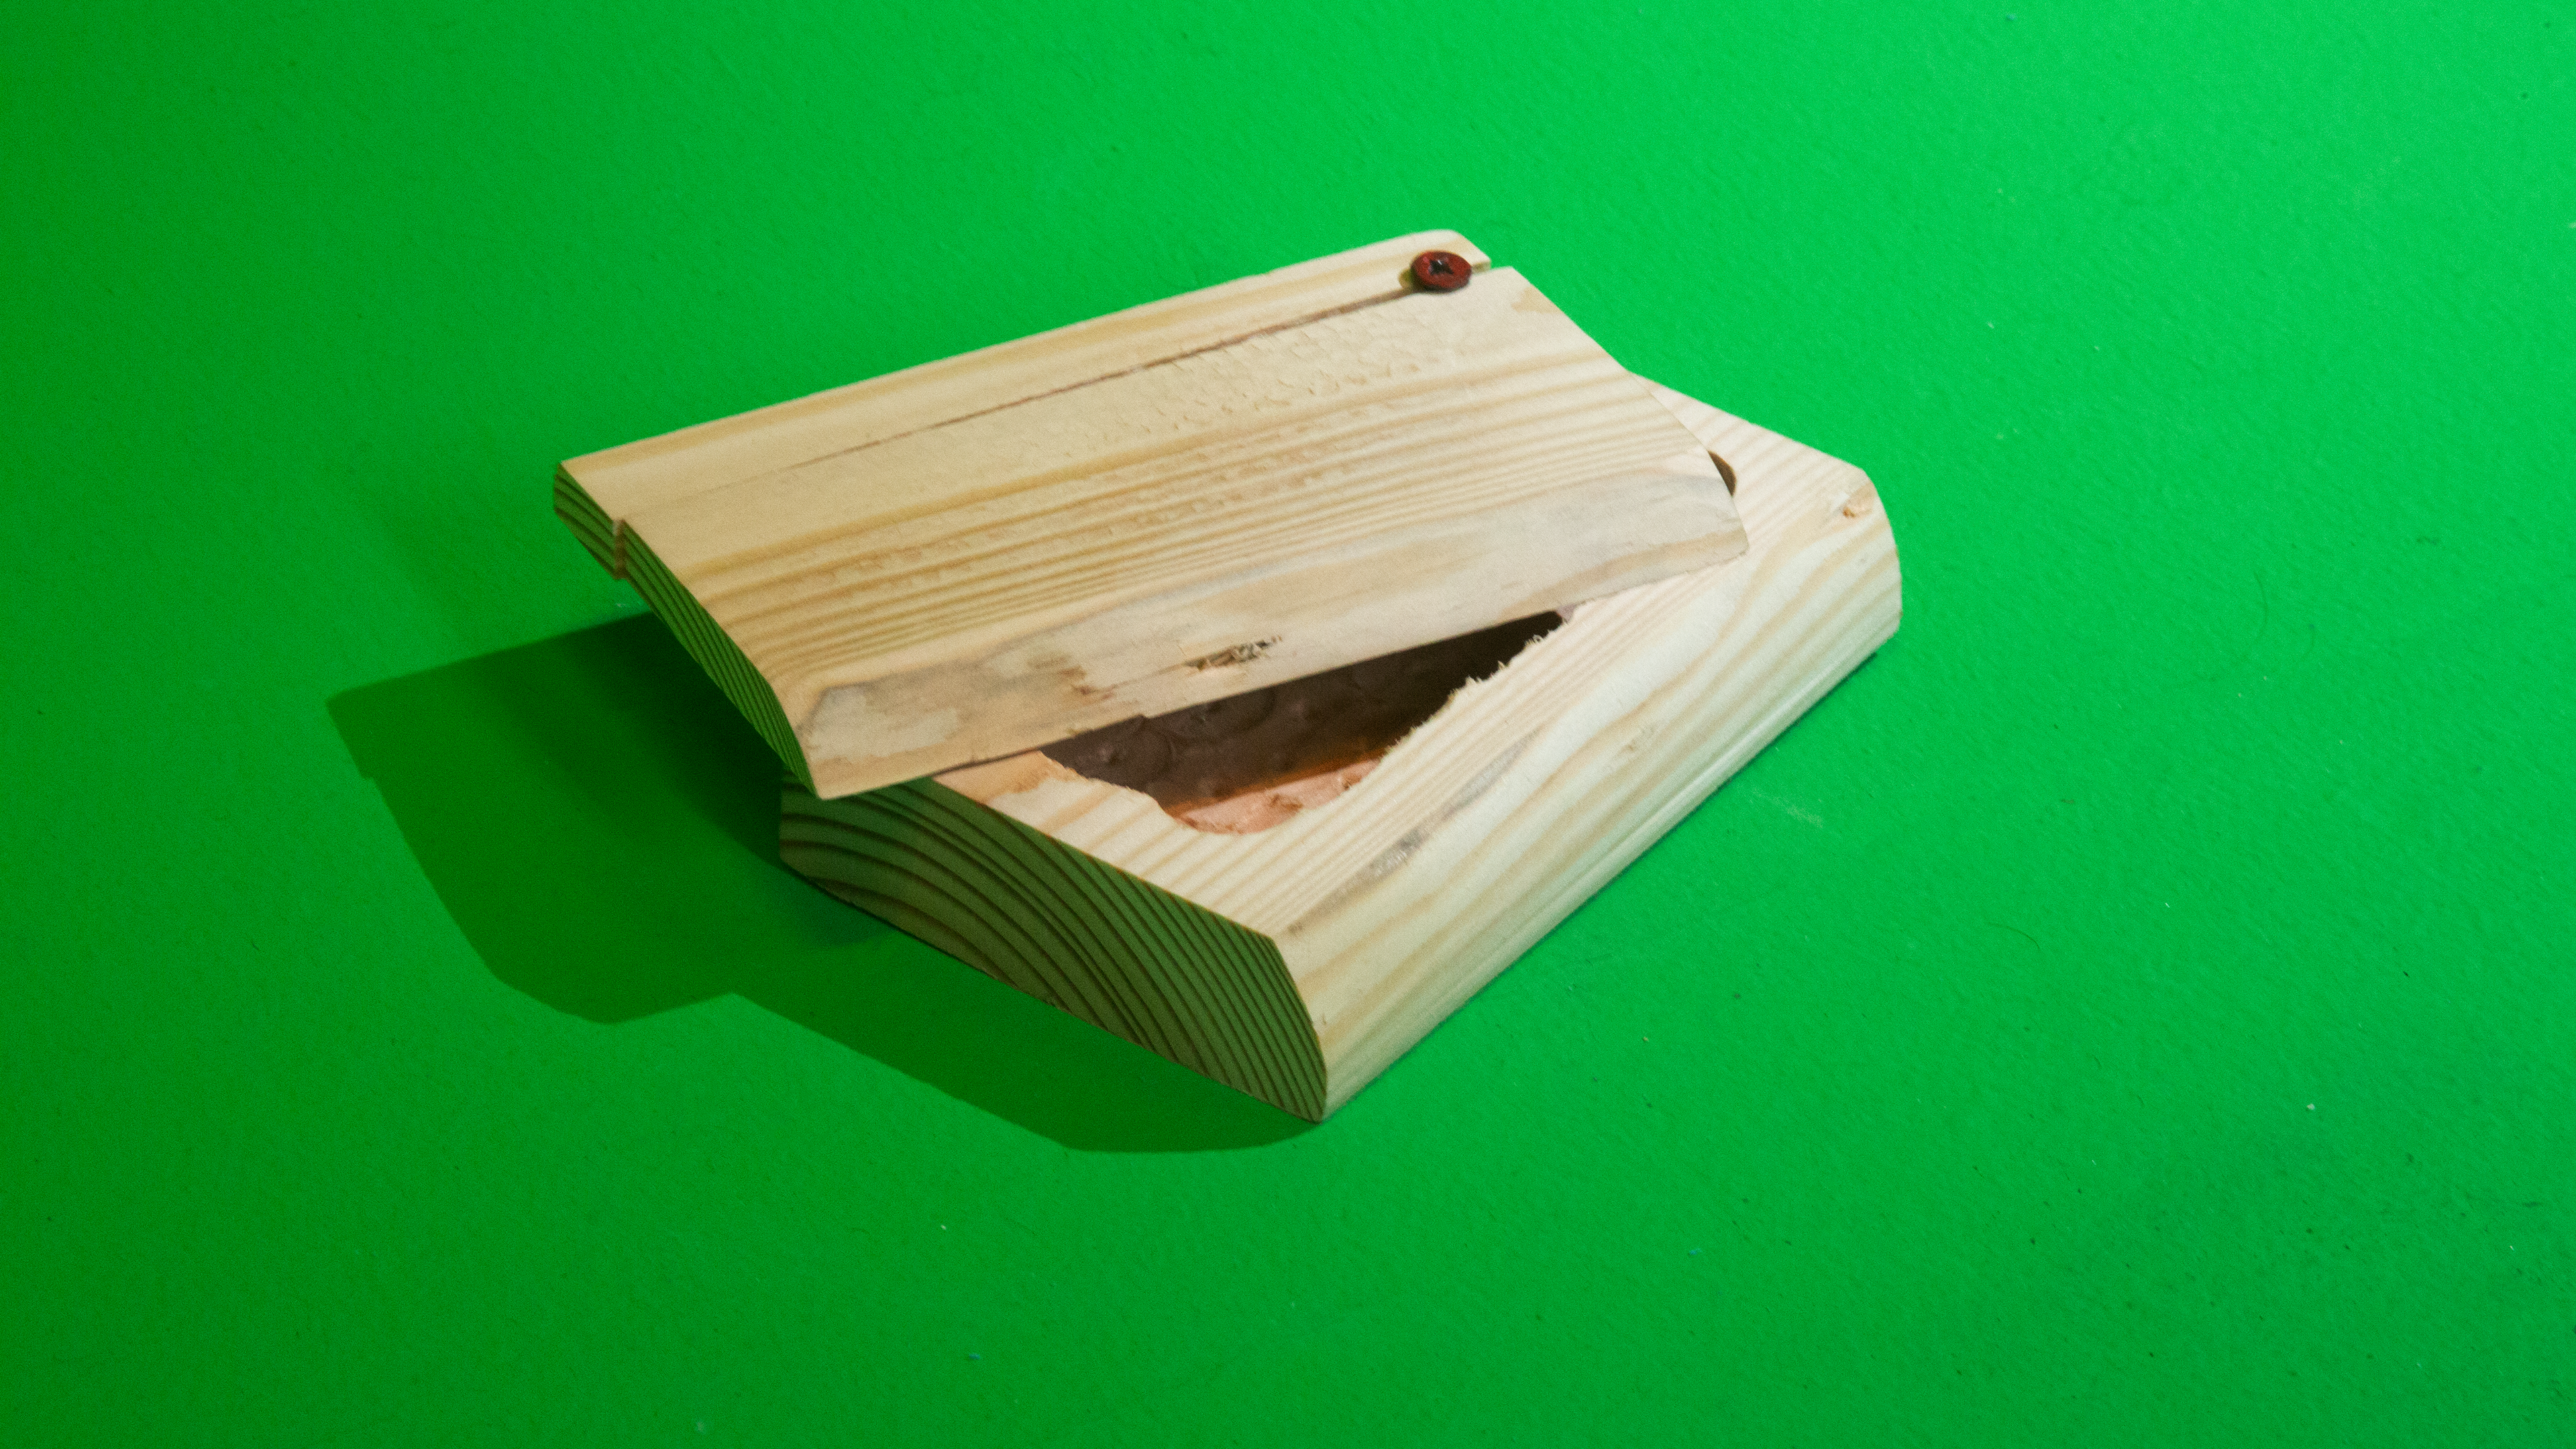
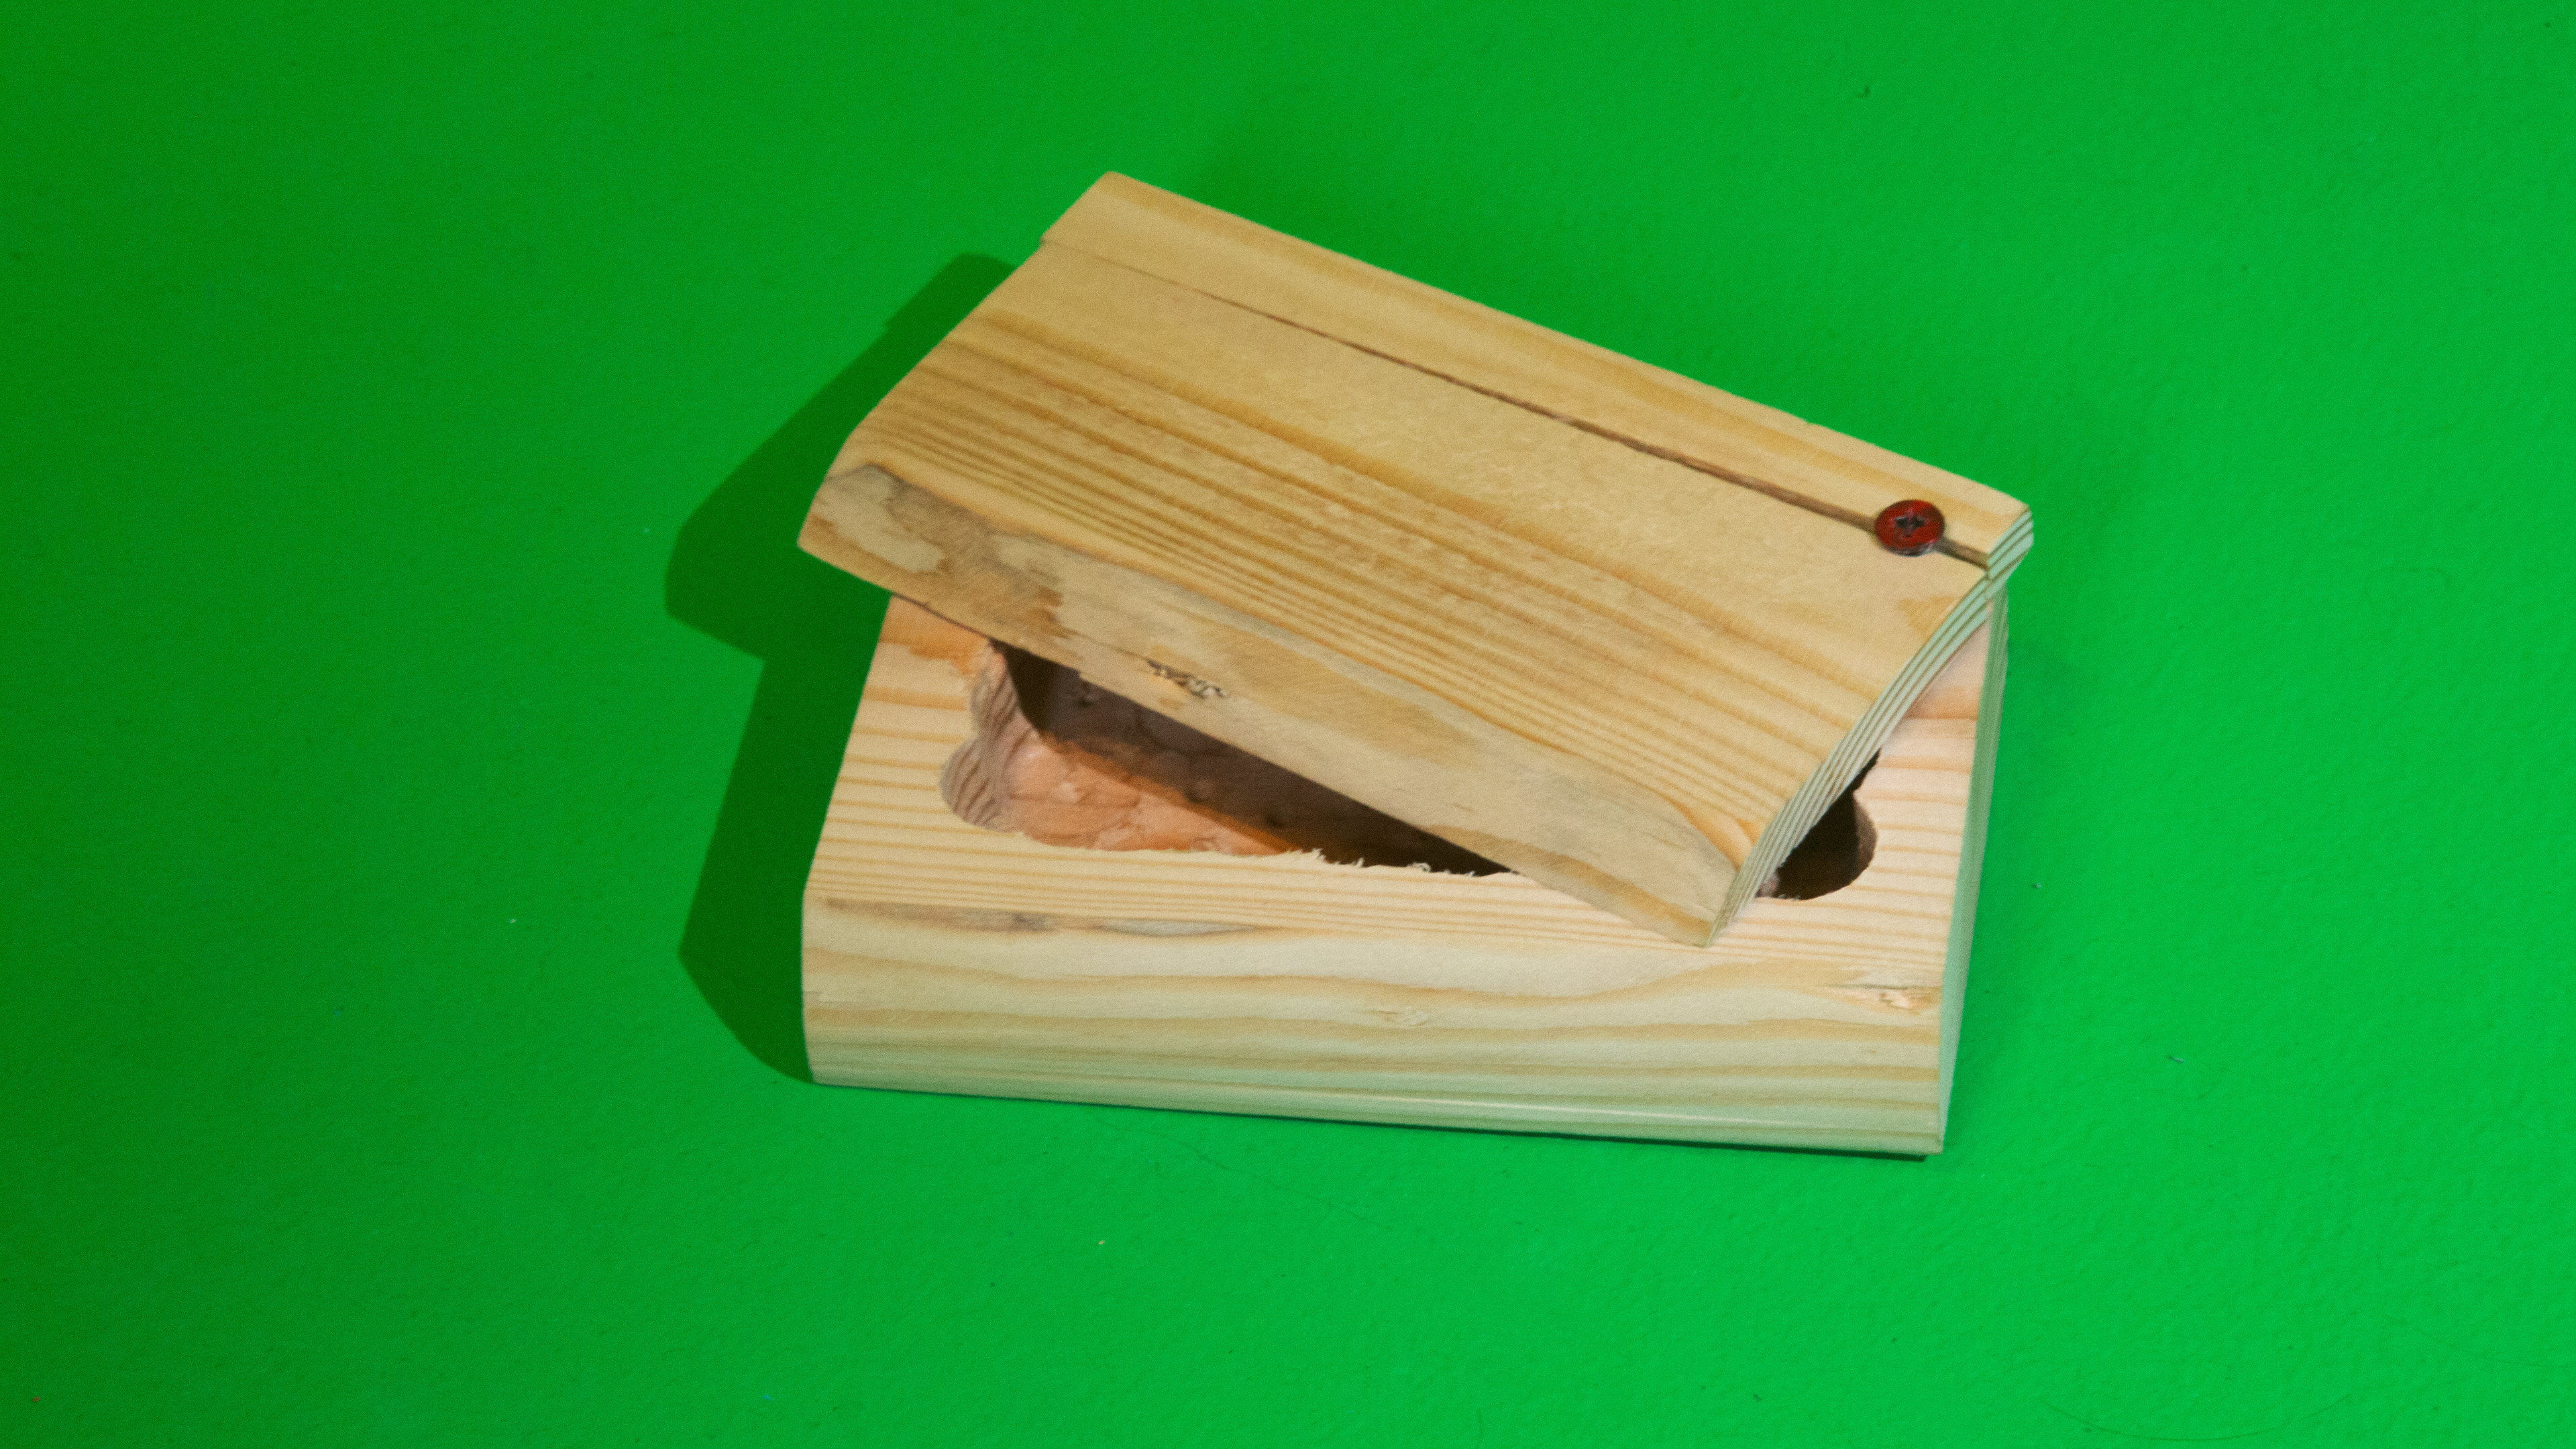
Week 1 - Wooden Box
I’ve been looking for scrap wood for the past week, as I wanted to find something irregular-shaped, but the bin never refilled. The thickest piece of wood I could find was a small cylinder, but as I worked with it, I was feeling uneasy about having to split the top off with the bandsaw; it felt like a bad idea because it’s round so harder to stabilize
and such a tiny piece. I ended up having to go to a hardware store to get a plank of wood.

It was peeling oddly due to rot and was a little brittle, so as I kept sanding it down, there were still brittle chunks flaking off.
I hollowed it out with the drill press, but as I used a chisel to get the corners taken out, the wood on the sides of the box was darker and much harder, and I split the wood a bit. I tried smoothing the sides and bottom with the Dremel, but that wasn’t taking much off.
I added the screw and that split the wood terribly, but it didn’t fully break thankfully. I decided to not spend more time on trying to smooth out the inside because the top was already precarious, and I rested the box briefly on a tiny woodchip and that was enough to dent it on the bottom, so I don't think the wood can take much futzing with.
I'm still trying to decide what theme I want to do! I'm leaning towards the theme just being "FUN" because I desire that, or maybe sci-fi.